 HarleyMotorcycleParts
Switchback (FLD) Shock Replacement for a Bike That Leads Two Lives
Bags on or bags off, the same rear end has to cope. Fit shocks for both setups and learn to change the preload.
Nobody buys an FLD to ride one way, yet most owners set the rear once and forget it. Pull the bags and screen and this is a stripped Dyna on a Sunday. Clip them back on, pack for a week, and the shock is holding a very different load. So preload matters more here than on any other Dyna, and a shock chosen for only one of those lives will disappoint you in the other.
Tools
- Preload spanner or adjuster tool
- Tape measure
- Notebook
- Helper
- SAE socket set
- Torque wrench
- Lift or stand under the frame
- Service manual
Shopping for two loads
Before comparing anything, load the bike the way you actually tour. Bags full, screen on, your own gear, and a passenger if that ever applies. Weigh what you can. Guesses tend to come out light.
Then ask two things of any candidate shock. Can its adjustment range hold the correct sag at that full load? And can it back off far enough to work with the luggage gone? A unit with a generous range and easy access to its adjuster suits this model better than one with a nicer label.
Length needs care, because on a Dyna it directly affects lean angle, height and the way the bike sits on its kickstand. If you have no reason to change it, stay with what your manual shows as standard.
Stripping for access
This is where the design helps. Unclip both bags and put them somewhere soft. Quick-detach hardware left on the bike can still crowd a socket, so look closely at what remains around the upper mount and use the manual if any bracket has to move.
Empty pockets, remove any tank bag and take the screen off too if you plan to tilt or strap the bike at the front. Less weight up high makes the bike calmer on a stand.
Lifting and holding
Place your lift under the main frame, away from pipes. Take the rear just to the point at which the tyre stops carrying weight; a wheel hanging in the air is too far. Slip a small block beneath it so the swingarm cannot fall away and bear on the mounts.
Add ratchet straps. A bike you are pulling on from one side only wants to move, and that sideways force is exactly what you will apply in the next ten minutes.
Changing a shock
Take off the left or right first, it does not matter. Loosen and remove the top nut, then the lower fixing, keeping each washer in sequence on a clean rag. Lift the unit away.
The remaining shock stays fully tightened. When the new one is on and torqued, and only then, do you begin the other side.
Mark the preload position on the old shock before you throw it in a box. If the new ride is disappointing, knowing how the previous one was set helps you diagnose it.
Mounts on a bike that carries weight
Touring loads work the mounts harder, so spend a little longer here. Check each stud for a worn shoulder, thread damage or any looseness at the frame. A stud that has been hammered by a loaded rear end deserves more suspicion than one off a light solo bike.
Inspect the bushings for splits, hardness or an oval hole. Worn ones will rattle, and a rattle on a bike with bags attached is hard to trace later, because the bags themselves get blamed.
Also check that the bag mounting hardware has not been rubbing the shock body. A shiny mark will tell you.
Refitting and torque
Use the block beneath the tyre to bring the mount holes into line, then slide on the new shock and rebuild its stack. Hand-tighten first.
Find the shock fastener torque in the FLD service manual for your model year, set the wrench and pull it smoothly until it clicks. Put a paint mark across each nut, which gives you a quick visual check after long trips with the bags on.
Two sag numbers, one notebook
Stripped first. Have the helper steady the bike, measure with the suspension fully extended from axle to a fixed point above, then again with you aboard, and adjust preload until it agrees with the target your manual or shock maker gives. Note the setting.
Then bolt on the bags, load them, and repeat. You now own two written settings, and changing between them is a five-minute job that most owners never bother with. Both shocks must always get the same setting.
Tape that note inside a bag lid so that it travels with the bike.
Testing each version
Run a loop with no luggage, then the same loop loaded, ideally on a road with a mix of bumps and bends. Bags must clear the shocks through the whole movement, so look for any rub marks when you get home.
Check your paint marks and go over each fastener again, then check the kickstand lean in both setups. The bike will sit differently when it is loaded.
Mistakes that cost money
- Setting preload once and leaving it through both setups.
- Choosing a shock for looks instead of adjuster range.
- Guessing luggage weight instead of weighing it.
- Setting the left and right shocks differently.
- Blaming the bags for a rattle that is a worn bushing.
When to stop
If a fully loaded FLD still bottoms out at the end of the adjuster's range, ride it without the load until the shocks are right for it. Taking a rear that has run out of adjustment on a long tour is how mounts get broken.
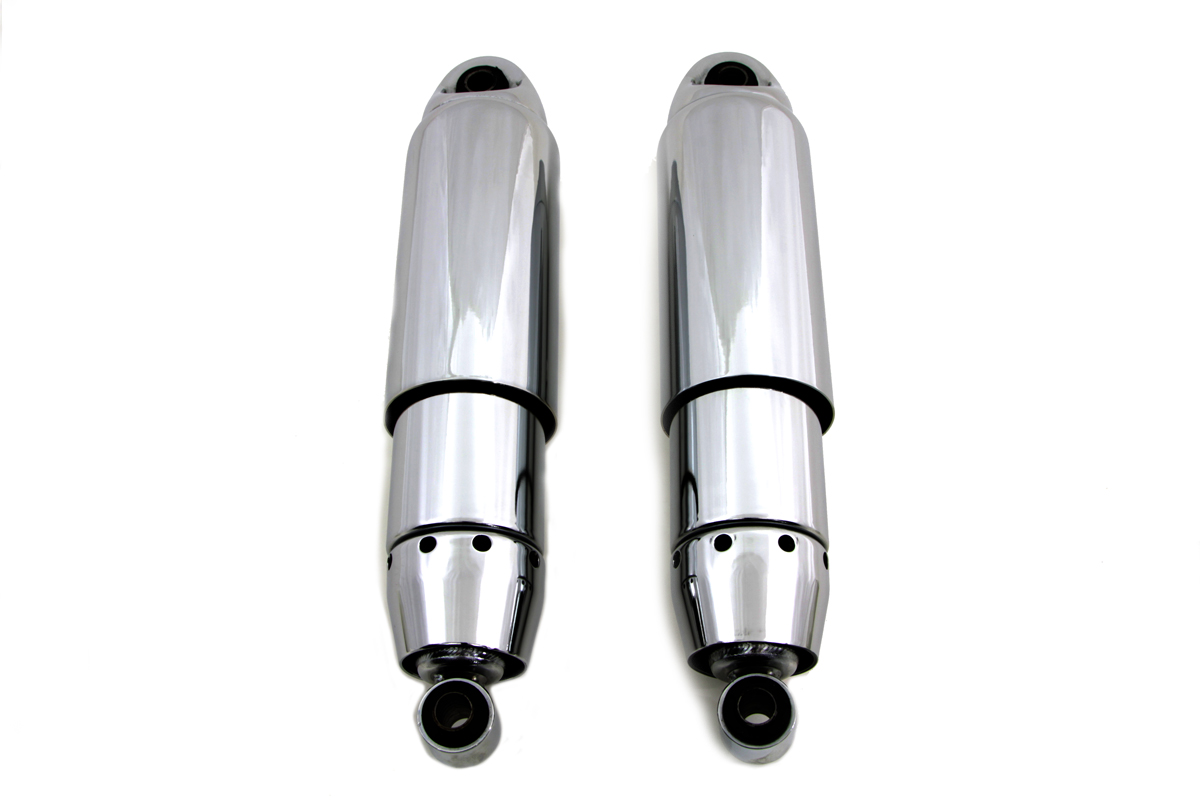
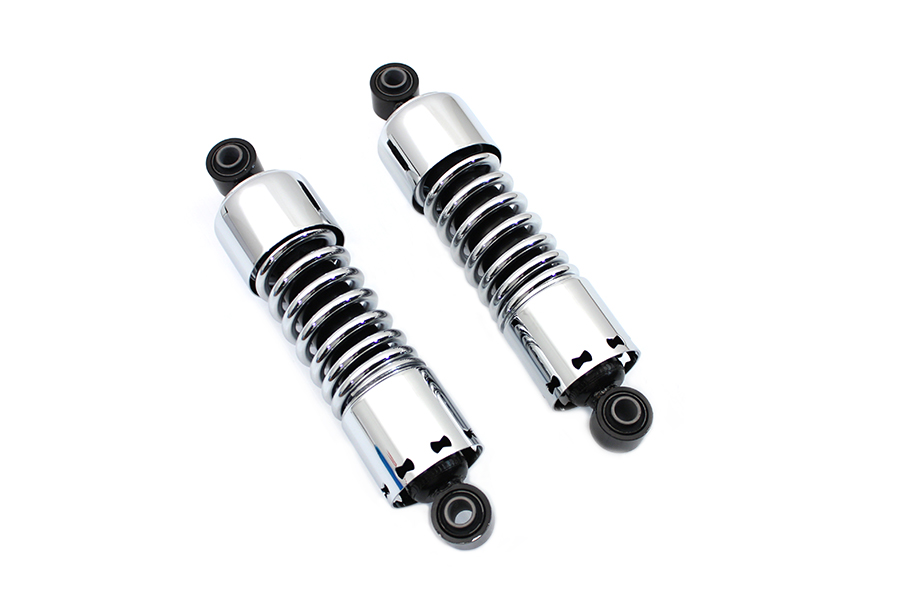
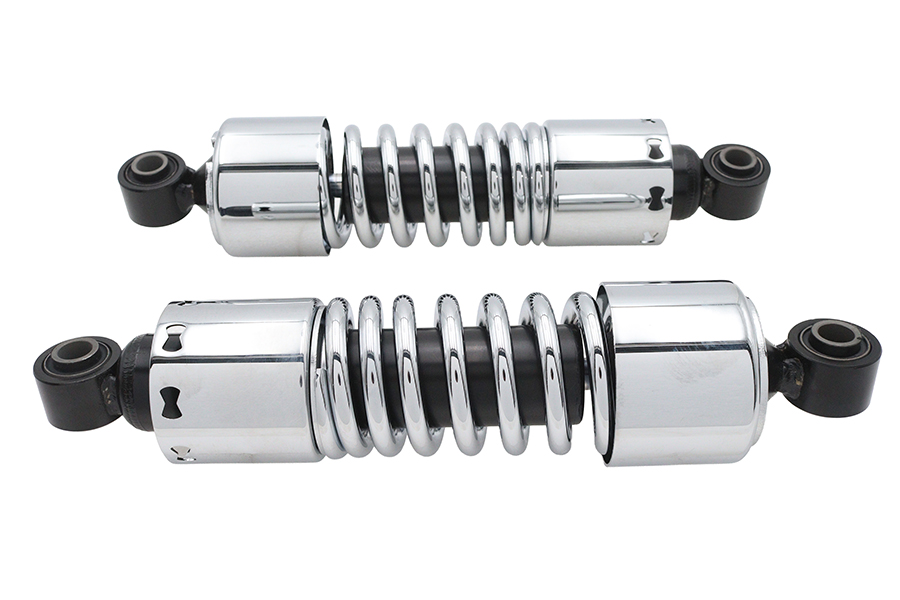
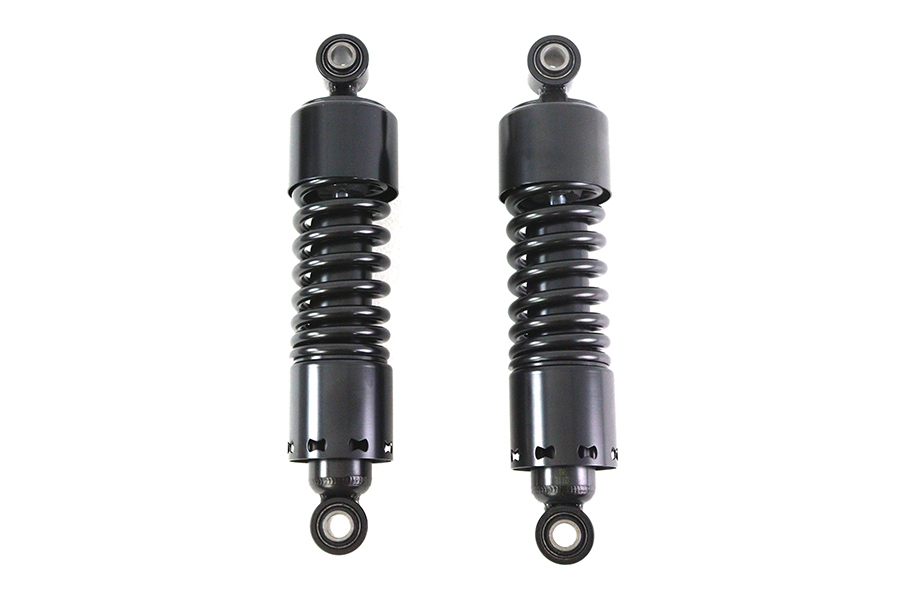
Parts for this job
Check fitment for your own model and year before ordering — add your bike and we will flag what fits.
Other Harley how-to guides
This guide covers procedure and judgement. Torque figures, fluid capacities, gaps and tension settings are specific to your model and year and must come from the factory service manual for your motorcycle — we deliberately do not print numbers we cannot stand behind for your bike. Independent aftermarket retailer, not affiliated with Harley-Davidson, Inc.