 HarleyMotorcycleParts
Replacing the Rear Shocks on a Super Glide (FXD)
A clean shock body proves nothing. How to judge a used Super Glide, then swap the pair yourself.
Shiny does not mean healthy. Used FXD buyers often look at a pair of unmarked factory shocks and decide the rear end is fine, when the damping inside quit years ago and no amount of looking will show it. The Super Glide is the base Dyna, with both units in plain sight, and that openness fools people. It also makes this the most honest first shock job on any Big Twin.
Tools
- SAE sockets and spanners
- Torque wrench
- Frame stand or scissor lift
- Wood block or small jack for the rear tyre
- Tape measure
- Service manual
Worn out, or just badly set?
Start on the road, not in the garage. Find a set of expansion joints or a patched stretch you know, and ride it at a steady speed. A rear that keeps bouncing after the bump has passed has lost its damping. A rear that slams once and stops may simply be sitting too low in its travel.
Those two complaints have different cures. The first needs new units. The second may need nothing more than a preload change, because preload sets where the bike sits and does not alter how stiff the spring is. Spend ten minutes on that distinction before spending any money.
Next, parked and cold, wipe each shaft with a clean rag and look for oil. A wet film or a streak running down the body is a dead seal. Push down hard on the seat and let go. The tail should rise once in a controlled way, without a pogo.
Used bikes also hide surprises. A previous owner may have fitted something else entirely, so read any markings on the body and do not trust the listing.
Getting it in the air
Put the bike on a level floor and raise it under the frame rails. Keep the lift pads away from the exhaust, and strap the machine down if your stand allows it. A Big Twin falling off a jack is the real danger in this job, far ahead of anything a spanner can do.
Raise it only until the back tyre is carrying little or nothing. You are trying to take load off the swingarm, not to let it hang. If the wheel droops, the mounts bind and the fasteners fight you. Slide a block or small jack beneath the tyre and use it to fine-tune the height.
Have a look at which side the pipes and any bags crowd. Bags or exhaust can obstruct one shock on a Dyna, and it pays to know before you are lying on the floor with a socket that will not fit.
Swapping the first unit
Work on a single shock while its partner stays bolted up, so the swingarm stays located throughout. Crack the top fastener loose, then the lower. The top is a stud, while the bottom is a stud or bolt depending on the bike.
Lay each washer, spacer and nut on the bench in the order it came off, or take a phone picture. Stack order is what keeps the eye running straight, and it is the detail most people cannot recall an hour later.
Ease the shock off. If the eye is stubborn, wiggle it square rather than levering against the paint on the swingarm.
What the bare mounts tell you
This is the moment the job earns its keep. Roll a finger around the stud. Any step, groove or shiny flat spot means wear that a new shock will soon share. Check the threads are clean and that the stud is not bent or loose in the frame.
Look at the old rubber bushing too. Cracked or egg-shaped rubber is often the source of that knock owners blame on a blown unit. Worn bushings and studs belong in this inspection every time, and a damaged stud is a repair to deal with now.
Fitting, tightening, repeating
Before installing, stand the old and new units side by side and compare the lengths. If they differ, find out why before you carry on, since length moves ride height, lean angle and how far the bike leans on its kickstand.
Slide the new shock on, using the block under the tyre to line up the holes, and rebuild the stack in its recorded order. Run the fasteners up by hand first. Then set each to the torque your service manual gives for that model and year. There is no universal figure, so do not borrow one.
With that side done and tight, move across and repeat the routine. Set both preload adjusters equal if yours has them.
Proving the work
Lower the bike and bounce it a few times. Listen for a click or a knock, then go around with the wrench and confirm every fastener again.
Stand it on the kickstand and judge the lean before you let go of the bars. Ride that same patched road slowly at first, then at normal speed, and compare it with what you noted. After a short run, recheck the torque once more.
Mistakes that cost money
- Judging a shock by how clean it looks.
- Lifting under the exhaust instead of the frame.
- Replacing shocks while leaving a grooved stud in place.
- Removing both units at once.
- Borrowing a torque figure from a forum instead of the manual.
When to stop
If a mount stud is bent, loose in the frame or has damaged threads, stop there and get it repaired. A rear shock that lets go at speed takes the rear wheel's control with it.
Parts for this job
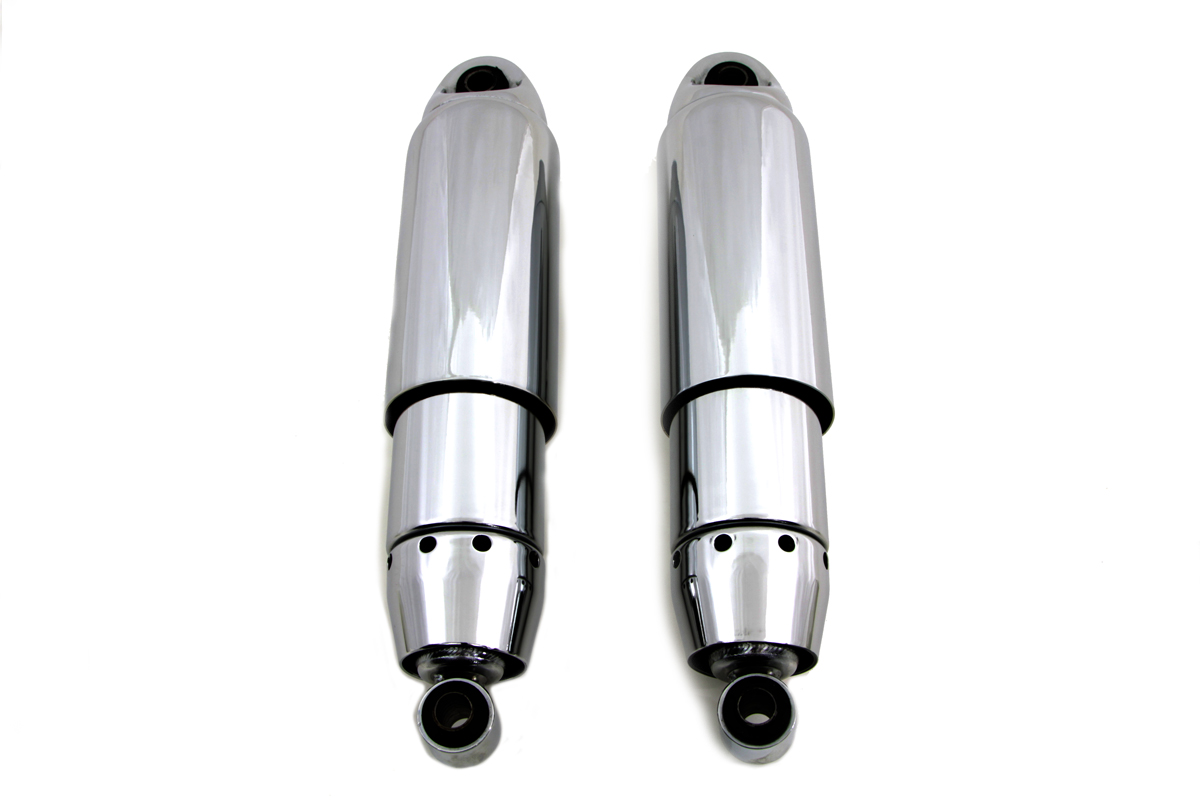
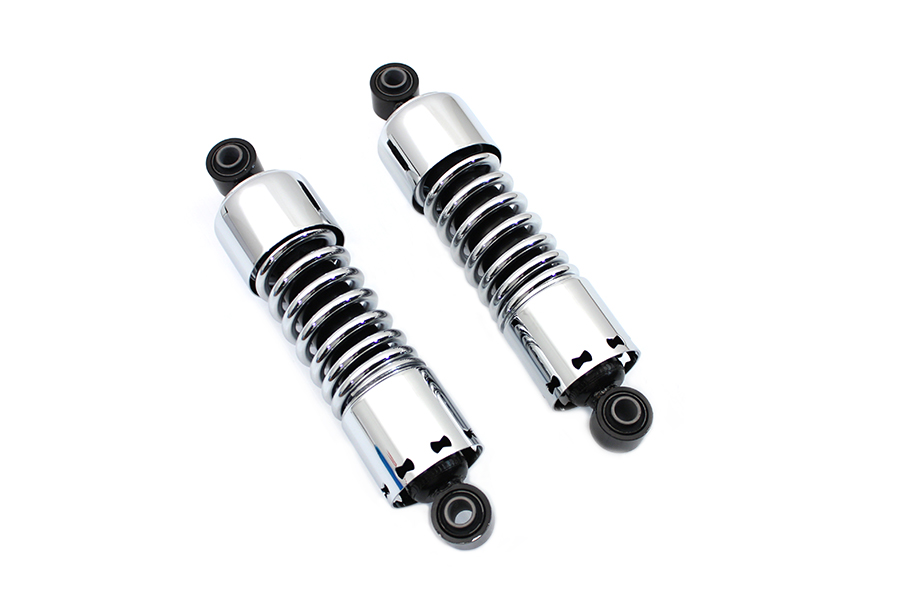
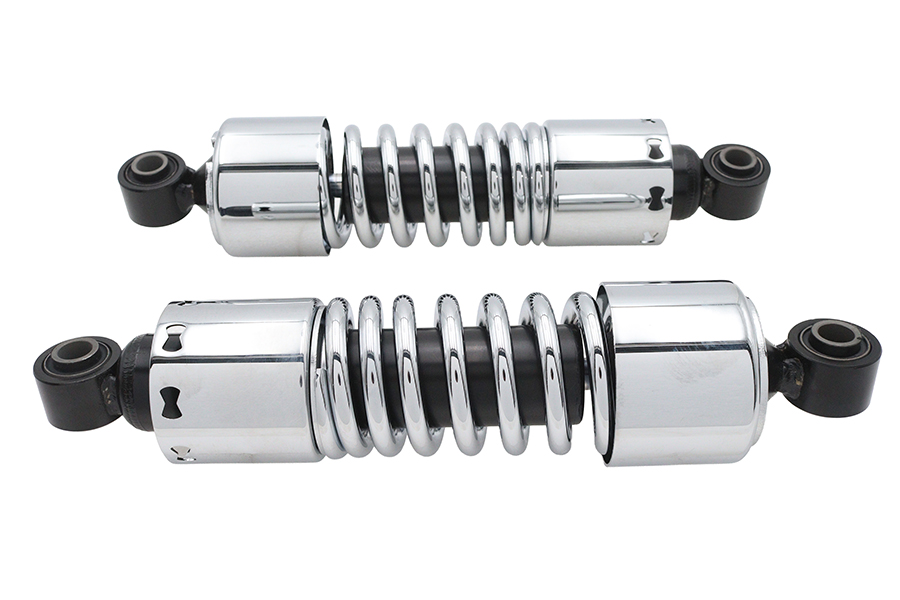
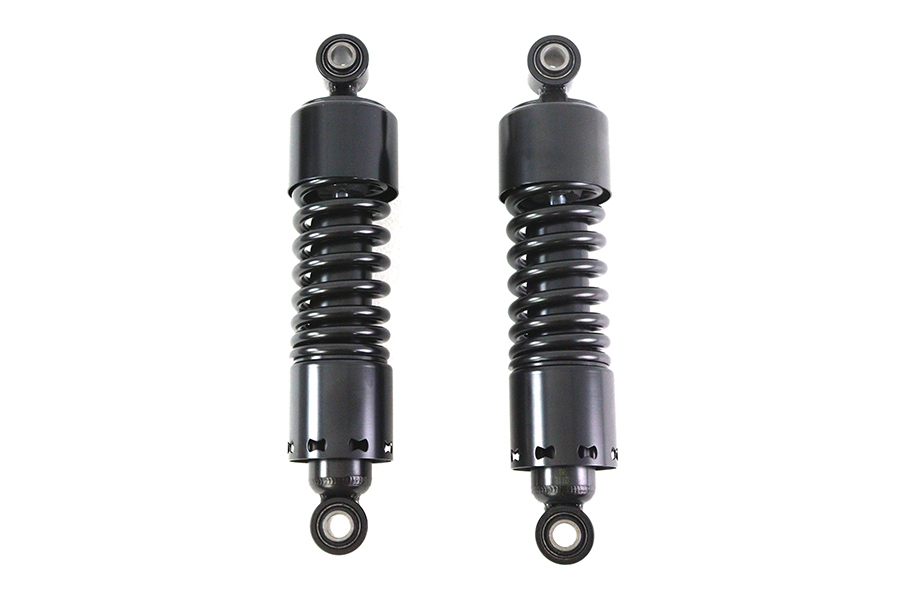
Check fitment for your own model and year before ordering — add your bike and we will flag what fits.
Other Harley how-to guides
This guide covers procedure and judgement. Torque figures, fluid capacities, gaps and tension settings are specific to your model and year and must come from the factory service manual for your motorcycle — we deliberately do not print numbers we cannot stand behind for your bike. Independent aftermarket retailer, not affiliated with Harley-Davidson, Inc.