 HarleyMotorcycleParts
Wide Glide (FXDWG) Rear Shocks: Keep the Stance You Paid For
Drop the back of a Wide Glide and you change the whole look of the bike. Decide that before the wrenches come out.
Lots of people treat a rear shock as a comfort part and nothing else. On an FXDWG it is also a styling part. The wide front end and bobbed fender give this bike its raked stance, and a modest change at the back, up or down, tilts that entire line. Owners who lower the tail for looks are sometimes unhappy with the new attitude, and they notice only once the job is finished.
Tools
- Camera or phone
- Chalk or masking tape
- SAE sockets and box spanners
- Calibrated torque wrench
- Frame-bearing stand
- Factory service manual
A photograph before a purchase
Park on level concrete and take a side-on picture from wheel height, with the camera square to the axle. Mark where the front and rear axles sit, and that image becomes the reference for every decision that follows.
Consider what moving the rear does. Shorter shocks drop the tail, the steering head leans back further and the bike gets longer-looking and lazier. Taller ones do the opposite, standing the front up and taking some of that drawn-out look away.
Neither direction is wrong, but it should be a choice. Bobbed fender gaps also change with length, so look at how much tyre shows now and picture it with less.
Costs of going lower
Lean angle shrinks when the frame comes closer to the road. So does the amount of travel available before a bump finds the stop, which means more of those hits on bad surfaces.
Parking changes as well. With less height, the kickstand lifts less of the bike and the angle at rest grows. A machine that rests over too far is awkward to pull upright, particularly on a cambered road.
A rider who wants a softer ride usually should not go shorter at all. Keep that in mind when a kit looks tempting.
Ask the maker what travel its shorter option keeps, and compare that with the factory figure in your manual. If nobody will give you the number, treat that silence as your answer and keep looking.
Making the back end safe to work on
A frame stand goes beneath the main rails, clear of any pipe. Lift until the rear wheel is barely light. That small unloading stops the swingarm pressing on the mounts while you work, without letting it hang down.
Add a block beneath the tyre as a fine adjuster. Add straps too. The wide front wheel position does not make the bike any steadier, and you will be pulling hard on a wrench at the back.
Taking off one side
Chalk the top of the shock, or wrap tape around it, marking which end was up. Then loosen the upper nut followed by the lower fastener, and note how each washer and spacer sits.
Whichever side you begin with, leave the other shock fully tightened. That one is now locating the swingarm by itself, which is exactly why this job is done singly.
Pull the unit away cleanly. If exhaust gets in the way on that side, loosening things is rarely needed on a Dyna, but check what your own pipes allow before you start undoing brackets.
Looking over the mounts
With the unit off, clean the exposed stud and read it under a good light. Ridges, a thinned section or chewed threads all count against it. Then try to rock it by hand, since it should not move in the frame at all.
Next, squeeze the bushings from the old shock. They have often gone hard after years of use. Bushing and stud wear can make a rattle that nobody traces back to the shocks, and fresh parts here cost little against a repeat job.
Check the swingarm around the lower mount for cracked paint. That can be a sign of a loose fastener having worked at it for a long time.
Bolting up the replacement
Confirm the new shock is the way up its maker specifies. Align it with the upper stud, then raise or lower the tyre block until the lower eye falls into place. Nothing should need to be forced.
Rebuild the washer stack in the original order, snug by hand, and only then reach for the torque wrench. Your factory manual lists the fastener figure; use the one for your model year.
Move across. When both sides are tight, even out the preload settings if your shocks have an adjuster, so the bike is not asked to run with one side working harder.
Back on the ground
Take it down and shoot the same photo from the same spot. Set the two pictures side by side. If you changed length, that comparison tells you honestly what you bought.
Check the tyre against the fender with someone sitting on the seat, then check the kickstand lean. Ride around slowly, turning both ways, and listen. Stop after a few miles and put the wrench back on every fastener.
Mistakes that cost money
- Buying shorter shocks for comfort when they reduce travel.
- Not taking a reference photo at wheel height.
- Treating a lowered stance as free, with no cost in lean angle.
- Letting the swingarm hang while struggling with the fasteners.
- Running uneven preload from side to side.
When to stop
If the rear tyre touches or nearly touches the bobbed fender with a rider aboard, do not ride it. The clearance has already gone before the first real bump arrives.
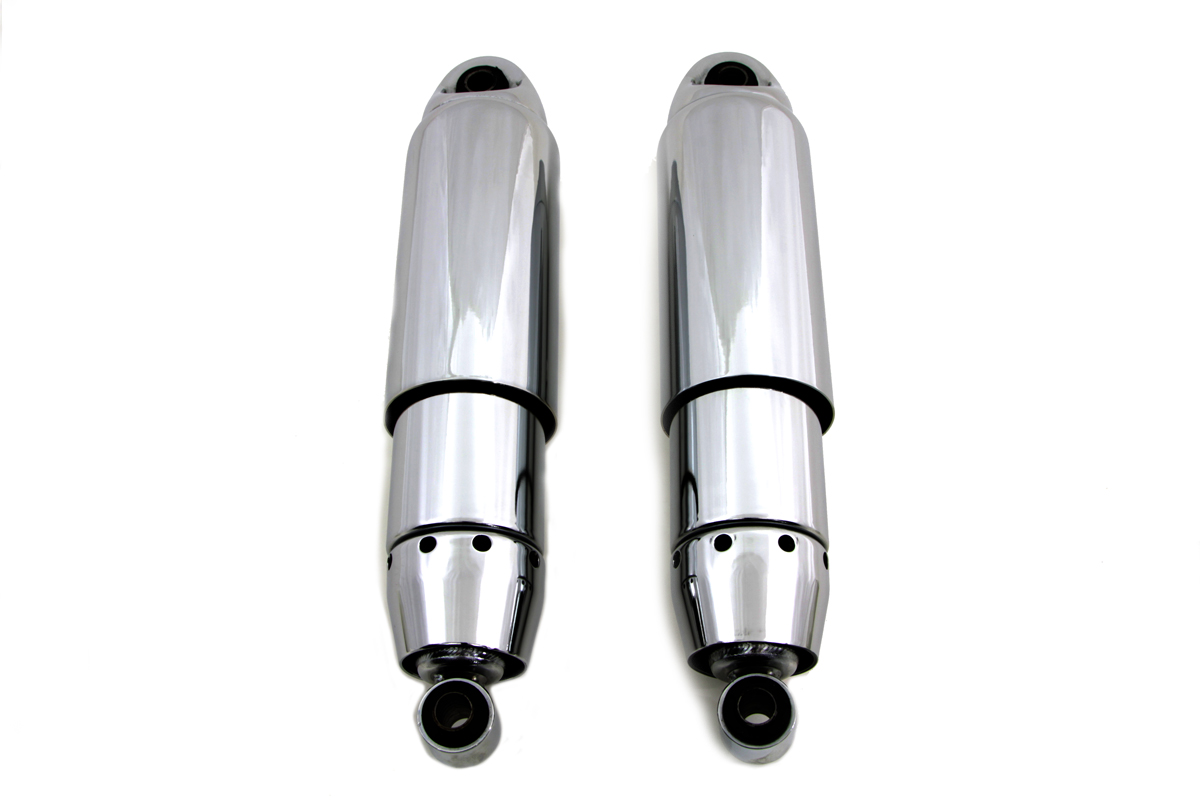
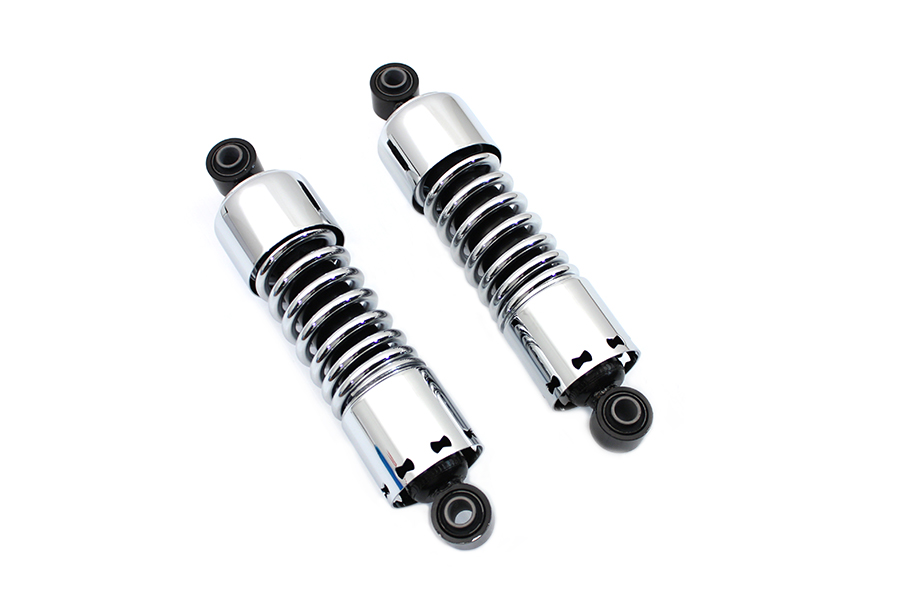
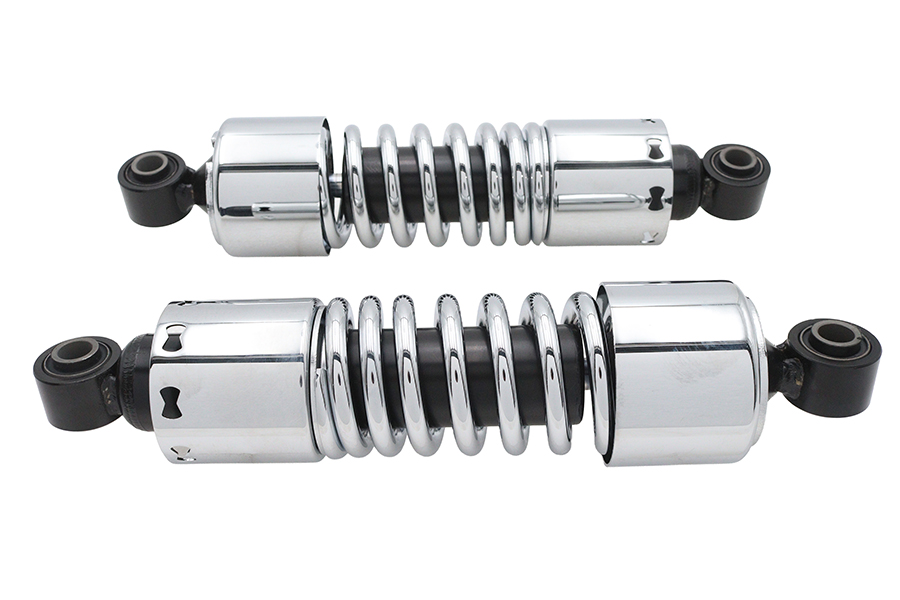
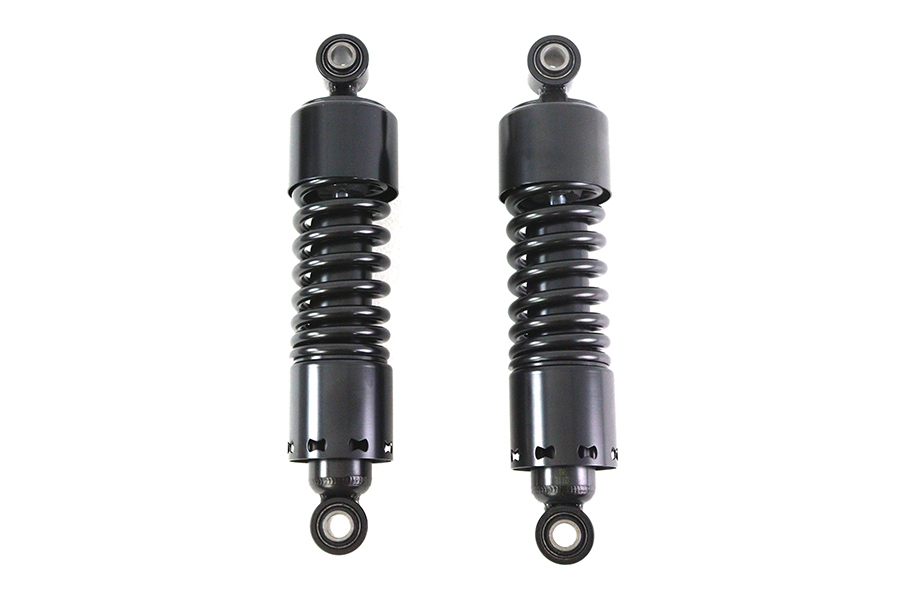
Parts for this job
Check fitment for your own model and year before ordering — add your bike and we will flag what fits.
Other Harley how-to guides
This guide covers procedure and judgement. Torque figures, fluid capacities, gaps and tension settings are specific to your model and year and must come from the factory service manual for your motorcycle — we deliberately do not print numbers we cannot stand behind for your bike. Independent aftermarket retailer, not affiliated with Harley-Davidson, Inc.