 HarleyMotorcycleParts
Dyna Low Rider (FXDL) Shocks: Twin Units, Two-Up Reality
There are two very different Harleys called Low Rider. Order for the right one, and for your actual passenger.
Type Low Rider shocks into a search box and half of what comes up belongs to a different motorcycle. The FXDL uses two exposed units; the Softail FXLR hides one spring and damper beneath the saddle. Those parts have nothing in common, and returns happen because the name matched. Check the code on your registration first. Then be truthful about the back seat, since passengers are common on this bike and they change the choice.
Tools
- Torque wrench
- SAE wrenches and sockets
- Lift or sturdy stand
- Tape measure
- Spanner for your preload adjuster, if fitted
- A helper for sag
- Service manual
Check the code, then the load
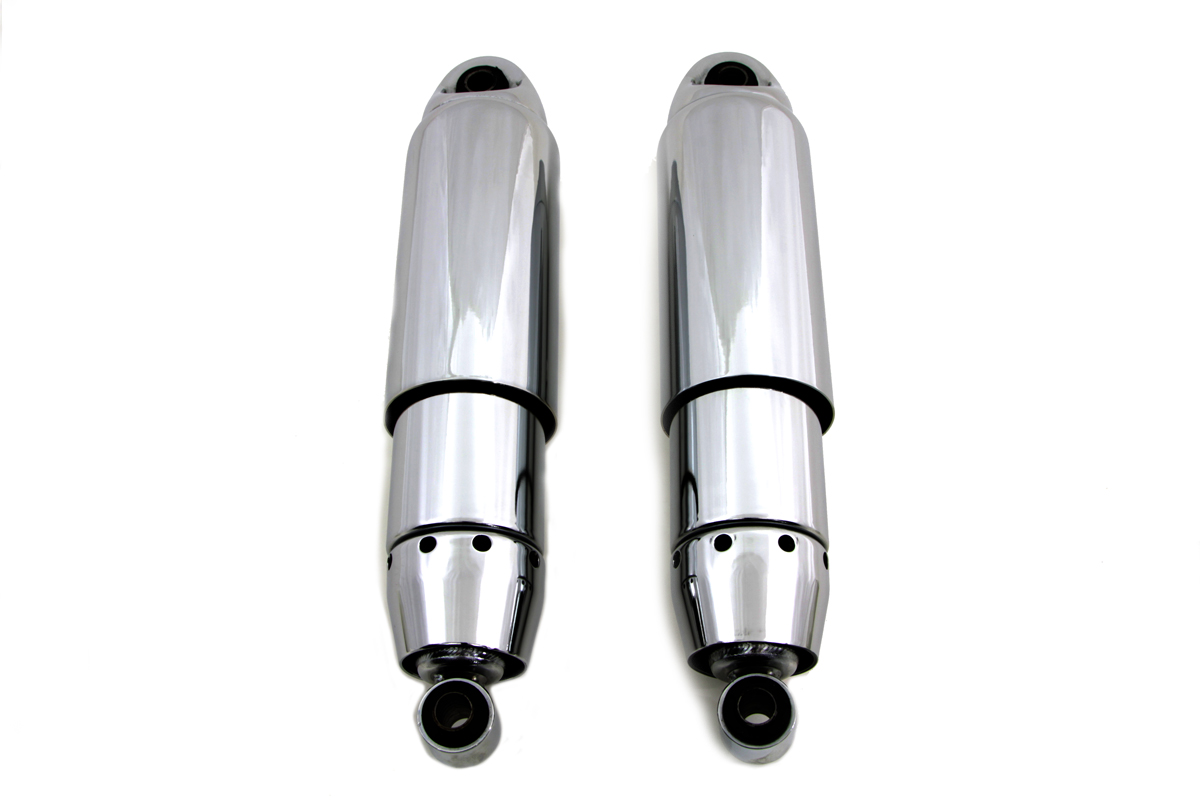
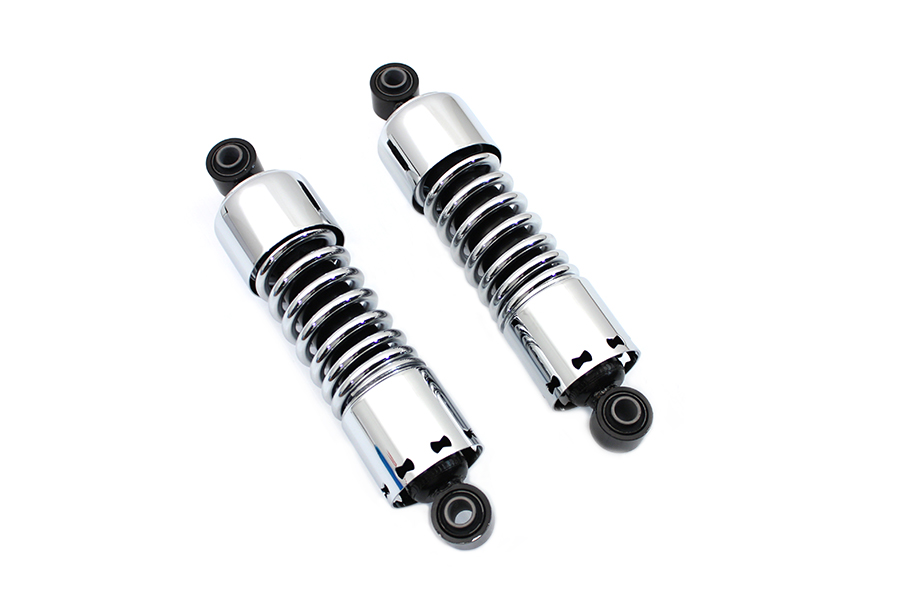
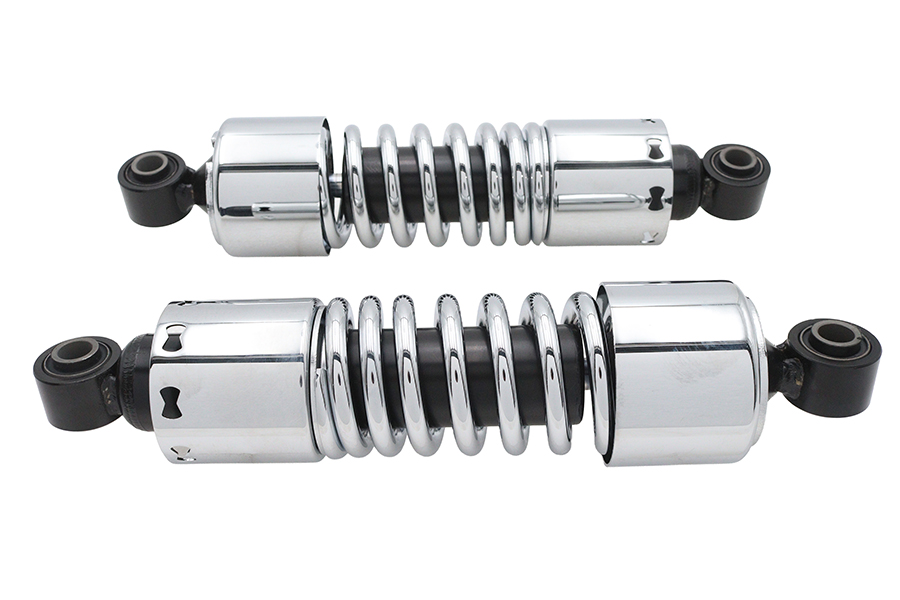
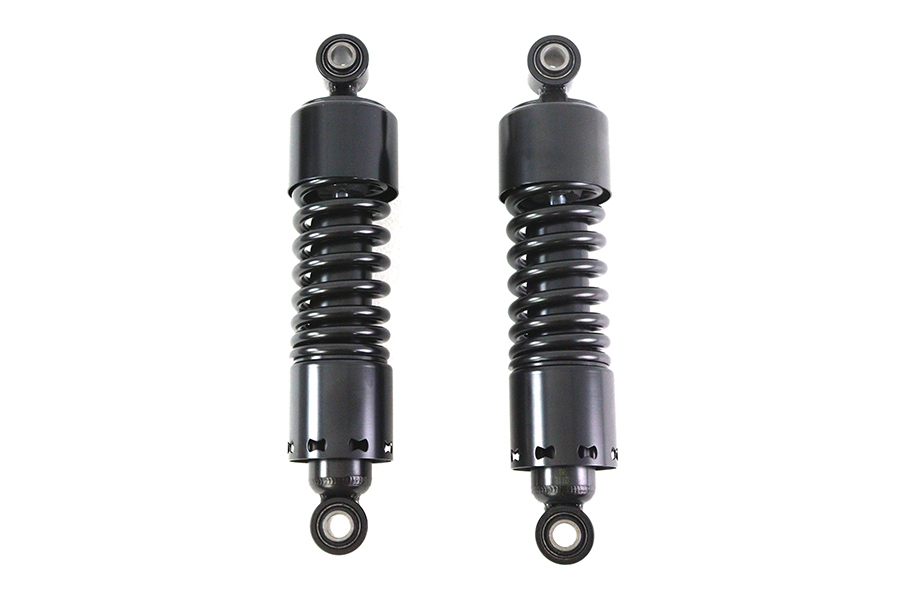
Look at your two rear corners. If a shock is visible on each side between the frame and swingarm, you are in the right place. Your paperwork should agree and read FXDL.
Write down the weights that actually go on the bike: you in your gear, a regular passenger and any luggage. A shock is matched to that total. Picking only for yourself and then carrying someone on most weekends is how people end up on the stops.
The aftermarket offers a wide spread of lengths for this model, and that is both the good news and the trap. Each changes ride height, lean angle and how the machine rests on its stand. Start from the standard figure in your manual and move away from it knowingly.
Raising the machine
Set the jack points on the frame. Exhausts are not designed to carry a bike. Bring the tail up until the tyre sits just free of its load, with a block handy to keep the swingarm from sagging.
Wide bars and a low seat make this a comfortable bike to ride but no more stable on a lift than any other, so run a strap across it before you begin leaning on tools.
Which side first
Look down each flank for what is in the way. Mufflers or bags can make one side a tighter reach, and it often helps to tackle that one first while you still have patience.
Remove the upper fastener and then the bottom one. Harley uses a stud at the top and a stud or bolt below on these frames, depending on the bike. Every piece of hardware goes onto a tray in the sequence it came off.
Only one unit comes away at this stage. Its twin keeps the swingarm in its proper place, and swapping them singly avoids a heavy pivoting arm suddenly swinging free near your hands, which is the last thing you want during this step.
Inspection worth ten minutes
A shock that has carried two people for years puts real load into its mounts. Examine the stud for a worn waist, and run a nut along the threads by hand. It should spin freely. If it binds, find out why.
Work a screwdriver tip gently around the old bushing. A loose, torn or crumbled bushing should be renewed, because it allows side play that will eat the new unit's eye as well.
Look along the swingarm too, and wipe off the area around the lower mount. It is not often that you get to see this part of the bike clean, so take advantage.
New shock on
Hold the replacement up against the old one on the bench as a last check, then fit it to the bike. Adjust the block under the rear tyre to bring the eyes into line, instead of pushing or levering the swingarm by hand.
Add the washers and spacers back as they were. Spin everything up with your fingers, and after that use the torque value in the service manual, not a value from memory. Do the opposite side the same way.
Preload for a passenger
Now use the adjustment you have. Preload does not make the spring any harder; it sets how high the bike sits, and so how much travel remains for the road.
Measure sag with a helper: axle to a fixed point above it with the rear fully extended, then between those same two points with you aboard in your usual gear. Repeat with the passenger on. The target figure comes from your manual or the shock maker.
Set both sides to the same position. Note the solo and two-up settings on a card somewhere handy. A rear that gets adjusted for its actual load will usually feel better than an expensive one that never gets touched.
Road test, alone first
Ride solo first, on roads you know. Note how it answers a dip and how it settles after one. Listen for any knock from the rear on a sharp edge, and check how the kickstand now holds it.
Afterwards, repeat with your passenger, because that is the condition you actually bought these for. Then go back over the fasteners with the wrench to make sure they stayed at spec.
Mistakes that cost money
- Buying Softail Low Rider parts for an FXDL because the name matched.
- Choosing a shock for solo weight and then riding two-up.
- Leaving preload where the box set it.
- Levering the swingarm by hand to line up a mount.
- Testing only without the passenger.
When to stop
If the rear still hits its stops two-up with sag set correctly, stop carrying the passenger until a shock rated for that load is fitted. Bottoming out on a bend with two aboard is not a comfort problem.
Parts for this job
Check fitment for your own model and year before ordering — add your bike and we will flag what fits.
Other Harley how-to guides
This guide covers procedure and judgement. Torque figures, fluid capacities, gaps and tension settings are specific to your model and year and must come from the factory service manual for your motorcycle — we deliberately do not print numbers we cannot stand behind for your bike. Independent aftermarket retailer, not affiliated with Harley-Davidson, Inc.