 HarleyMotorcycleParts
Ultra Limited Primary Chain Service: Getting Past the Floorboards
Automatic tensioner either way, and the busiest left side of any dresser. How to get to the primary and what to do once you are in.
On an Ultra Limited the primary is not the hard part. Getting to it is. This is the heaviest regular dresser Harley builds, and the left side is crowded: floorboard, heel-toe shifter, lowers. Behind all of that sits the primary case, with the chain that carries the engine's drive to the clutch. That is the chain you service; the final drive is a belt and is left dry. And on this bike, whichever engine you have, the tensioner adjusts itself.
Tools
- Service manual for your year
- Phone for photos of the shifter linkage
- Drain pan
- Torch
- Primary locking tool or wedge
- Torque wrench and breaker bar
- Threadlocker
- New cover gasket or seal
- Correct primary fluid
- Tray for small fasteners
Two engines, one answer
2014 to 2016 Ultra Limiteds have the Twin Cam 103 with the automatic hydraulic tensioner. 2017-up bikes have the Milwaukee-Eight, also with an automatic tensioner. There is no routine adjustment on either. If someone tells you to tighten the primary chain on an Ultra Limited, they are thinking of an older bike.
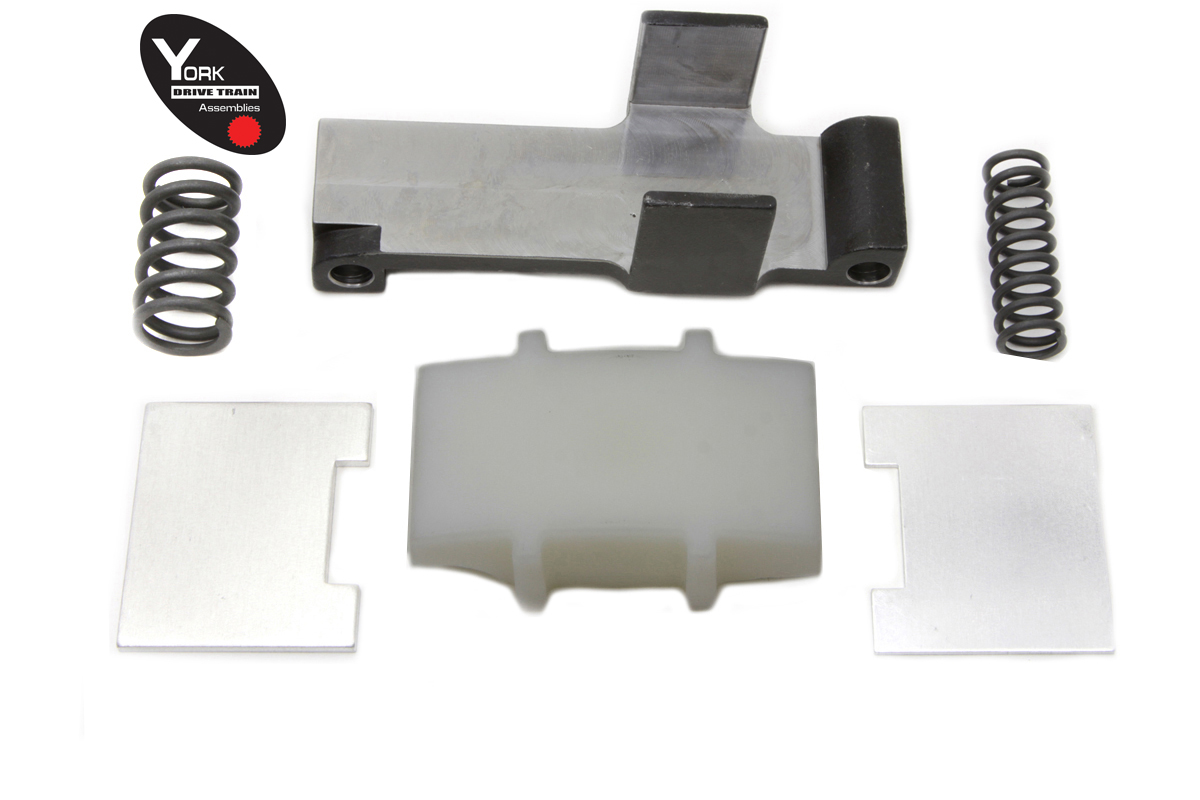
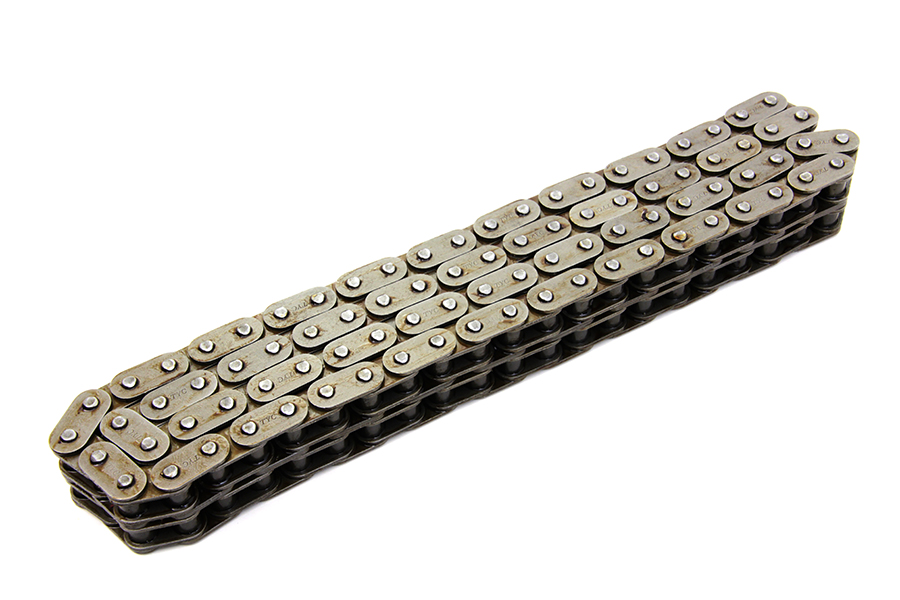
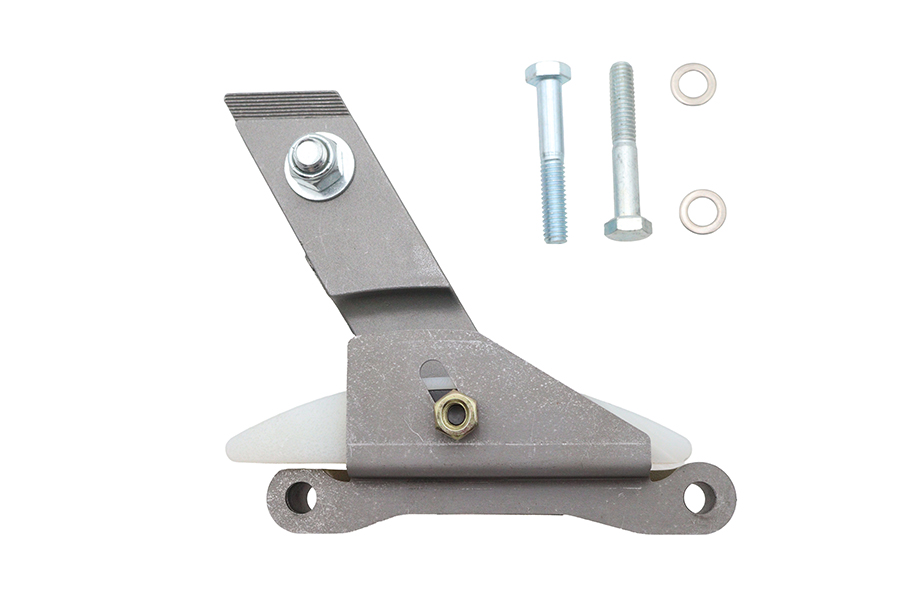
What changes between the two is parts. Chain, sprocket, basket and any adjuster kit must match the engine. Our catalogue lists an 86-link chain for FLT 2007-up, and for owners who want a manual adjuster it lists 18-8328 for FLT 2007-2016 and the Ultima M8 adjuster 18-1763 for FLT 2017-up.
Symptoms worth acting on
A rattling slap from the left side at idle that changes with the clutch lever. Take-up that jerks rather than feeds. Metal flake on the primary drain plug magnet at a fluid change.
A clunk on start-up or shutdown is the one to be careful with. On 2006-up bikes it can be the compensator rather than the chain. It is a related fault, but a different job; this guide does not diagnose it.
Clearing the left side
Disconnect the battery negative first.
Before you remove anything, photograph the heel-toe shifter and its linkage from a couple of angles. The heel and toe pegs, the linkage rod and the floorboard all relate to each other, and getting the shift lever height wrong on reassembly is a classic annoyance.
Remove the left floorboard and as much of the shifter linkage as the manual says you need. Lowers do not usually have to come off for primary work, but if they are in your way for access to cover screws, the manual will tell you. Lay every fastener out in order on a tray.
Inspecting without dismantling
If you only want to know the condition, you do not need to strip the left side. Remove the chain inspection cover and use a torch.
Look at the tensioner shoe. A face grooved deeply by the chain, or worn through, tells you the chain has stretched beyond what the tensioner handles comfortably. Look at the chain's side plates for bright rub marks.
This is a look-and-judge inspection. The automatic tensioner must only be released or retained by the method in the manual; do not lever on it.
Removing the old assembly
Drain the primary fluid. With the floorboard and linkage out of the way, remove the outer primary cover, working evenly around it.
Retract or retain the tensioner as the manual describes. Lock the primary with a sprocket locking tool or a wedge between the sprockets. Loosen the compensator nut and the clutch hub nut. The clutch hub nut is LEFT-HAND thread on Big Twins.
The stock chain is endless. Sprocket, chain and clutch basket slide off together. The alternator rotor sits behind the compensator; its magnets will happily pull in a socket, so keep loose steel away.
Going back together
Fit the new sprocket, chain and basket as a set. Threadlocker where the manual calls for it, and torque from the manual - no borrowed numbers. Reset the tensioner or, if you have fitted a manual adjuster kit, set the slack at the tightest spot against the manual's cold figure.
New gasket or seal on the cover (check which type yours uses), then refill with the correct primary fluid to the level the manual gives. Check clutch adjustment.
Refit the shifter linkage and floorboard using your photos. Sit on the bike and check that the toe and heel both reach comfortably and that every gear selects before you take it out.
Handling an Ultra Limited on the bench
This bike is heavy, and the primary job means leaning on a breaker bar against a locked drive. Do the work with the bike secure on a proper lift or a stable stand, straps on, rather than on its side stand. The forces on the compensator and clutch hub nuts are enough to shift a poorly supported dresser.
Get the drain pan in place before you take off a single floorboard bolt. The lowers and floorboards can make it awkward to see the drain plug, and a dropped pan full of primary fluid on a garage floor under a heavy bike is not a mess you can easily get to.
If you will be rotating the engine through the rear wheel to look at the chain, two people make it easier: one turning the wheel in top gear, one with the torch at the inspection opening. On a bike this size, that is quicker and safer than one person trying to do both.
Test and recheck
An Ultra Limited is too heavy to discover a problem on the road. Run it in neutral first and listen to the left side with the lever in and out. Take a short solo ride, then check the cover for weeps and the shifter for play.
Mistakes that cost money
- Searching for an adjuster this bike does not have.
- Not photographing the heel-toe shifter before removal.
- Ordering Twin Cam parts for an M8, or the reverse.
- Levering on the automatic tensioner.
- Skipping the gear-selection check after refitting the linkage.
When to stop
If the shoe is worn through and the chain has been running on its bracket, stop and inspect the sprockets, basket and case before ordering. On a bike this heavy, a primary that locks up is a rear wheel that locks up.
Parts for this job
Check fitment for your own model and year before ordering — add your bike and we will flag what fits.

Other Harley how-to guides
This guide covers procedure and judgement. Torque figures, fluid capacities, gaps and tension settings are specific to your model and year and must come from the factory service manual for your motorcycle — we deliberately do not print numbers we cannot stand behind for your bike. Independent aftermarket retailer, not affiliated with Harley-Davidson, Inc.