 HarleyMotorcycleParts
Electra Glide Standard: Primary Chain Care for Stop-Start Bikes
Fleet duty and long idling are hard on a primary and its clutch. How to check, what to watch, and how to replace the chain.
The Electra Glide Standard tends to lead a hard life: lots of idling, lots of stop-start, lots of clutch work. That pattern punishes the primary chain and the clutch more than a long highway run does. Before you start: the belt that turns the rear wheel needs no oil and no chain work. The chain we are talking about is the primary, inside the left case, running engine to clutch in its own fluid.
Tools
- Service manual
- Torch
- Drain pan
- Primary locking tool or wedge
- Torque wrench and breaker bar
- Threadlocker
- New cover gasket or seal
- Correct primary fluid
- Notebook for service history
Why this bike earns more attention
Every pull-away from a stop puts a load on the primary chain and asks the clutch to take up drive. A bike that spent its life in traffic or on patrol has done that thousands of times more than a touring bike of the same mileage.
If you bought a Standard with a fleet or police-style past, judge the primary by its use, not the odometer. Ask for service records. If there are none, plan an inspection now rather than waiting for noise.
Identify the tensioner
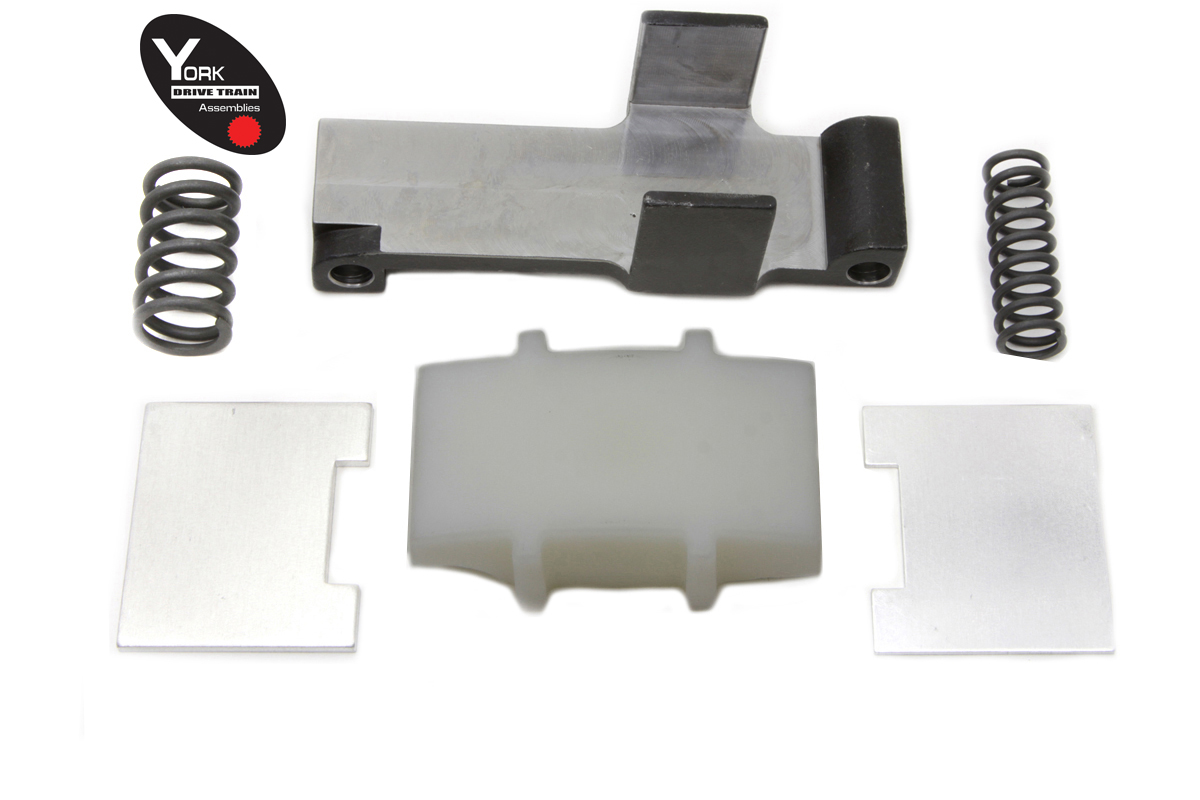
Touring bikes to 2006: MANUAL adjuster. A nylon-faced shoe on a bracket under the lower run, set with a locknut.
2007-2016: AUTOMATIC Twin Cam tensioner, spring-loaded and hydraulic, with no routine adjustment.
2017-up: Milwaukee-Eight, also automatic.
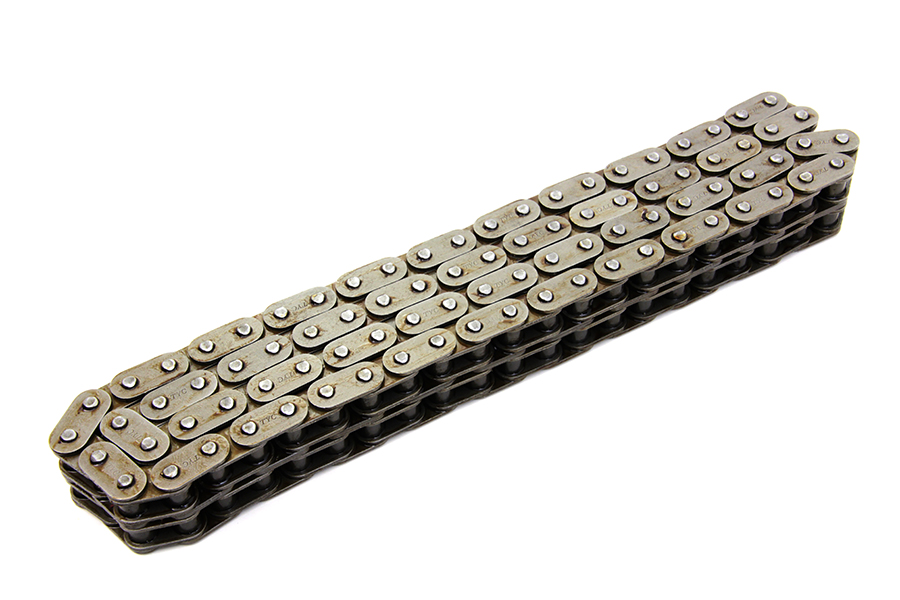
Our catalogue lists a 76-link chain for FLT 1979-2006 (plus a 74-link for 1994-2006) and an 86-link for FLT 2007-up. Confirm fitment for your exact year.
Symptoms on a stop-start bike
Jerky take-up is often the first thing a stop-start rider notices. Chain slap at idle that changes as you pull in the lever is the other classic sign. At fluid changes, flakes on the drain plug magnet confirm wear is happening.
If the clunk comes only at start-up or shut-down on a 2006-up bike, it may be the compensator - a separate, related fault.
Because the clutch also works hard on these bikes, note how the lever feels now. It gives you something to compare against after the job.
Checking a manual-adjuster bike
Remove the inspection cover. The manual gives a COLD figure and a HOT figure. Use the one that matches the engine right now; they are not interchangeable.
Rotate the engine in top gear using the rear wheel, and check slack at several points. Set it at the tightest. Loosen the locknut, move the shoe, re-lock and check again. A shoe at the end of its travel means the chain has stretched past saving.
Checking an automatic bike
Torch through the inspection opening. Look at how deep the chain has grooved the shoe face and whether the chain plates show bright wear where they should not. That is the inspection. Do not pry the tensioner.
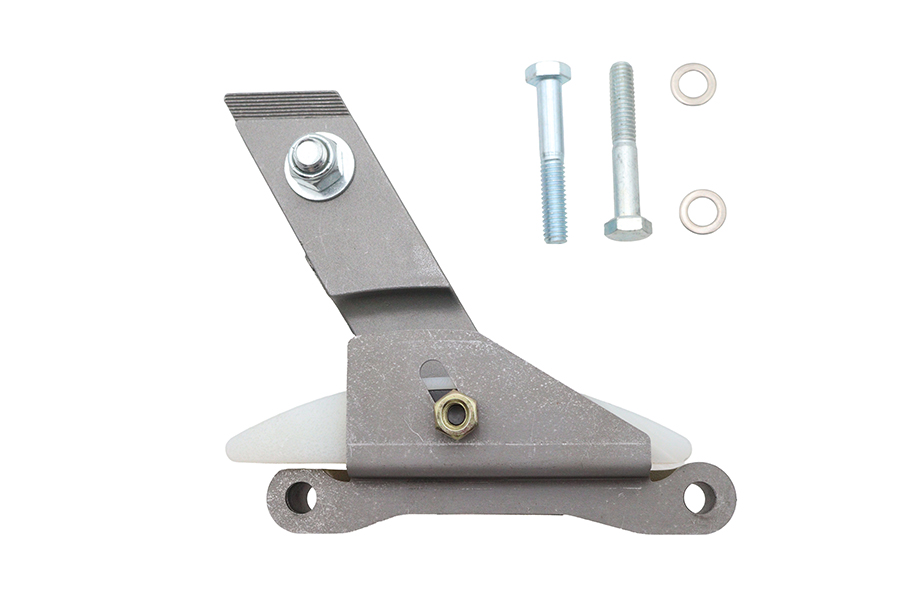
Owners running hard stop-start duty sometimes fit a manual adjuster so they can see and set slack directly. Our catalogue lists 18-8328 for FLT 2007-2016 and the Ultima M8 adjuster 18-1763 for FLT 2017-up.
Replacing the chain
Battery negative off, primary fluid drained. Remove the left floorboard and shift linkage as needed, then the outer primary cover.
Release or retract the tensioner per the manual. Lock the drive with a sprocket locking tool or a wedge between the sprockets. Loosen the compensator nut and clutch hub nut, remembering that the Big Twin clutch hub nut is LEFT-HAND thread.
With an endless chain, sprocket, chain and basket come off together. While the basket is out on a bike with this kind of history, look at the clutch pack's condition too; the clutch has been working as hard as the chain.
Keep tools clear of the alternator rotor behind the compensator - its magnets grab steel.
Idling, heat and the primary fluid
Long periods of idling are part of how this bike is used, and the primary fluid does a lot of work keeping the chain and clutch in good shape through that. Fluid that has been run for a long time loses its ability to do that job.
On a stop-start Electra Glide Standard, consider changing primary fluid more often than a touring bike of the same mileage would need. The manual gives the service interval for normal use; harder duty is a reason to be on the early side of it, never the late side.
When you drain it, compare the fluid with the last change. Darker and with more metal on the magnet than last time means wear is speeding up. That is the moment to open the inspection cover and look, before the chain starts to slap.
Use only the primary fluid the manual specifies. Primary fluid, transmission fluid and engine oil are three different things on a Big Twin, and filling the wrong reservoir is an easy mistake when you are servicing a fleet of bikes in one session.
Reassembly and recording it
Fit the new parts as an assembly. Threadlocker and torque straight from the manual. Set slack at the tightest spot (manual) or reset the tensioner (automatic). New gasket or seal, then the right primary fluid to the level the manual specifies.
Check clutch adjustment, then write the date and mileage in your notebook. On a stop-start bike, a written history is the only way you will know if wear is speeding up.
Test ride with plenty of stops and starts - that is the duty this bike does. Check for leaks and recheck slack cold on a manual adjuster.
Mistakes that cost money
- Judging a fleet bike by mileage alone.
- Checking slack at only one point of the chain.
- Ignoring the clutch while the basket is out.
- Forgetting the clutch hub nut is left-hand thread.
- Not recording when the primary was last serviced.
When to stop
If take-up is so jerky the bike lurches, or there is a lot of metal in the fluid, stop riding it until the primary is opened. A primary that seizes in stop-start traffic is a crash at low speed with other vehicles close by.
Parts for this job
Check fitment for your own model and year before ordering — add your bike and we will flag what fits.
Other Harley how-to guides
This guide covers procedure and judgement. Torque figures, fluid capacities, gaps and tension settings are specific to your model and year and must come from the factory service manual for your motorcycle — we deliberately do not print numbers we cannot stand behind for your bike. Independent aftermarket retailer, not affiliated with Harley-Davidson, Inc.