 HarleyMotorcycleParts
Road Glide Primary Chain: Wear, Big-Inch Upgrades and Replacement
Big miles and big engine upgrades put more load through a Road Glide primary. How to check it, and how to replace it properly.
Road Glides rack up miles, and a lot of them carry a bigger engine than the factory fitted. Both of those things show up in one place first: the primary. Your rear wheel is driven by a belt that wants no lubricant; the chain that wears is the primary chain inside the left case, carrying every bit of engine torque to the clutch. Add cubic inches and you add load to it. That is when shoes groove and chains stretch ahead of schedule.
Tools
- Service manual
- Torch
- Drain pan
- Primary locking tool or wedge
- Torque wrench and breaker bar
- Threadlocker
- New cover gasket or seal
- Correct primary fluid
Which primary you have
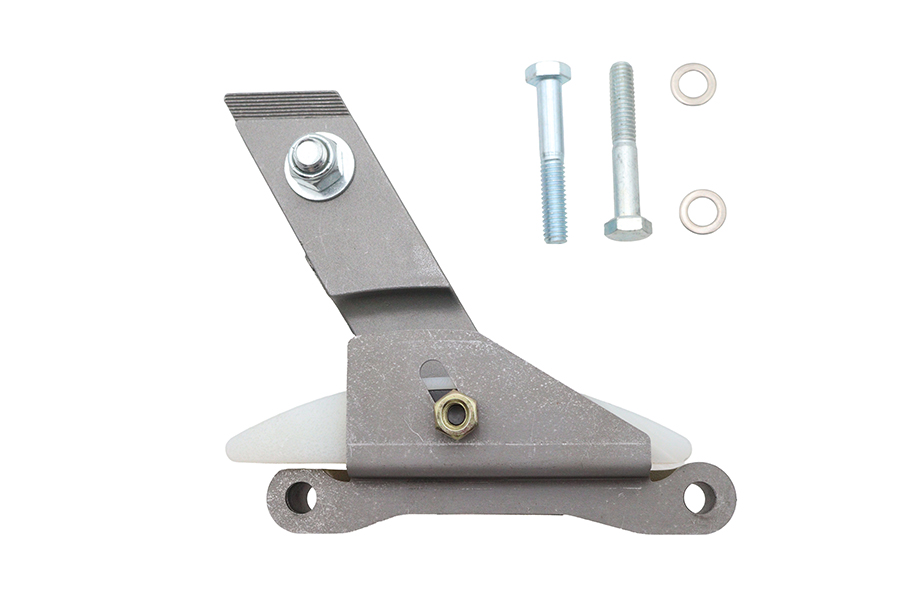
Pre-2007 Road Glides have a manual adjuster: a nylon-faced shoe under the lower chain run that you set by hand. 2007 to 2016 bikes have the Twin Cam automatic hydraulic tensioner. 2017-up bikes have the Milwaukee-Eight version, also automatic.
The fairing is mounted to the frame, but it does not stand between you and the primary. The left floorboard and shift linkage are what you work around.
Upgraded engines and the primary
If the bike has had a stage kit or a big-bore upgrade, assume the primary has been working harder than stock and inspect it more often. More torque through the same chain and shoe means faster wear, and the automatic tensioner can only compensate for so much.
Signs the primary is losing: a slap at idle that changes with the clutch lever, jerky take-up when you roll on hard from a stop, a shoe grooved through its face, or metal flake on the drain plug magnet. On a manual bike, a chain stretched past the end of the adjuster's range is the final word.
A start-up or shut-down clunk on a 2006-up bike can be the compensator instead. Related, different fault; worth a separate look.
Inspecting a manual-adjuster Road Glide
Remove the chain inspection cover. The manual gives a COLD and a HOT free-play figure; match the one you use to the engine's actual temperature.
Put it in top gear and rotate the engine with the rear wheel, checking slack at several points. Set it at the tightest spot. A chain set tight at a loose spot runs over-tight elsewhere.
Loosen the locknut, move the shoe, re-lock, recheck.
Inspecting an automatic Road Glide
Look rather than adjust. Torch in through the inspection opening, check the shoe face for grooving depth and the chain for wear marks on its plates.
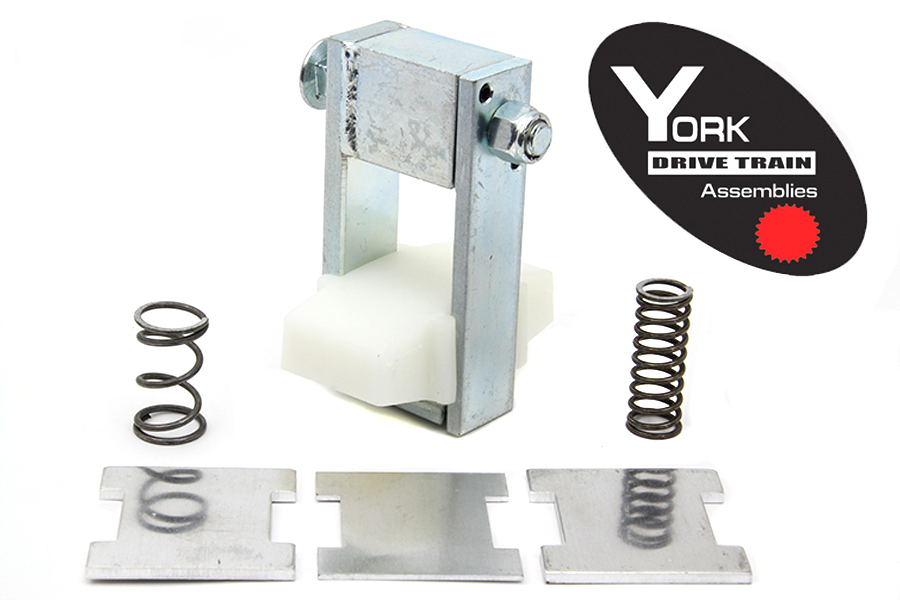
On high-mile or upgraded bikes, many owners fit a manual adjuster so they control the slack directly. Our catalogue lists 18-8328 for FLT 2007-2016 and the Ultima M8 adjuster 18-1763 for FLT 2017-up. Check fitment first.
The replacement job
Disconnect the battery negative. Drain the primary fluid into a pan and look at it; dark, metallic fluid is evidence. Remove the left floorboard and shift linkage as needed, then the outer primary cover.
Release or retract the tensioner the way the manual describes for your type. Lock the primary with a sprocket locking tool or a wedge between the sprockets. Loosen the compensator nut and the clutch hub nut. The Big Twin clutch hub nut is LEFT-HAND thread.
The stock chain has no master link, so the engine sprocket, chain and clutch basket come off together as an assembly. Mind the alternator rotor behind the compensator: its magnets grab tools.
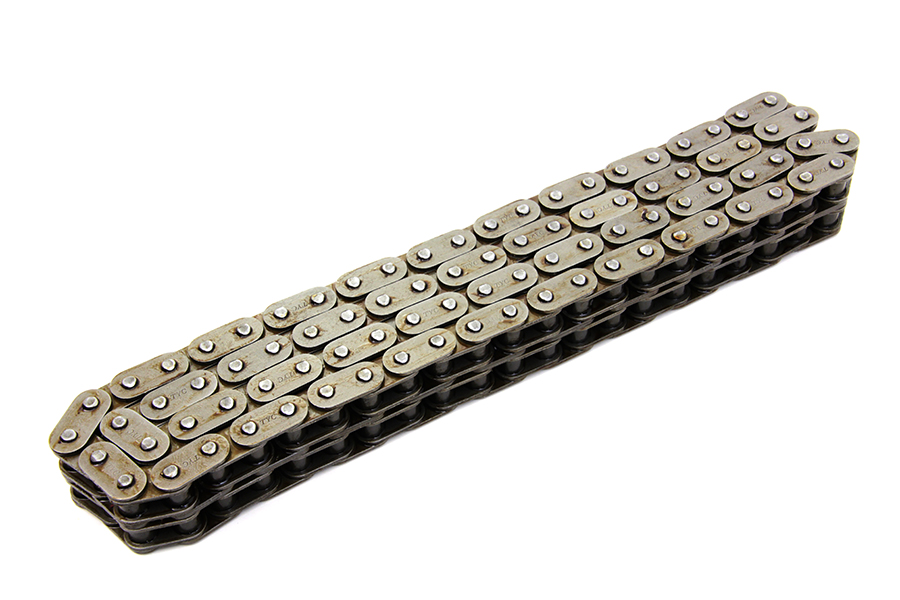
Our catalogue lists a 76-link chain for FLT 1979-2006, a 74-link for FLT 1994-2006, and an 86-link for FLT 2007-up. Use them as a starting point and confirm by fitment and the manual.
Reassembly on a hard-worked bike
With upgraded torque in the mix, this is not the job to rush. Clean threads, apply the threadlocker the manual specifies and torque every nut to its figure. Set the slack (manual) or reset the tensioner (automatic). New gasket or seal, then the correct primary fluid to the level the manual gives.
Check clutch adjustment. A big-inch Road Glide is often carrying a heavier clutch spring or an upgraded clutch, so confirm what is fitted before assuming stock settings.
Choosing parts for a bike that makes more power
If the engine has been built up, ask what else was changed at the same time. Some builders fit a heavier clutch spring or a different clutch with a big-inch kit, and some change the compensator. Know what is in there before you order, because the replacement sprocket and basket have to suit what is actually fitted, not what the bike left the factory with.
Take photographs of every part as it comes off, especially if anything looks aftermarket. Compare the old sprocket and basket with the new ones on the bench, tooth count and fit, before anything goes back in.
Think about whether the automatic tensioner is still the right answer. On a stock Road Glide it is designed to do the job on its own. On a hard-launched, big-inch bike some owners prefer a manual adjuster so they can check and set the slack at every service. Either way, the primary on a modified Road Glide deserves a look every time the fluid comes out, not just when it starts to make noise.
After the first miles
Short ride first, listening at idle with the lever in and out. Check for leaks at the cover. On a manual adjuster, recheck slack cold after that ride. On an upgraded engine, put the primary on your regular inspection list rather than waiting for noise.
Mistakes that cost money
- Ignoring the primary after a big-inch engine upgrade.
- Treating a compensator clunk as a chain problem.
- Ordering a chain by model name without checking year.
- Turning the left-hand clutch hub nut clockwise to undo it.
- Assuming stock clutch settings on an upgraded bike.
When to stop
If the fluid comes out full of metal or the shoe is gone to the bracket, stop and inspect sprockets, basket and case before fitting new parts. New chain on damaged sprockets is wasted money, and a seized primary at speed is a crash.
Parts for this job
Check fitment for your own model and year before ordering — add your bike and we will flag what fits.
Other Harley how-to guides
This guide covers procedure and judgement. Torque figures, fluid capacities, gaps and tension settings are specific to your model and year and must come from the factory service manual for your motorcycle — we deliberately do not print numbers we cannot stand behind for your bike. Independent aftermarket retailer, not affiliated with Harley-Davidson, Inc.