 HarleyMotorcycleParts
2018-up Street Bob (FXBB) Primary Chain: M8 Softail, Not the Dyna
Half the advice online is for the old Dyna Street Bob. Here is the M8 Softail primary, inspected and replaced properly.
Your FXBB does not have a rear chain: the back wheel is driven by a belt. The chain that wears is the primary, inside the left case between the engine and clutch. The trap with this bike is the name. Search 'Street Bob primary' and much of what you find was written about the Dyna Street Bob, a different frame with a different primary. Parts and procedures from that bike will lead you wrong.
Tools
- M8 Softail service manual for your year
- Drain pan
- Primary locking tool
- Torque wrench
- Breaker bar
- Specified threadlocker
- New primary cover gasket or seal
- Correct primary fluid
Make sure it is an FXBB
Check the model code on your paperwork. FXBB is the 2018-up Softail with a Milwaukee-Eight engine. FXDB is the Dyna, which ended in 2017. They share a name and a style and very little in the primary case.
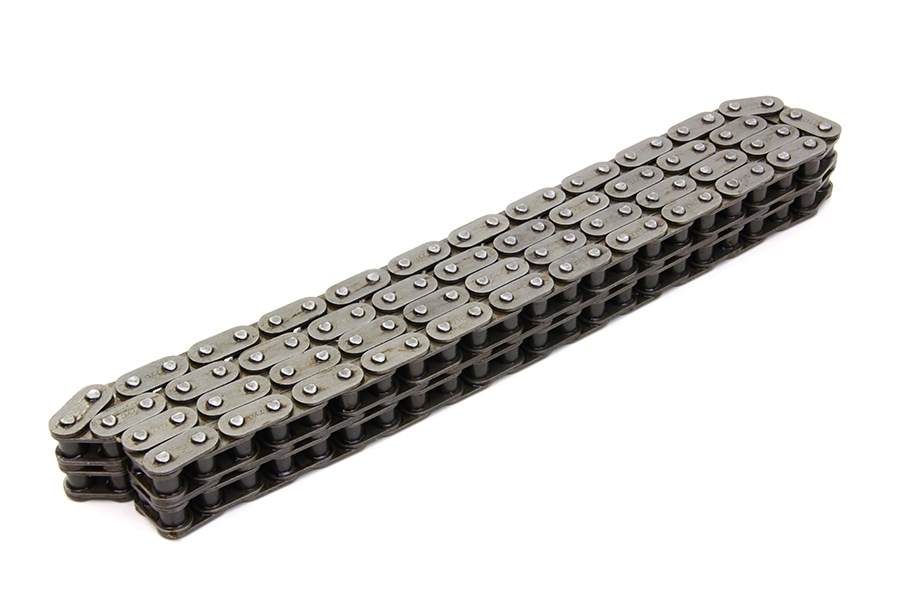
Every FXBB has an automatic tensioner. There is no routine adjustment and no inspection-cover slack check of the sort older Softails use. Our catalogue lists a 92-link chain for FLST/FXST 2007-up; verify it for your FXBB in the manual before buying.
Stage upgrades and the primary
Street Bobs are a favourite platform for stage kits: intake, exhaust, cam, tune, sometimes more. Each step raises torque, and all of it goes through the primary chain and tensioner on its way to the clutch. A primary built around stock power now has more to cope with.
If your bike has been upgraded, inspect the primary more often than you would on a stock one. Write down the mileage when the upgrade went in, so you know how long the primary has carried the extra load.
Ask the shop that did the work, or the seller, exactly what was fitted. A stage kit that included clutch parts changes what you will find behind the cover, and it changes which instructions apply when it goes back together.
Ordering for an FXBB
Search and filter by model code and year, not by the name on the tank. When a listing says Street Bob without a year range, check its fitment against FXBB and 2018-up before you buy; a part listed only for FXD or FXDB is for the Dyna.
Build the whole order at once: chain, shoe if your inspection says so, cover gasket or seal, threadlocker and the correct primary fluid. If you are considering the manual adjuster, decide before you open the case, so you only take it apart once.
Keep the old parts until the bike has been ridden and checked. If something does not look or fit the same as what came out, the old part is the best reference you have. Bag them, label them with the date and mileage, and only bin them once the new primary has proved itself.
Symptoms worth acting on
Listen for slapping or rattling from the left side at idle that changes when you pull the clutch lever. Feel for snatchy, jerky take-up. Look at the drain plug magnet at fluid changes; flakes are the warning sign.
A clunk at start-up or shutdown is possibly the compensator, the device on the engine sprocket. It is a related fault and worth mentioning to whoever looks at it, but this page will not diagnose it.
Pay attention to when the noise started. A rattle that appeared soon after a stage upgrade is telling you something different from one that crept in slowly over many miles. The first suggests the primary is struggling with the new load; the second is ordinary wear. Either way, open it and look, but your notes on timing help whoever reads the parts afterwards.
The inspection
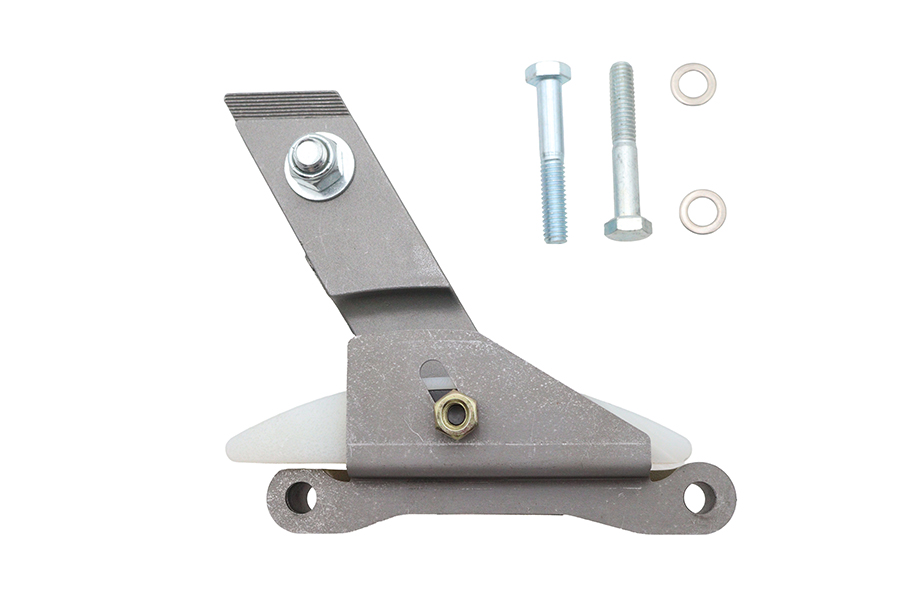
On the FXBB, inspection means the tensioner shoe and the chain. Use the access the manual describes, look for grooves worn into the shoe face and any damage on the chain, and judge it against the manual's limits.
Some owners of tuned bikes fit a manual adjuster so they control slack directly. Our catalogue lists 18-1763, the Ultima M8 adjuster, for FXST/FLST 2018-up. It is a commitment: from then on you check slack at the tightest spot, cold or hot per the manual, on a schedule.
Pulling the primary apart
Disconnect the battery negative. Drain the primary fluid. Remove the left footpeg and shifter linkage if they are in the way on your mid-control setup, marking the shift lever position before it comes off.
Remove the outer primary cover, expecting to replace its gasket or seal with the type the manual specifies. Retract the automatic tensioner and secure it with the retaining method in the manual.
Lock the primary with a locking tool or a wedge between the sprockets. Loosen the compensator nut and then the clutch hub nut. The clutch hub nut is LEFT-HAND thread, so it loosens clockwise.
The stock chain is endless. The engine sprocket, chain and clutch basket therefore come off as one assembly. Mind the alternator rotor behind the compensator; its magnets will catch dropped tools.
Rebuilding for the power you make
Replace the chain, and the shoe if it shows real wear; on a tuned bike, it often does. Refit the assembly, apply threadlocker and torque the compensator and clutch hub nuts to the manual's values. Release the tensioner as instructed.
Fit the new gasket, close the cover and refill with the primary fluid the manual names, to the level it gives. Do not top up with engine oil or transmission fluid; the primary has its own.
Check clutch adjustment. If your stage upgrade included clutch changes, follow the instructions for those parts as well as the manual.
Ride, listen, log
Start it, listen at idle, then ride through every gear without hammering it. Check for leaks afterward. Log the mileage of the primary job next to your upgrade notes, so the next inspection has a reference point.
Give the new parts a gentle few rides before you use the full stage-kit torque. Then, at the next primary fluid change, read the magnet and compare it with what you found this time. A clean magnet on a tuned FXBB is the result you are after.
Mistakes that cost money
- Following Dyna Street Bob instructions on an FXBB.
- Ordering parts by the Street Bob name without checking the model code.
- Treating a tuned bike's primary on the same schedule as a stock one.
- Loosening the clutch hub nut anticlockwise.
- Topping up the primary with engine oil.
When to stop
If the parts you bought do not match what you find inside the case, stop before forcing anything. That usually means Dyna parts on a Softail, and nothing about it will fit safely.
Parts for this job
Check fitment for your own model and year before ordering — add your bike and we will flag what fits.
Other Harley how-to guides
This guide covers procedure and judgement. Torque figures, fluid capacities, gaps and tension settings are specific to your model and year and must come from the factory service manual for your motorcycle — we deliberately do not print numbers we cannot stand behind for your bike. Independent aftermarket retailer, not affiliated with Harley-Davidson, Inc.