 HarleyMotorcycleParts
Fat Bob (FXFB) Primary Chain: Should You Fit a Manual Adjuster?
Every 2018-up Fat Bob has an automatic tensioner, and owners keep asking about manual adjusters. The honest answer, plus the full chain job.
The Fat Bob's rear wheel is driven by a belt, so there is no rear chain to oil or replace. The chain that matters lives in the primary case on the left: engine sprocket to clutch, running in its own fluid. Because the Fat Bob is built for aggressive riding and hard launches, its owners are the ones most likely to ask whether they should throw out the factory automatic tensioner and fit a manual adjuster. Here is how to decide, and how to do the job either way.
Tools
- M8 Softail service manual
- Drain pan
- Primary locking tool or sprocket wedge
- Torque wrench
- Breaker bar
- Threadlocker per the manual
- New primary gasket or seal
- Specified primary fluid
- Adjuster kit instructions, if converting
What the factory fitted
Every 2018-up Fat Bob has an automatic tensioner: a spring-loaded unit that keeps the shoe against the chain without any routine adjustment. That is why the Fat Bob owner's manual does not ask you to set slack through an inspection cover the way older Softails did.
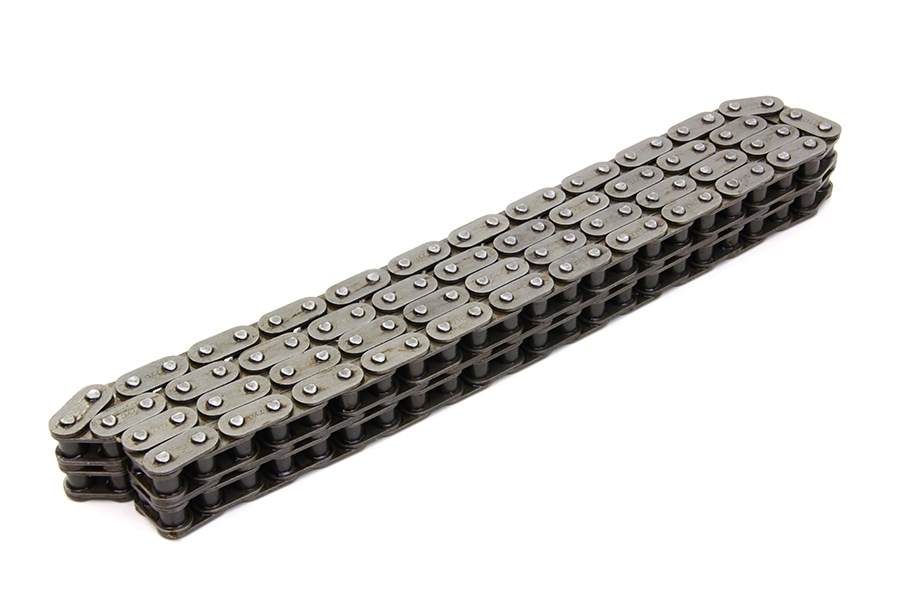
Make sure you are working on the right bike. A Dyna Fat Bob from before 2018 shares the name and nothing in this case. Our catalogue lists a 92-link chain for FLST/FXST 2007-up; confirm it for your FXFB in the manual.
Signs the primary is suffering
Hard launches load the chain abruptly, and the shoe absorbs it. Listen for a slap or rattle from the left side at idle that changes when you pull the clutch in. Feel for jerky take-up in town. Check for flakes on the drain plug magnet at every primary fluid change.
A clunk at start-up or shutdown points at the compensator rather than the chain. It is a neighbouring fault in the same case; keep it in mind, but do not let it drive your parts order.
The manual-adjuster question, answered straight
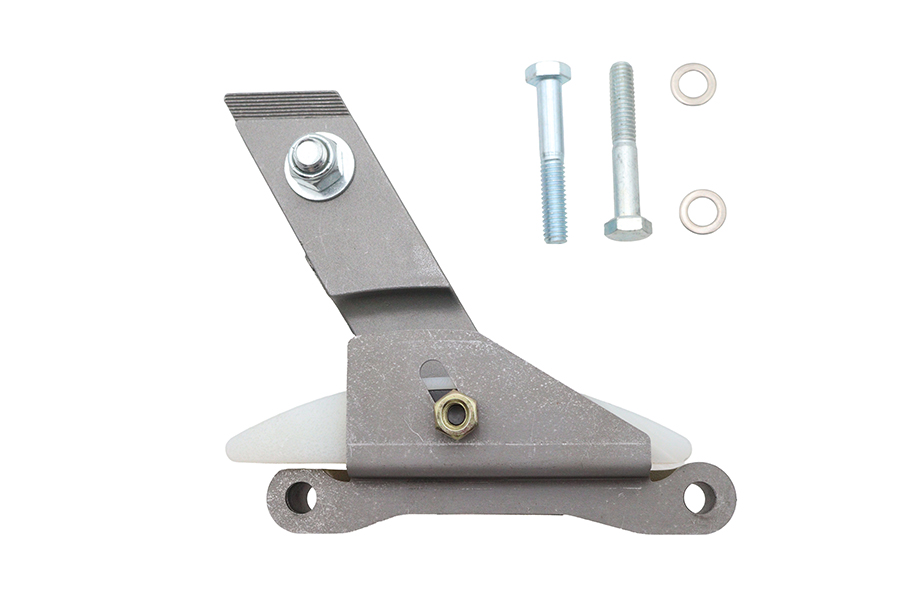
Our catalogue lists the Ultima 18-1763 M8 adjuster for FXST/FLST 2018-up. It replaces automatic tension with a shoe you set by hand.
The case for it: you control the slack, and you are not relying on a spring-loaded part working under the abuse a Fat Bob gets. The case against: you have taken on a maintenance job the factory designed out. Once fitted, slack must be checked at the tightest spot, to the figure and conditions given in the instructions and your manual, on a schedule. Forget, and a manual adjuster lets the chain run slack with nothing to take it up.
If you ride hard and you will check it, the conversion makes sense. If you want to forget the primary between fluid changes, keep the automatic tensioner and inspect the shoe.
One practical point: the conversion is easiest when the primary is already apart for a chain or shoe. Fitting it as a standalone job means doing most of the teardown anyway, so if your chain is due, decide on the adjuster before you open the case.
Inspecting the stock tensioner
With the access your manual describes, look at the shoe for grooves and wear and at the chain for damage. Compare against the manual's limits. A heavily worn shoe on a bike with modest mileage tells you how hard it has been ridden, and it is useful evidence when you weigh the conversion.
Do this inspection before you buy anything. Too many Fat Bob owners order an adjuster because a forum thread said so, then find their stock shoe is barely marked. The bike's own wear tells you more about your riding than any thread does.
Getting into the case
Disconnect the battery negative. Drain the primary fluid and read the drain plug magnet before you clean it. Remove the left footpeg and shifter linkage as needed for access, marking the shifter position first.
Take off the outer primary cover; it gets a new gasket or seal, of the type in the manual. Retract the automatic tensioner and secure it with the manual's retaining method.
Lock the primary with a locking tool or wedge. Break loose the compensator nut and the clutch hub nut. The Big Twin clutch hub nut is LEFT-HAND thread. Get that wrong with a long breaker bar and the job ends badly.
Chain swap, with or without conversion
The stock chain is endless, so the engine sprocket, chain and clutch basket come off together. Keep loose tools well away from the alternator rotor behind the compensator; its magnets will grab them.
If converting, fit the manual adjuster now, following its own instructions together with the manual. Refit the sprocket, new chain and basket as an assembly. Use threadlocker and torque the compensator and clutch hub nuts to the manual's figures.
Then either release the automatic tensioner as the manual describes, or set the new manual adjuster at the TIGHTEST spot you can find by rotating the engine in top gear. Check several points, not two; the first setting on a new chain is the one every later check is compared against, so get it right.
New gasket, cover on, and refill with the correct primary fluid to the manual's level. Not engine oil; not transmission fluid.
After the job
Check clutch adjustment, then ride gently through every gear and look for leaks. If you converted, recheck slack after the first rides and write the date and mileage down. That note is now part of owning the bike.
Living with the choice
A converted Fat Bob needs a routine. Put a slack check on the same list as tyre pressures and the primary fluid change, and do it at the tightest spot every time, with the engine at the temperature the instructions call for. A new chain settles fastest early on, so the first checks come closer together than later ones.
A stock Fat Bob needs a different routine: the drain plug magnet at every primary fluid change, and a look at the shoe whenever the manual's access allows. If the shoe shows heavy wear again soon after replacement, that is the moment to revisit the conversion question with real evidence in hand.
Either way, keep the paperwork. Note which adjuster is fitted, when it went in, and what you set it to. A later owner, or a shop, opening the primary needs to know whether to look for a tensioner or an adjuster, and it saves a nasty surprise for whoever retracts a tensioner that is not there.
Mistakes that cost money
- Fitting a manual adjuster and then never checking it.
- Using Dyna Fat Bob parts or instructions on the 2018-up FXFB.
- Setting a manual adjuster at a loose spot instead of the tightest one.
- Turning the left-hand-thread clutch hub nut the wrong way.
- Blaming the chain for a start-up clunk that may be the compensator.
When to stop
If you have converted and cannot get consistent slack readings round the chain, or the shoe runs out of travel, stop and find out why before riding. Uneven slack can mean damaged sprockets or a chain that is already finished.
Parts for this job
Check fitment for your own model and year before ordering — add your bike and we will flag what fits.
Other Harley how-to guides
This guide covers procedure and judgement. Torque figures, fluid capacities, gaps and tension settings are specific to your model and year and must come from the factory service manual for your motorcycle — we deliberately do not print numbers we cannot stand behind for your bike. Independent aftermarket retailer, not affiliated with Harley-Davidson, Inc.