 HarleyMotorcycleParts
Low Rider S Primary Chain: When More Power Means More Wear
Low Rider S owners add power, and power wears primary parts. Inspection habits, warning signs and a full chain replacement.
Nobody changes the rear chain on a Low Rider S, because it does not have one. The rear wheel is belt driven. The wearing chain on this bike is the primary, running between engine and clutch inside the left-side case in its own fluid. And on this particular Softail, wear is not a theory: the Low Rider S is the performance model, owners add power to it, and the extra torque goes straight through the primary chain and tensioner shoe.
Tools
- M8 Softail service manual for your year
- Notebook for a mileage log
- Drain pan
- Primary locking tool
- Torque wrench
- Specified threadlocker
- New primary cover gasket or seal
- Correct primary fluid
Know what you are working on
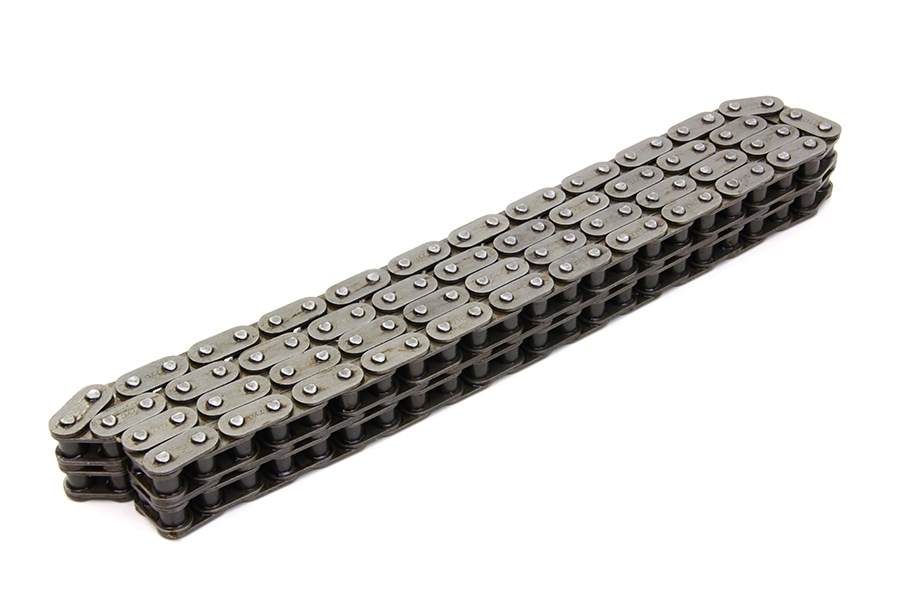
Your FXLRS is an M8 Softail with an automatic tensioner. No routine adjustment, no hot-and-cold slack ritual. Inspection is the routine job, and replacement is the repair. Our catalogue lists a 92-link chain for FLST/FXST 2007-up; confirm it in your manual.
Do not mix this bike up with the Dyna Low Rider S. That is a different frame and a different primary, and parts for it will not belong here.
Build an inspection habit
The most useful tool for a modified Low Rider S is a notebook. Write down the mileage when each power upgrade went in, and the mileage every time the primary is drained or opened. Then you can see how fast wear arrives on your bike rather than guessing.
At every primary fluid change, read the drain plug magnet. Fine grey paste is normal. Flakes, or more paste than last time, say the primary is working harder than it should. Note it in the log.
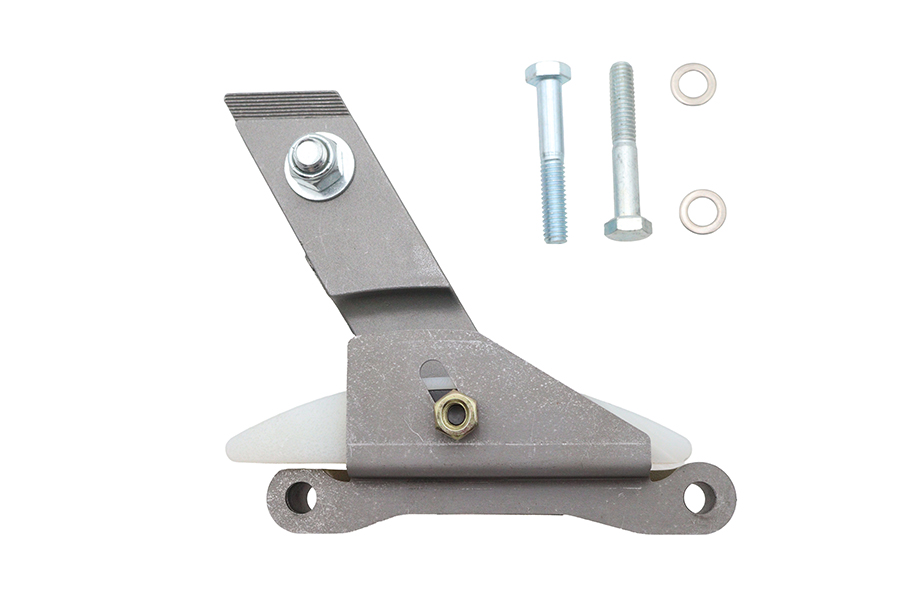
Whenever the access in your manual lets you see the shoe, look at it. Grooves worn into the face show it is controlling a chain that has more slack than it would like.
What the bike will tell you
Primary trouble sounds like a slap or rattle from the left at idle that changes when you squeeze the clutch lever. It feels like jerky take-up as you pull away. On a modified bike, both can arrive sooner than you expect.
A clunk as the engine starts or stops is not necessarily the chain; it can be the compensator, which also lives in the primary and also feels extra torque. It is a separate diagnosis.
Changes matter more than absolutes. You know how your Low Rider S sounds at idle on a cold morning. If that sound has picked up a new rattle, or the take-up from first gear feels different from last month, that change is your cue to look, even before the magnet or the shoe tells you anything.
Clutch upgrades can confuse the picture. A heavier or different clutch can change take-up feel on its own, so if you have changed the clutch, judge jerky take-up against how the bike felt after that change, not against stock.
Manual adjuster or stock?
Plenty of power-upgraded M8s get a manual adjuster. Our catalogue lists the Ultima 18-1763 M8 adjuster for FXST/FLST 2018-up. It puts slack in your hands, which suits riders who will actually check it; it also means slack must be checked regularly at the tightest spot, to the figure and conditions the instructions and manual give.
If you would rather not, keep the automatic tensioner, keep the log, and replace the shoe when the inspection says so.
What to replace while you are in there
Opening the primary is the expensive part of this job in time. The parts themselves are the smaller cost, so think about the whole assembly rather than the chain alone. A new chain running against a grooved shoe or on hooked sprocket teeth will wear far faster than it should, and on a bike making extra torque that wear arrives quickly.
Look at the sprocket teeth on the engine side and on the clutch basket. Teeth that look hooked or sharpened, or that show a shiny wear line on one side, have done their time. Look at the shoe face and its mounting. Look at the inner face of the cover for any rubbing marks.
Then make a decision based on what you see, not what you hoped to spend. If the shoe and sprockets are good, a chain alone is fine. If they are not, replacing them now saves you opening the case again in a few thousand miles.
Replacement procedure
Battery negative off. Drain the primary fluid. Remove the left footpeg and shifter linkage as your manual requires, marking the shifter first. Remove the outer primary cover; a new gasket or seal goes on later, of the type the manual lists.
Retract and retain the automatic tensioner as described in the manual. Lock the primary with a sprocket locking tool or a wedge between the sprockets. Loosen the compensator nut and then the clutch hub nut. The clutch hub nut on a Big Twin is LEFT-HAND thread.
The factory chain is endless, so the engine sprocket, chain and clutch basket come off as one. The alternator rotor sits behind the compensator, and its magnets will collect dropped parts; keep the area clean.
Replace the chain and, on a hard-used bike, think seriously about the shoe at the same time. Reinstall the assembly, apply threadlocker and torque both nuts to the manual's values. Release the tensioner per the manual, or set the manual adjuster at the tightest spot if you have fitted one.
Cover on with its new gasket, then refill with the primary fluid the manual specifies, to the level it gives. That fluid is separate from engine oil and transmission fluid.
Clutch check and shakedown
Check clutch adjustment; the job will have disturbed it, and an upgraded clutch may have its own instructions. Ride gently through every gear, then check for leaks.
Log the date and mileage. Next fluid change, compare the drain plug magnet with what you saw this time.
If more power is planned, put the primary on the list for that project rather than treating it as an afterthought. Whoever builds your next stage should know the primary's history from your log. A chain with plenty of life left at stock power may not have that much left once the next upgrade goes in, so judge it against where the bike is going, not where it has been.
Mistakes that cost money
- Adding power without changing how often the primary is inspected.
- Keeping no record of mileage at upgrades and primary services.
- Ordering Dyna Low Rider S parts for the M8 FXLRS.
- Turning the clutch hub nut anticlockwise.
- Fitting a new chain against a badly grooved shoe.
When to stop
If the magnet comes out heavily coated or the shoe is worn into its backing, take the bike off the road until the primary is apart. A primary failure on a high-torque bike can damage far more than a chain.
Parts for this job
Check fitment for your own model and year before ordering — add your bike and we will flag what fits.
Other Harley how-to guides
This guide covers procedure and judgement. Torque figures, fluid capacities, gaps and tension settings are specific to your model and year and must come from the factory service manual for your motorcycle — we deliberately do not print numbers we cannot stand behind for your bike. Independent aftermarket retailer, not affiliated with Harley-Davidson, Inc.