 HarleyMotorcycleParts
Ultra Limited (FLHTK) Shocks: Spring Rate and Load Come First
The heaviest regular dresser leaves little room for a wrong spring. Answer the load questions, then the wrench job almost looks after itself.
Ask around about shocks for an Ultra Limited and people will quote you brands. Wrong question. This is the heaviest of the regular dressers, wearing a full Tour-Pak and lowers and usually a tall passenger load, and that means spring rate and load rating decide the outcome. If the spring is wrong, no valve or knob setting can rescue it. Everything else on the spec sheet comes after that.
Tools
- Scale
- Helper and passenger
- Tape measure
- Well-rated frame lift
- Jack for swingarm
- Sockets
- Torque wrench
- Shock pump if air
- Service manual
Five questions to answer before ordering
What do you weigh, dressed to ride? Do you carry a passenger, and how often? What is in the Tour-Pak and bags on a typical trip, measured on a scale? Are you within the bike's load limit in the manual? And which load do you ride most: daily use or the big annual tour?
Your answers give you a working figure. Find a shock whose stated rating covers that figure, with an adjustment range that also covers your lighter days. If a maker will not state a load range for this bike, you have no way to judge the product.
Then compare fit details. The Limited and its low sibling are not the same length, and a Touring listing is not automatically a listing for your code.
Does your existing setup deserve a chance?
Pack for a real trip, get your passenger aboard, then measure. Rider sag is the difference between the fully extended reading and the loaded reading, taken axle to a fixed mark. Your manual lists what is acceptable.
Sitting too deep? On air shocks, add pressure within the manual's limit. On M8 bikes, use the knob on the left shock if yours has it. You are repositioning the bike in its travel, and the spring itself stays as it was. If you cannot get into range, you have your proof that the current spring is short of what you need.
Setting the heavyweight up safely
Empty all the luggage. Weight kept high and rearward is the last thing you want with the bike in the air.
Off come the saddlebags. Decide after looking whether the Tour-Pak stays; remove it if it blocks your hands or your manual requires it.
Look at the rear tire and belt while the bags are off and the view is open. A heavy dresser that has been riding low can show rubbing marks, and you would prefer to find those before the new parts go on, not afterward. Note anything you see, as it may tell you how often the old shocks were bottoming on the road.
Confirm your lift's rating against this bike's weight. Position it beneath the frame, clear of exhaust parts, then raise it a bit, stop, push on the bike, and carry on only when it feels planted.
Offer the jack to the swingarm with light contact.
Older bikes: bleed down through the valve and release the shared line. Newer bikes: read how the manual removes any adjuster.
Working the pair
On the first side, take a clear picture. If your bike falls in the 2014-2016 window, compare the right shock against bulletin M-1386A, since reports exist of factory-reversed units.
Loosen the lower mount, then the upper. Slide the shock away and set its spacers down in order.
Mass wears mounts. Press on the bushings, feel for slack, and reject any with cracks or a worn-out bore. Study the frame and swingarm sides for elongation or thread trouble. Better to wait for a part than bolt a good shock to a bad point.
Put the new part on from the upper mount downward. Align the lower by creeping the jack up or down, start the threads by hand, and tighten to your manual's value, not to feel. Heavy bikes do not forgive a guessed number in either direction.
Then do side two, with side one fully tightened. Reconnect the air or adjuster and study the route it takes.
Testing against the five answers
Bags back on, Tour-Pak if removed, and then get it down on its wheels. Push the rear down to check nothing touches.
Sag it at your most common load, and again at your heaviest. Those two settings should both sit within the adjuster's range without resting at the end of it. Write them inside the Tour-Pak lid.
Ride alone first at street speed, then loaded. On that loaded ride, look for squat under acceleration, for bottoming over a sharp bump, and for wallow in a long bend. If the headlight now sits differently, have it re-aimed.
Recheck each fastener when you return. Then look at the mounts once again after the first full day of touring, as that is when a heavy bike tests your work.
Mistakes that cost money
- Shopping by brand instead of by load rating.
- Estimating luggage weight.
- Ordering a kit listed for the low model.
- Running an adjuster at its limit and calling it set up.
- Trusting a lift whose capacity you have not confirmed.
When to stop
If you are over the load limit in the manual, no shock on earth makes that safe. Cut the load. Brakes and tires have limits as well, and they are not improved by better springs.
Parts for this job
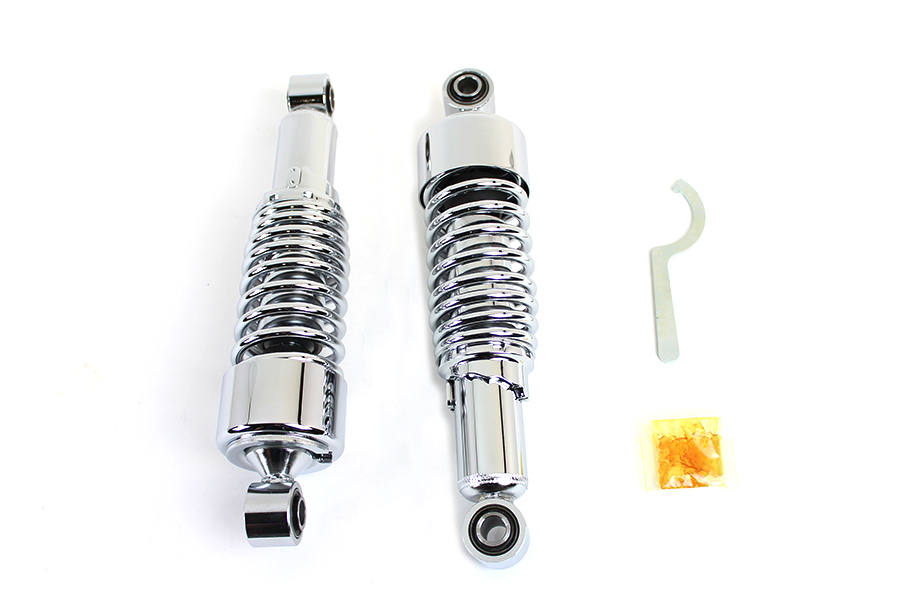
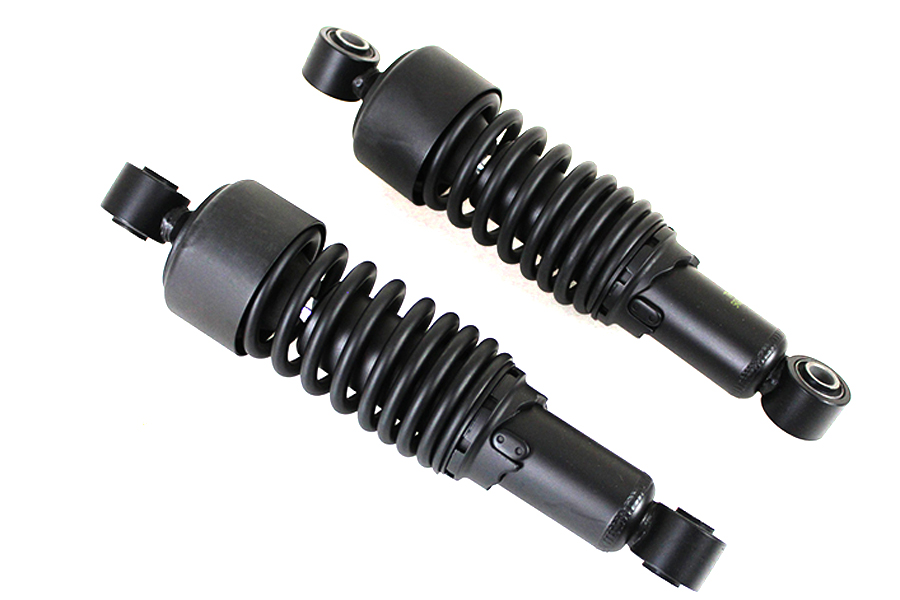
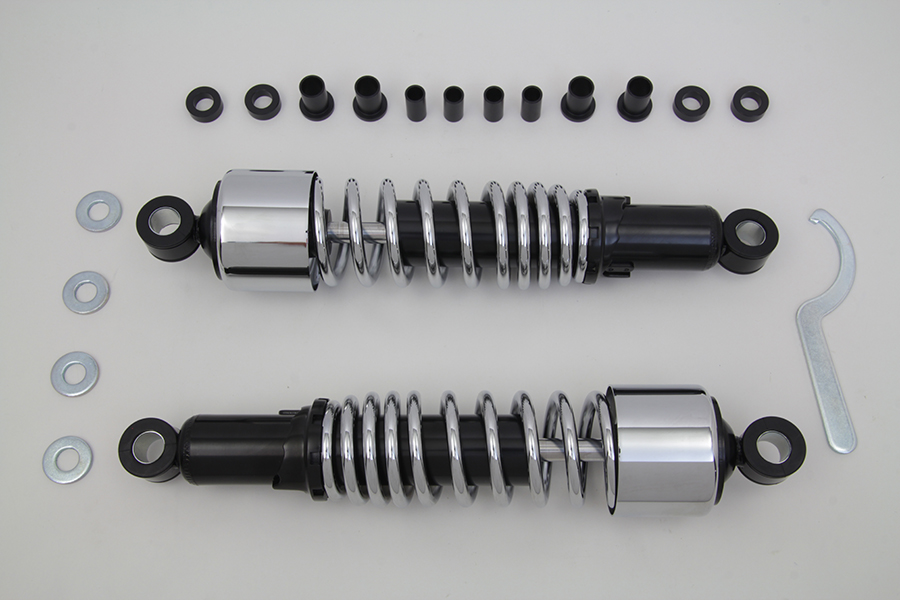
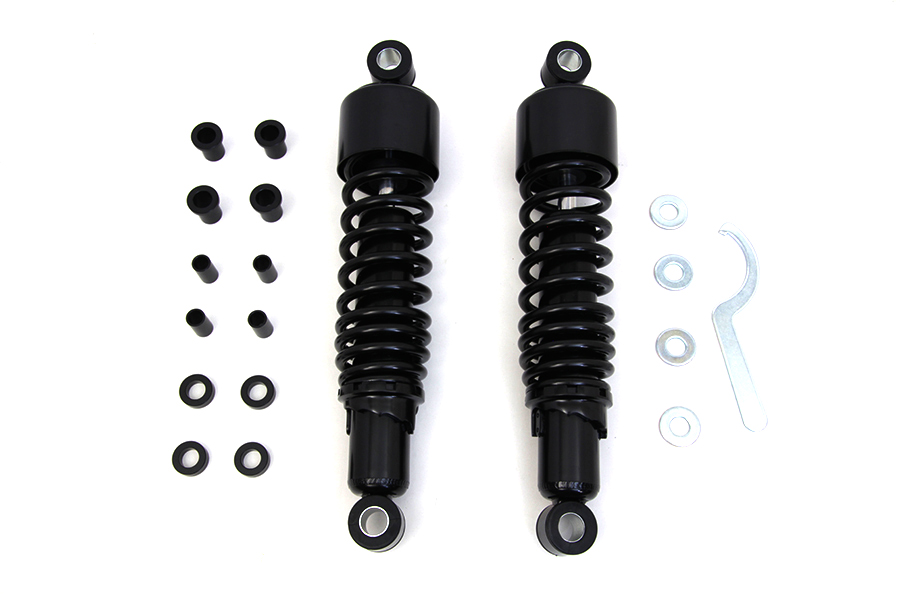
Check fitment for your own model and year before ordering — add your bike and we will flag what fits.
Other Harley how-to guides
This guide covers procedure and judgement. Torque figures, fluid capacities, gaps and tension settings are specific to your model and year and must come from the factory service manual for your motorcycle — we deliberately do not print numbers we cannot stand behind for your bike. Independent aftermarket retailer, not affiliated with Harley-Davidson, Inc.