 HarleyMotorcycleParts
Shock Choice and Fitting for a Road Glide Ultra (FLTRU) With a Tour-Pak
What sits behind the axle matters more than what the shock looks like. Do the load sums, then do the wrench work.
People shop for shocks on this bike by chrome, reviews and how a friend's bagger rode. None of that accounts for the box on the back. A Road Glide Ultra carries a Tour-Pak and often a passenger, and that weight sits high and behind the rear axle, where it does the most work on the springs. Get the spring rating right for your load first; appearance can come a long way second.
Tools
- Scale for packed cases
- Tape measure
- Helper plus passenger
- Wrenches, sockets and torque wrench
- Solid frame lift
- Swingarm jack
- Service manual
Why weight behind the axle counts for more
Weight placed between the wheels gets shared across both. Weight behind the axle levers down on the rear and lightens the front a little. On this machine, ten pounds in the top case is not the same as ten pounds in your jacket pocket.
So load matters here in a way that does not apply to a stripped bagger. A shock that seems plush in a showroom on an empty bike can wallow, squat and bottom as soon as the case is packed.
Doing the sums
Write out a typical trip weight. Rider, passenger, gear, each saddlebag, and the Tour-Pak contents. Weigh those cases as you actually pack them. Compare that total with your manual's load limits as well as the shock maker's stated range, and if you are exceeding a limit, unpack before buying anything.
A shock's rating needs to match that real-world figure. If you have to crank the adjuster to its stop just to reach acceptable sag, the spring is too light for what you ask of it.
Also check the fit notes for your exact model. Standard and low Touring bikes have different lengths and travel, so the wrong part may bolt on and still be wrong.
Unloading and securing
Empty the Tour-Pak and both saddlebags completely. There is no reason to lift a bike with luggage up high, where it makes the machine less stable.
Take the saddlebags off the bike, which is required for access. Look at whether the top case and its mount get in your way. Generally it can stay if empty, but take it off if your manual directs you to or it blocks access.
Engage the lift under the frame, keeping well away from the pipes. Remember there is still a lot of mass high up at the rear, so test stability from both sides before getting beneath anything.
Bring a jack up under the swingarm until it just contacts. It acts as a safety net when the first shock lets go.
Swapping shocks on a heavy tail
See what you have. Most M8 models have a preload knob at the left shock, so yours likely will; follow the manual's method for releasing it. An earlier air bike needs to be bled at the valve and the line released, which you should do before touching any mount.
Pictures now. Get the orientation, the washer stack, and the adjuster routing. Then remove the bottom fastener and the top one, and bring the shock out.
A bike that has carried a heavy load for years tends to punish its mounts. Check the bushings for splits and wallowed holes. Look for marks on the swingarm mount and on the frame side. Replace anything doubtful, because you are about to put a healthy shock back onto these same points.
Fit the new shock from the top down. Use small moves of the jack to bring the bottom into line. Fingers first on all threads; a ratchet only comes out once they are running true.
Consult the service manual for the torque value for this model and year at each location. Tighten and paint-mark them. Finish side one completely before side two is touched.
Testing it the way it will be used
Replace the bags and come down from the lift. Bounce the tail and watch for contact at the fender, bag supports, and exhaust.
First, take sag numbers solo. Then repack to your written trip weight, add the passenger, and take them again. Set preload for each, and record both. These may be far apart. Should the loaded number be out of range with the adjuster at its limit, your spring choice is wrong, and you should deal with that now, rather than a thousand miles from home.
Ride solo around familiar streets. Then ride loaded, watching for the nose going light under acceleration and for wallow in long bends. Recheck headlight aim if the bike is sitting differently.
Back in the garage, recheck every fastener cold. Do so again following your first long trip, and look at the mounts while you are there.
Keep your load figure with the bike, and redo the sums any time you add an accessory to the top case.
Mistakes that cost money
- Choosing shocks on appearance or a friend's solo opinion.
- Lifting the bike with a packed Tour-Pak.
- Ignoring the load limit and hoping a shock fixes it.
- Setting sag empty and leaving it there for a trip.
- Running the adjuster at its stop instead of accepting the spring is too light.
When to stop
If the bike is over its load limit, a shock will not fix it. Cut the weight before the trip. Bottoming with a loaded top case in a bend is not a comfort issue.
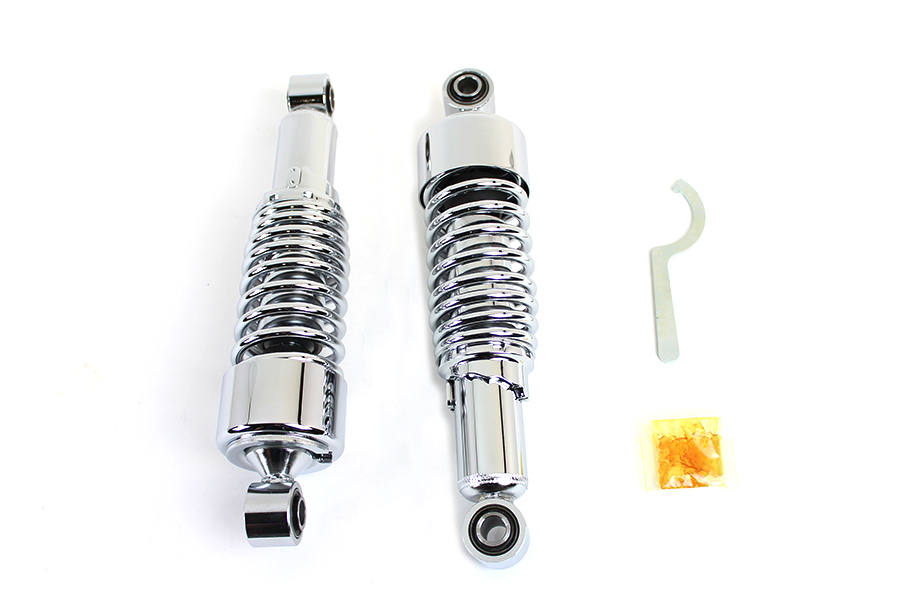
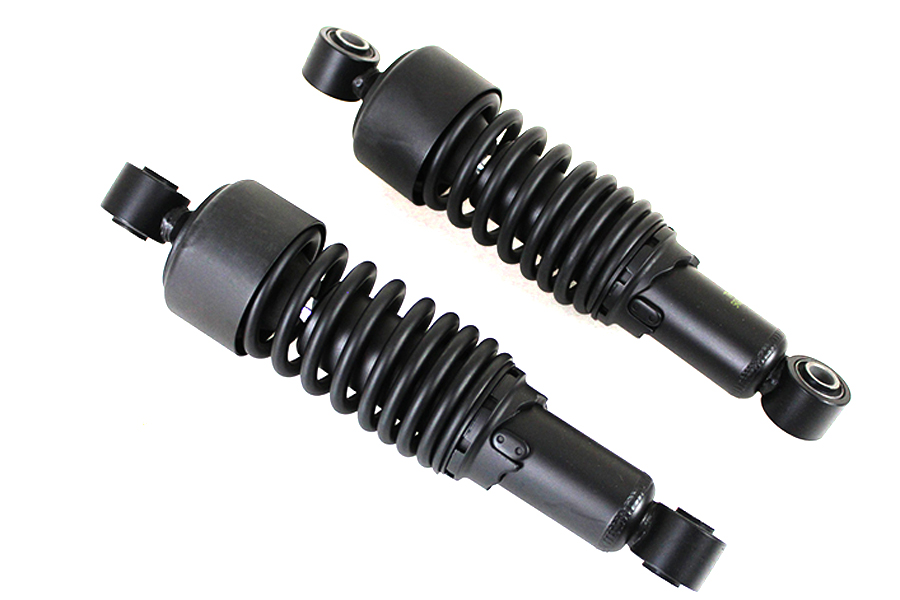
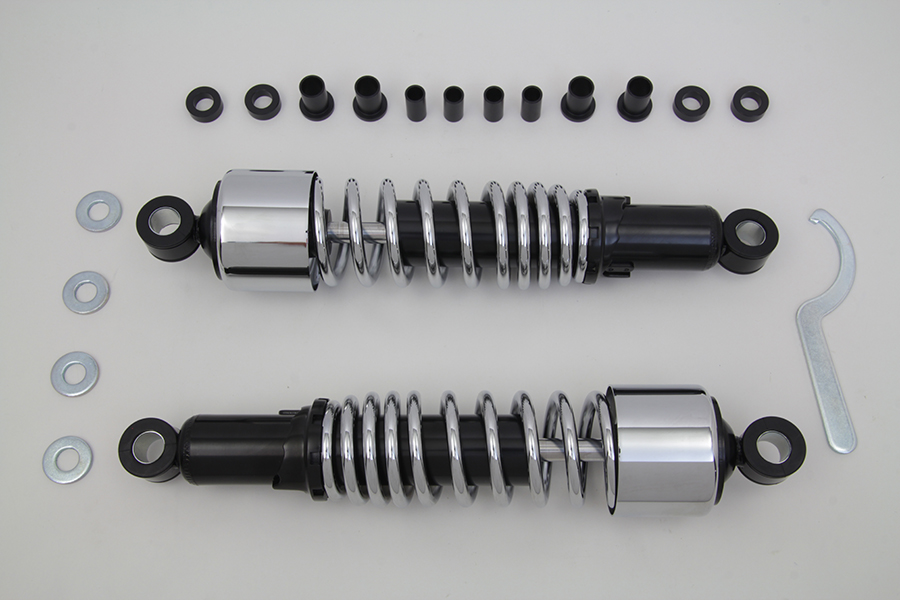
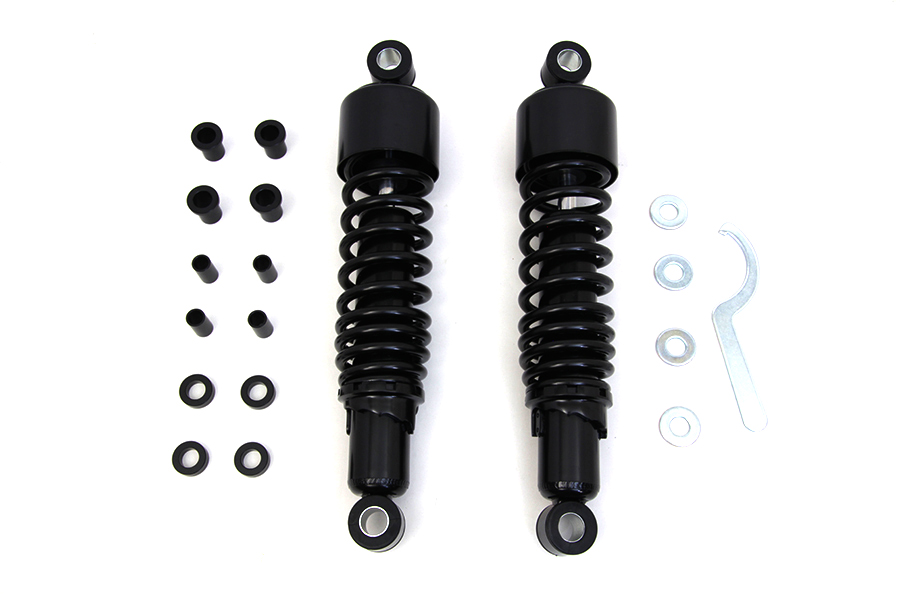
Parts for this job
Check fitment for your own model and year before ordering — add your bike and we will flag what fits.
Other Harley how-to guides
This guide covers procedure and judgement. Torque figures, fluid capacities, gaps and tension settings are specific to your model and year and must come from the factory service manual for your motorcycle — we deliberately do not print numbers we cannot stand behind for your bike. Independent aftermarket retailer, not affiliated with Harley-Davidson, Inc.