 HarleyMotorcycleParts
Ultra Limited Low (FLHTKL): Keep the Feature You Paid For
This bike was lowered at the factory for riders who need their feet down. Standard-length shocks quietly undo that.
Here is a trap unique to this bike. Someone shopping for a better ride sees a well-reviewed shock for the Ultra Limited and orders it. It bolts on. The ride may even improve. Then, at the first stoplight on a slope, the rider cannot get the feet flat with all that weight leaning over. A standard-length shock has quietly undone the feature this bike was bought for, so keep to the correct low length.
Tools
- Tape measure
- Flat floor and a helper
- Solid frame lift
- Swingarm jack
- Socket and wrench set
- Torque wrench
- Service manual
Start at the floor
Before anything comes apart, record how you fit the bike today. In your normal boots, sit on it with the bike upright and a helper steadying it. Note how your feet meet the ground. Are both flat? Heels up? Take a measurement from the floor to a fixed point on the rear fender as a reference.
That reference exposes any later change in height. You can also pick a shock more confidently once you have decided what you need to keep.
What short travel costs and what to do about it
Factory lowering usually comes with a short rear stroke. There is less room between where you sit and where the shock stops, so it can run out sooner over a hard bump, especially with a passenger or a full Tour-Pak.
There are three honest ways forward. You can keep low length and find a better-damped shock with a rating to suit your load. You can reduce what you carry. Or you can accept a little extra height, knowing what it costs at a stop. Choose one and be clear about why.
Read the listing with care. It has to say the shock suits the low model; 'fits FLHTK' does not cover yours. Compare the stated length to the factory figure in your manual or parts book.
Getting to the shocks
Empty the Tour-Pak and saddlebags. The bags come off the bike, and a heavy Tour-Pak comes off if it makes the bike feel unsafe in the air.
A low machine makes it harder to get a lift under the frame. Take your time locating a proper frame point and do not let anything sit on an exhaust pipe. A thin block can help bridge the gap if your lift's instructions allow it.
Add a swingarm jack just touching the arm. With so little travel, the jack does not have to move far before you run out of clearance, so raise it slowly.
Air-shock years need the pressure released at the valve and the shared line disconnected. Later bikes may have an adjuster to free first.
A lower seat also leaves you less space to see your own hands, so a flashlight and a mirror help a great deal here. Clear the floor and keep your tools within reach.
Swapping without losing the low stance
Lay the new shock next to the old one on the bench as soon as you have the first one off. Measure eye to eye at the same state of extension on each, as far as you can. A clear difference now is a warning to double-check your order, and returning a part is easier before you fit it.
The removal itself goes lower mount, then upper, one side only. Bag the hardware in order, and note the old shock's orientation for your records. On a 2014-2016 bike, read bulletin M-1386A as well.
With a shock this short, the bushings work hard. Look for torn rubber, a loose sleeve, or a hole that has gone oval. Check that the mounts and threads on frame and swingarm are clean and unmarked. Also look for signs of bottoming, such as a chewed-up bump stop or rubbing on the fender.
Fit the replacement, top end first, and let the jack bring the lower end into line. Tighten to the value your service manual gives for this model and year. Move to the second side once the first is finished.
Back to the floor test
Refit everything, reconnect any line or adjuster, come off the lift and stand the bike on level floor.
Do your earlier measurement from the floor to that fender mark. Then sit on the bike in the same boots. Your feet should meet the ground as they did before, or better. If they do not, find out why before it becomes your problem at a junction.
Set sag using the manual's range, solo and at your usual load. Press on the rear and look for contact.
Ride carefully over a known rough patch, one you have hit before. With short travel you still expect firm hits now and then, but not metallic ones. Practice a few stops on a slope, too, since that was the entire point of this job. Finally, recheck the torque on your return.
Mistakes that cost money
- Ordering a shock listed only for the standard FLHTK.
- Failing to record seat and foot reach before the swap.
- Assuming a better ride means the job is correct.
- Overloading a short-travel rear and blaming the shock.
- Lifting from a pipe because the frame is hard to reach.
When to stop
If you can no longer hold the bike up safely at a stop, do not ride it in traffic. A dropped dresser is an injury risk and a big repair bill. Go back to the right length.
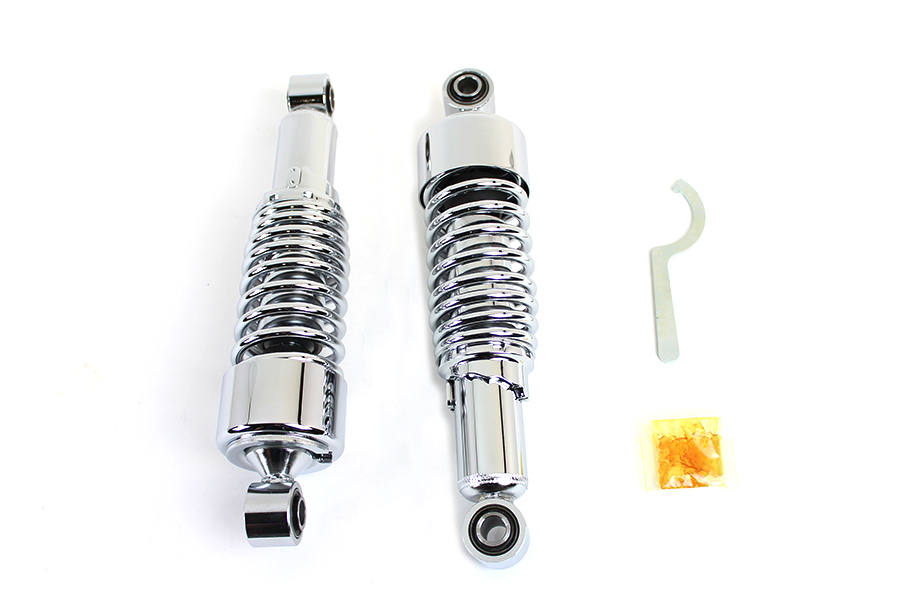
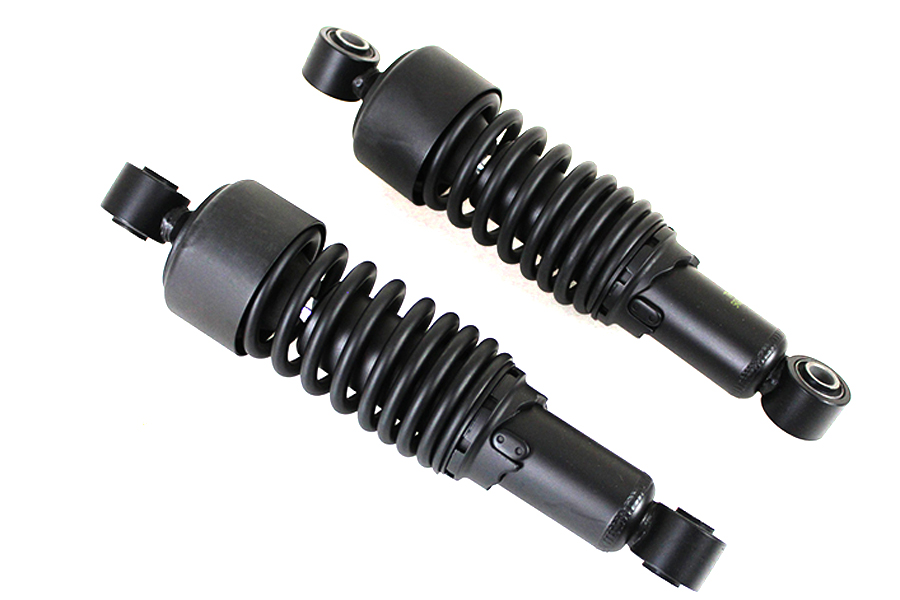
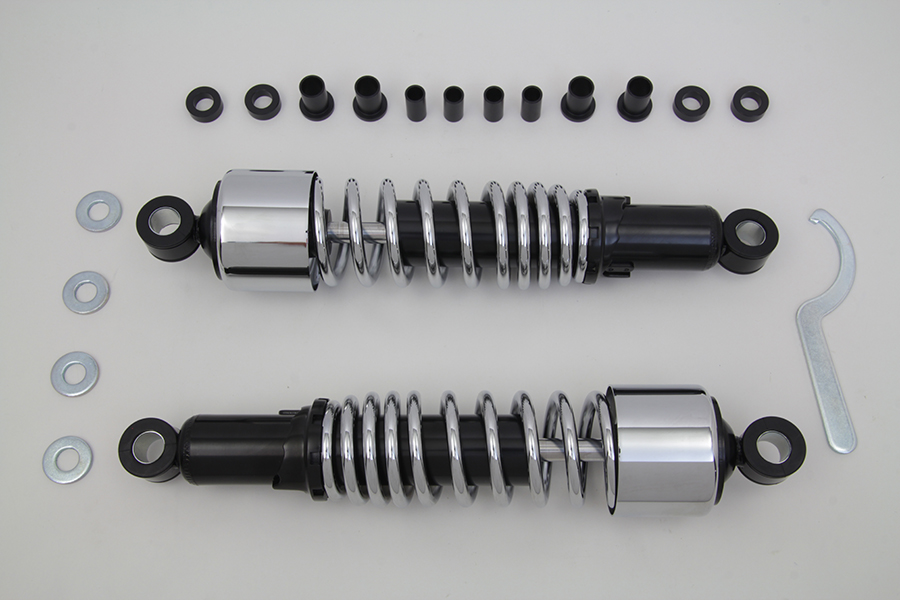
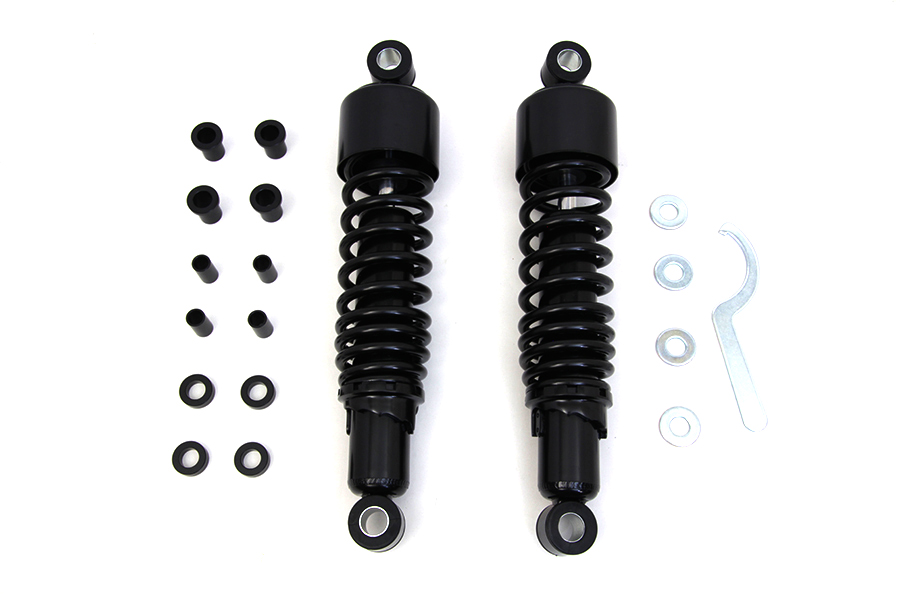
Parts for this job
Check fitment for your own model and year before ordering — add your bike and we will flag what fits.
Other Harley how-to guides
This guide covers procedure and judgement. Torque figures, fluid capacities, gaps and tension settings are specific to your model and year and must come from the factory service manual for your motorcycle — we deliberately do not print numbers we cannot stand behind for your bike. Independent aftermarket retailer, not affiliated with Harley-Davidson, Inc.