 HarleyMotorcycleParts
Ultra Classic (FLHTCU) Sagging? Test the Air Line Before Buying Shocks
A leaking line can look exactly like a dead shock. Run a simple leak hunt first, then change the shocks only if they have earned it.
Your Ultra sits low behind by morning, the pressure keeps disappearing, and the obvious conclusion is two bad shocks. Plenty of perfectly healthy shocks get thrown away over exactly this. The usual suspects are the things connecting them: the line, its fittings and the valve. They are cheap, they age, and from the rider's seat a leak there is hard to tell apart from a failed shock. Test before you buy.
Tools
- Shock pump with gauge
- Spray bottle of soapy water
- Flashlight
- Hand tools and torque wrench
- Frame lift
- Swingarm jack
- Replacement line and fittings if needed
- Service manual
Chasing the leak
Unload the bike. Connect your pump, note the gauge reading, then bring pressure to the figure the manual lists for a light load. Do not exceed it just to make bubbles easier to see.
Choose a quiet place, since a small hiss is easy to miss beside traffic or a running compressor. Work somewhere with good light, ideally with the bike cold and parked on level ground. Make a note of the pressure at the start and the time you took the reading, because that is your baseline for everything that follows. Have a helper hold the flashlight if the lowers block your view of the line.
Mix some dish soap and water, then spray the valve first. Follow on with each joint where the line meets a fitting, and along the length of the hose, particularly at clips and bends where it rubs. Slow bubbles count. Watch for a good minute at every spot.
Lowers and a loaded rear make this harder to view, so use a flashlight, and pull the bags if you cannot see the line otherwise. They have to come off later anyway if a replacement is needed.
Found one? Repair that and do an overnight test. Pressure holding in the morning means your shocks were innocent.
When the shocks really are at fault
If every joint is clean, inspect the shocks themselves. Oil running down a body is a straightforward sign. A hissing shock under pressure is another. So is a rear that continues to bounce after you have set the pressure correctly.
Try isolating them, if your manual explains how, since a shared line makes it hard to tell which side is losing air. Replace as a pair; on a bike carrying a Tour-Pak, lowers and a passenger backrest, a mismatched set is a poor idea.
Choose a spring or air shock for two-up mileage, confirm fit against your specific model year, and remember rear lengths vary within the Touring family. Do not assume that a Street Glide's kit carries across.
Preparing a loaded dresser
Clear out the Tour-Pak and the bags. Remove the saddlebags. Leave the Tour-Pak on unless it interferes or your manual tells you otherwise.
A frame lift goes under the chassis, never on the pipes. Add a jack underneath the swingarm, in light contact.
Now release the air entirely at the valve and verify by depressing it again. Disconnect the line by the manual's procedure. Protect the open fittings with tape.
From one shock to two
Bikes from 2014-2016 have a known footnote. Bulletin M-1386A addresses reports of right-hand shocks put in upside down at the factory, so inspect that orientation and take a photo.
Remove the lower hardware first and the upper second. Keep washers in sequence on tape. Pull the shock out and clean the mount area.
Worn bushings are common at this mileage. Look for tears, cracks and any play in the bore. Examine the frame and swingarm mounting points, including threads, and repair anything you would not want holding up your passenger.
Install the new shock top first in the orientation specified by its instructions. Make small jack adjustments to meet the lower mount. Spin threads in by hand. Tighten to the torque in your service manual, and then repeat on the far side, keeping one shock secure at every stage.
This is also the moment to replace the line if it looked marginal. New shocks and an old hose mean you will be doing this again.
Proving it holds air
Reconnect, then inflate gradually to the manual's load figure. Run the soap test again on every joint you touched. Leave it overnight, and compare the gauge in the morning at a similar temperature, because a cold garage can shift the reading a little.
Fit the bags and take the bike down. Measure rider sag, solo and two-up, using the same two reference points. Keep your pressures on a card in the Tour-Pak.
Ride a short, familiar route alone. Next ride with your passenger and normal gear. Listen for hissing at stops and knocks over bumps. Then recheck every mount with the torque wrench, and test the pressure again a few days later. Slow leaks do not show themselves on day one.
Mistakes that cost money
- Condemning the shocks without soap-testing the line.
- Testing at a pressure above the manual figure.
- Reusing a cracked hose with new shocks.
- Replacing just one side on a two-up bike.
- Skipping the overnight hold test.
When to stop
If the rear loses air during a ride, do not carry on two-up. A dresser with no air support sits on its stops, and a passenger on board makes that much worse. Stop and sort the leak.
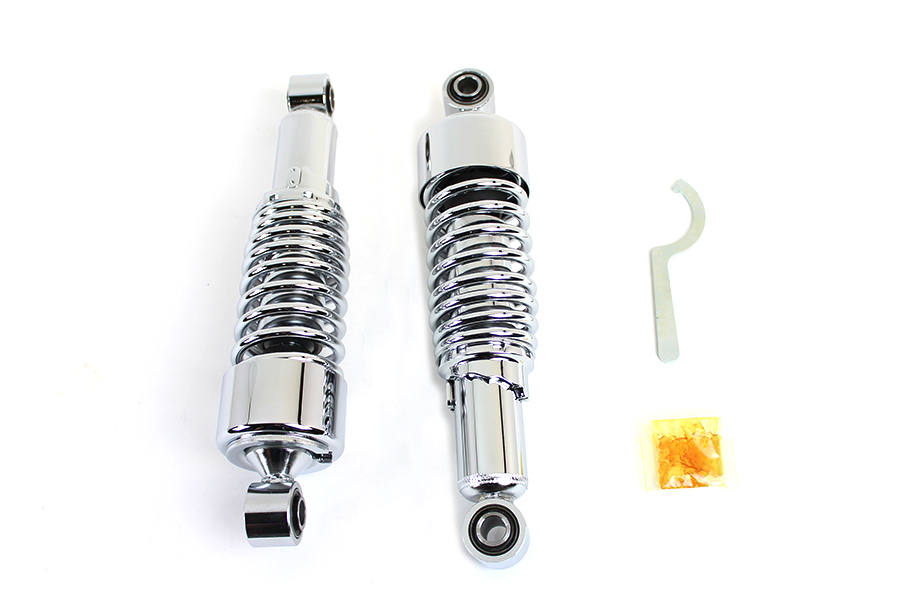
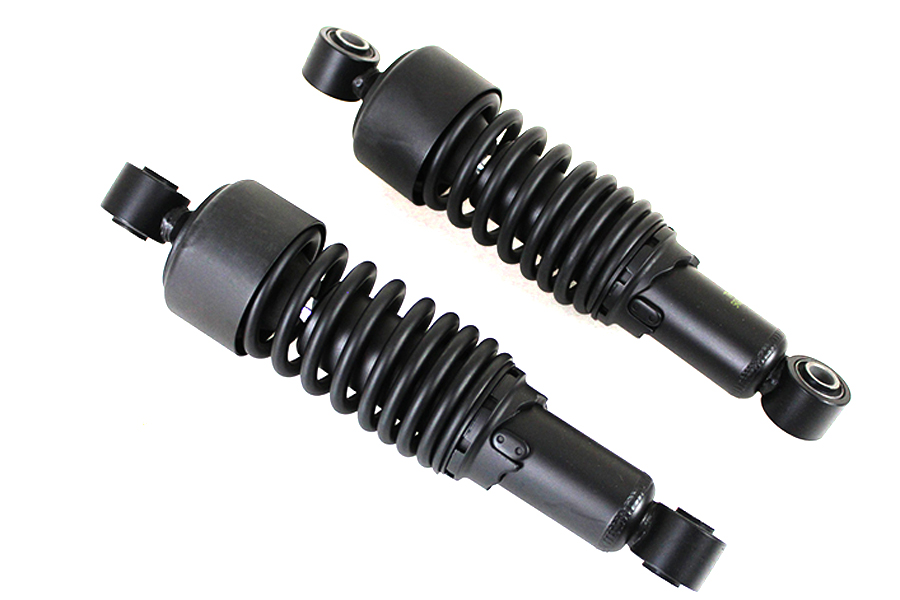
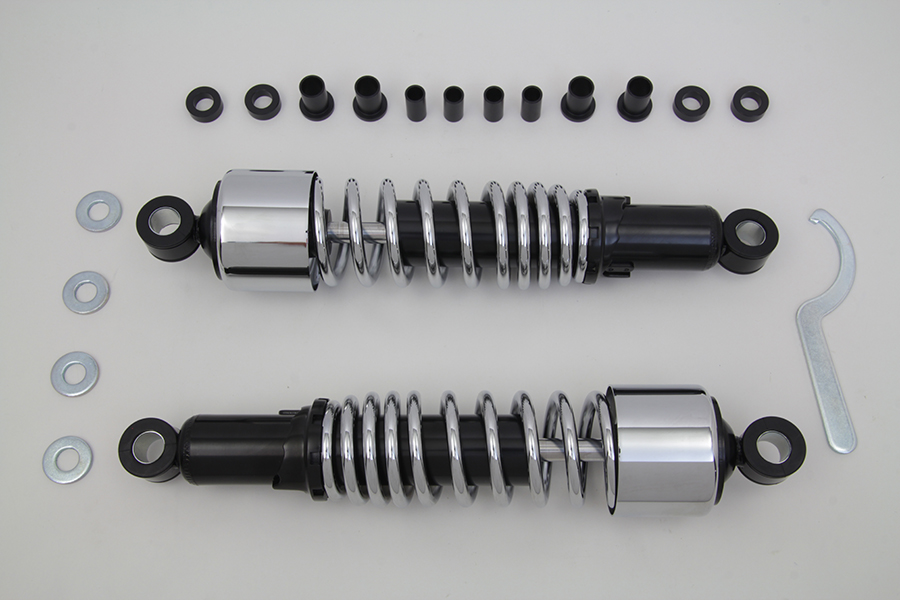
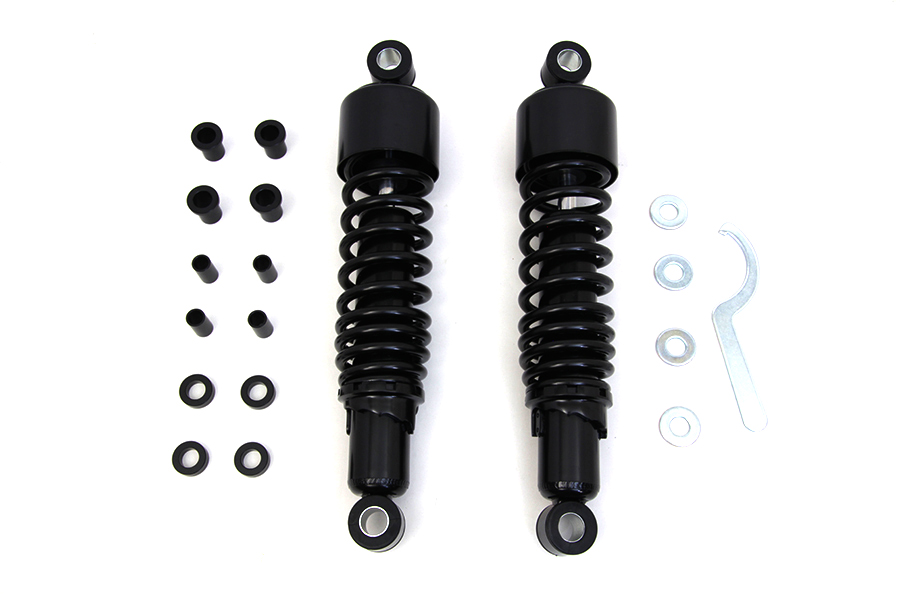
Parts for this job
Check fitment for your own model and year before ordering — add your bike and we will flag what fits.
Other Harley how-to guides
This guide covers procedure and judgement. Torque figures, fluid capacities, gaps and tension settings are specific to your model and year and must come from the factory service manual for your motorcycle — we deliberately do not print numbers we cannot stand behind for your bike. Independent aftermarket retailer, not affiliated with Harley-Davidson, Inc.