 HarleyMotorcycleParts
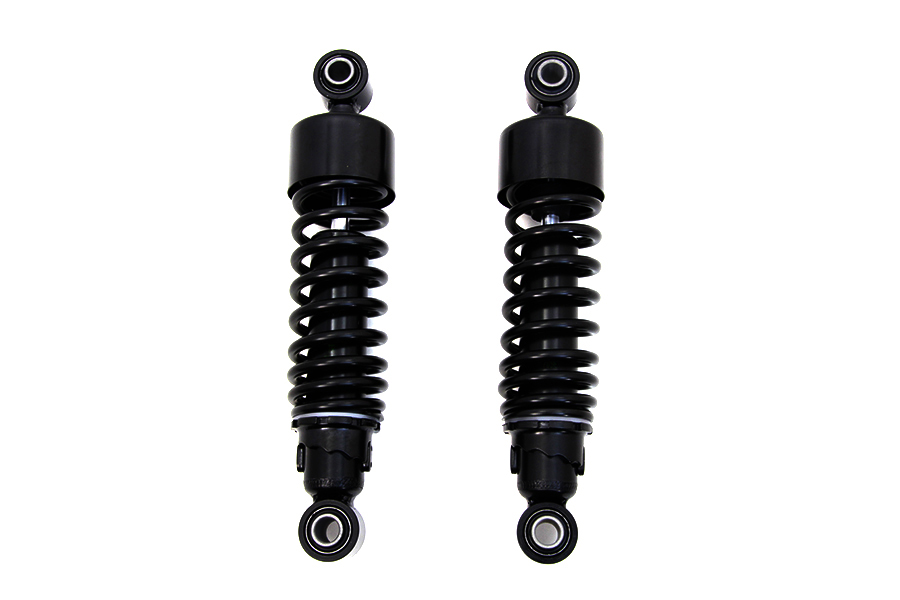
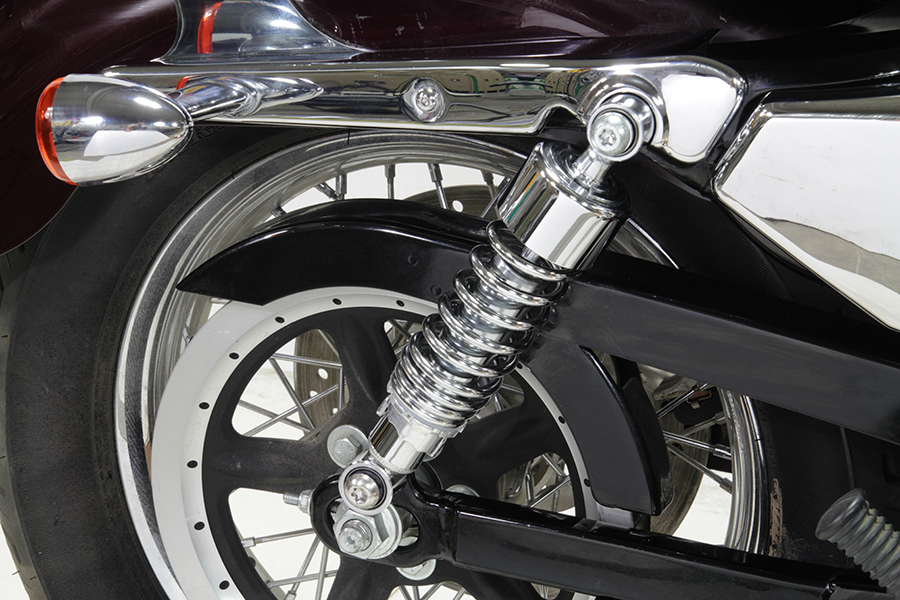
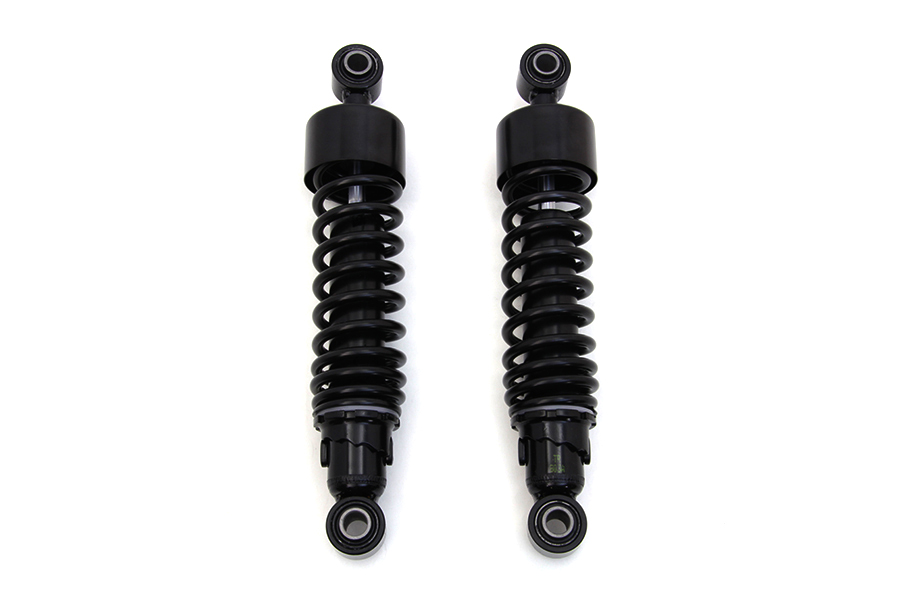
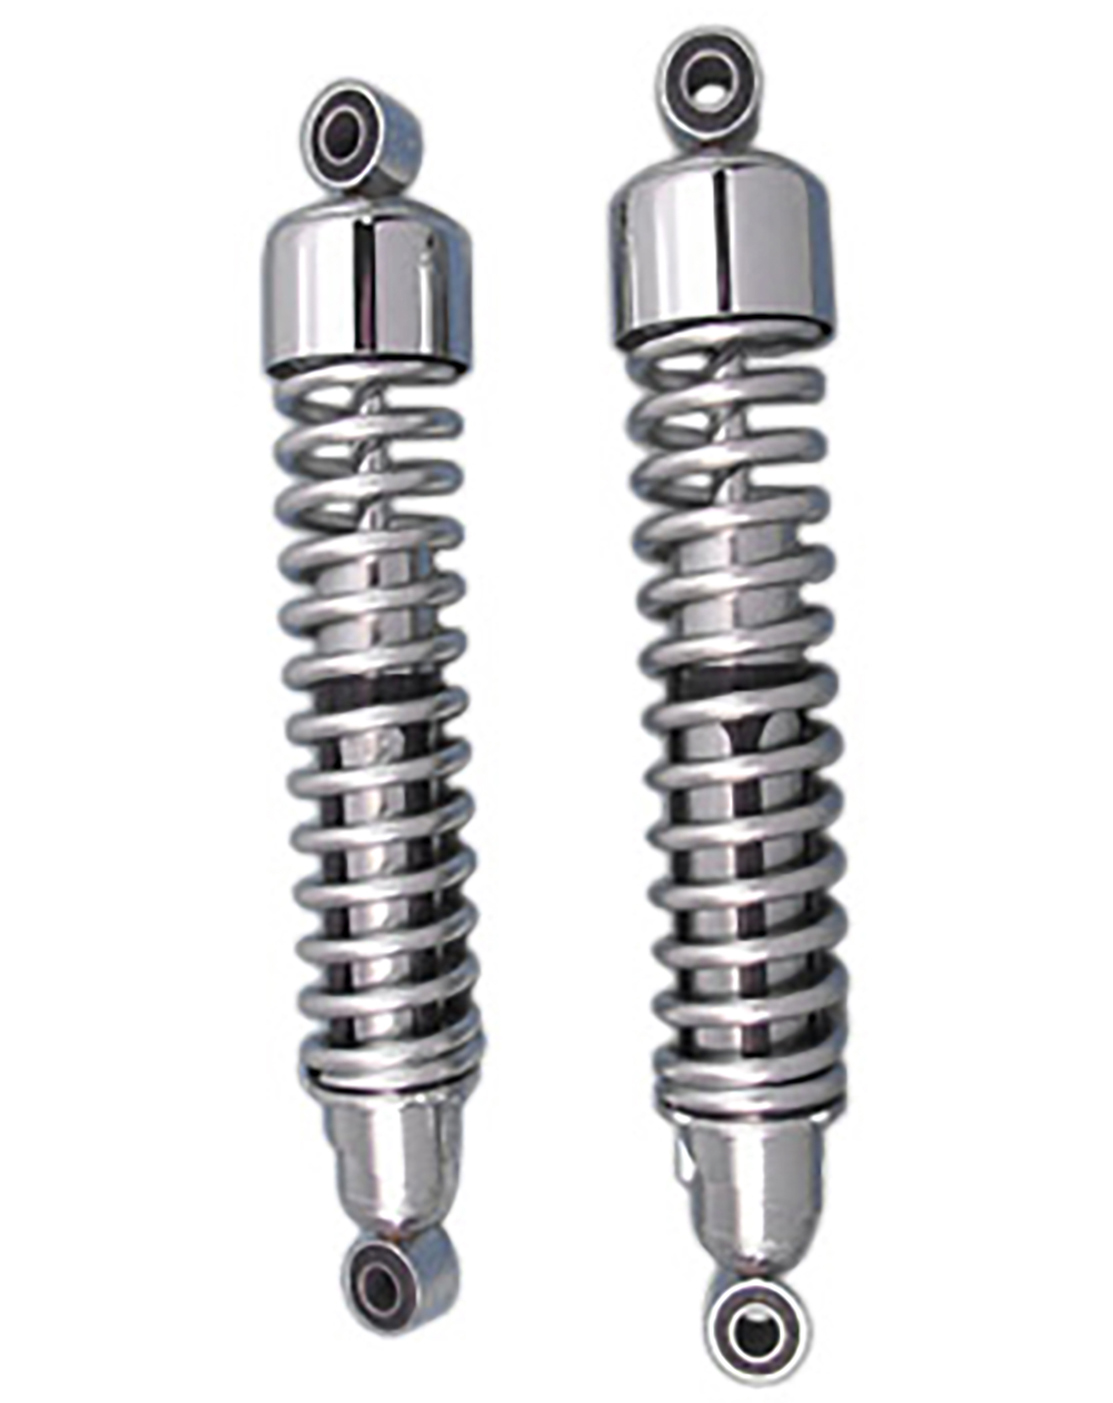
Seventy-Two (XL1200V) Rear Shocks Without Spoiling the Chopper Line
On a 21-inch front and hi-bars, a length change at the rear is a geometry change. Replace the shocks and keep it deliberate.
A shock is rarely thought of as a steering part. On a chopper-styled XL1200V it is one. That tall, skinny 21-inch front and those hi-bars set up a particular angle, and lifting or dropping the tail swings the whole frame around the front axle. Lean angle and geometry are part of why this bike looks as it does. Treat any length change as a decision about steering, not merely about your lower back.
Tools
- Plumb line or straight edge
- Long tape
- SAE spanners and sockets
- Click-type torque wrench
- Frame support and ratchet straps
- Factory manual
Geometry in plain words
Picture a seesaw with its pivot at the front axle. Raise the rear and the steering head tips forward: the fork stands up, steering quickens, and the long laid-back line shortens. Lower the rear and the fork rakes out further, so turning gets slower and the bike wants to run wide at low speed.
A thin 21-inch wheel gives you a small contact patch and light steering, so changes can feel more noticeable than on a fat-tyre bike. Hi-bars add their own leverage, and you will feel a difference through them straight away.
None of that makes a change wrong. It means you should pick a length knowing what will move.
Recording the shape of your bike
On level ground, hold a straight edge or plumb line against the fork and take a side photo, with the camera low and square. Measure from the floor to a point on the rear frame and write it down. These numbers matter more than opinions, because they let you say exactly what changed.
Also measure how far the bike leans at rest, as a stand height from the ground. Side stand lean shifts with length, and so can your belt reading.
Note any rub or scrape marks on the footpegs or exhaust. They tell you how close the bike already gets on a bend.
Which shock suits a chopper?
If your complaint is a harsh jolt, compare damping and spring options at the length you have. Weight and any passenger belong in that choice. Shorter units also bottom more easily, and this bike has no spare travel to give up.
Keep the standard length in your manual as the reference point. If you do change it, go by small and deliberate steps instead of a dramatic jump you only discover at the first roundabout.
Getting the rear unloaded
Slide the support under the frame rails, not any part of the pipes. Strap the bars gently, without pulling on the cables or wires routed to those hi-bars. Then lift until the tyre is about to leave the floor.
Put a block under the rear wheel at that point. Together, the block and frame support stop the swingarm dropping or leaning on the mounts as the first shock leaves.
Turn the bars to a position where they will not swing and tug the front off line while you are working at the back.
From the bench to the bike
Before you remove the first shock, have the new pair out, along with whatever instructions the maker supplies. Check that bushings are in place and that both units match each other. It is far less frustrating to spot a missing part now.
Then deal with one side only. Take off the upper fixing and the lower fixing, laying down the hardware as you go. If the exhaust side is awkward, leave it till you know the sizes. The second shock remains in position to locate the swingarm.
Examining what carries the load
Each fixing should be straight, with clean threads and no worn band. Each should be firmly held in place. Run a fingertip around it to feel for what your eyes cannot see.
Old bushings need replacing if they are perished or squashed out of round. Loose rubber at the back can read as a vague steering feeling on this bike, and riders may blame it on that narrow front wheel for a long time.
Bolting up and tightening
Line up the new unit by nudging the tyre block, then build its hardware back in the original sequence and turn it on by hand. Use the torque figure from the manual for your year. Do not guess, and do not use a figure meant for a different Sportster.
Complete the opposite side the same way, with any preload adjusters at matching settings.
Comparing, then riding
With the bike back on its wheels, repeat the photo and the measurements. Look at the two side views. Check the belt and side stand against what you noted earlier.
Your first ride should be in a car park. Do slow figure-eights to learn how the steering has changed, since that is where a rake difference shows up. Then go out on a familiar road with bends, listen for anything touching, and finally re-check the fasteners.
Mistakes that cost money
- Treating rear length as having nothing to do with steering.
- Blaming the skinny front wheel for a worn rear bushing.
- Going shorter on a bike with no travel to spare.
- Pulling on bars and cables when strapping it down.
- Skipping the slow car park test after changing length.
When to stop
If the steering feels unstable, tucks in or wanders at speed after a length change, go back to a known setting and do not ride on hoping to adapt. Get the bike looked at if the fault remains.
Parts for this job
Check fitment for your own model and year before ordering — add your bike and we will flag what fits.
Other Harley how-to guides
This guide covers procedure and judgement. Torque figures, fluid capacities, gaps and tension settings are specific to your model and year and must come from the factory service manual for your motorcycle — we deliberately do not print numbers we cannot stand behind for your bike. Independent aftermarket retailer, not affiliated with Harley-Davidson, Inc.