 HarleyMotorcycleParts
Forty-Eight (XL1200X) Shocks and the Fender Gap You Cannot Ignore
That chopped rear fender looks great right up until a longer or softer shock changes the gap. Measure first.
Look at where the rear tyre sits under that small chopped fender and you will see why a Forty-Eight is not like other Sportsters at the back. Factory travel is very limited, and shock length directly changes how close rubber comes to metal. Riders pick a shock for comfort and later find scuffed paint on the underside. Measure the fender gap on this bike first, then think about what you want.
Tools
- Steel rule
- Marker pen
- Hand-tool set in SAE
- Torque wrench
- Scissor jack
- Service manual
Finding your clearance number
Stand the bike upright with a helper holding it and nobody on board. Using a steel rule, find the point at which the tyre tread comes closest to the fender. Note that distance on paper.
Then have your helper sit on it, feet up if it is safe, and do this again. Subtract. That change is what your body weight alone uses, and what is left is the margin for every pothole on your way to work.
Now look inside the fender with a flashlight. Old rub marks mean the tyre has been there already, whatever the numbers suggest. Those marks are the most honest evidence on the bike.
Clean those marks off once you have seen them. A freshly wiped surface means that any new scuff after the job belongs to the new shock, and you will not spend time arguing with yourself about whether it was already there before you started the work.
How length and comfort collide
Choosing a longer shock will raise the tail and increase this gap at rest, while tilting the whole bike and changing how the fat front feels on turn-in. You may also need to look at the belt reading and at how far it now leans on its stand.
A shorter one does the reverse, and very quickly leaves too little room. With so little travel from the factory, shorter shocks are the option on which you have the least room for error.
A softer spring also lets the wheel reach the top more easily. Choosing comfort is fine, as long as you check the numbers again afterwards.
Securing it
This bike is light and short, and that tempts you to rush. Use a scissor jack under the frame, not the exhaust. Raise until the rear tyre is free of load, then add a strap each side.
Check your front wheel. A fat front tyre on a low-slung frame can roll gently if the floor has any slope, so chock it.
Unbolting a shock
Note which way up the shock sits and where any preload adjuster faces. Starting on the side away from the exhaust, take off the upper fixing, then the lower, and lay all hardware down in sequence.
Leave the opposite unit tight, to stay in control of the swingarm. Withdraw the shock squarely. The bushing may stick to the mount after years of grime, so rotate it gently until it lets go.
Clean the bare mount area while you are there. Road salt and spray gather behind the shock on a low bike like this.
Compare the two shocks while one is off and the other is still fitted. A difference in the preload setting between the sides is common on a used bike, and it may explain a lean or a rear end that never quite felt settled to you.
Mount condition
Look for grooves or a stepped surface on the fastener and any thread damage. Then push and pull to confirm there is no movement in the frame. Any free play is a bigger job, and now is the time to discover it.
Bushings harden faster on bikes that often bottom out. Press yours firmly. If it is cracked, oval or dead to the touch, fit a new one, using only whatever fitting lubricant your shock maker allows.
Installing and measuring again
Move the new shock into place and adjust the tyre support so that the eye and fixing meet naturally. Do not try to use body weight to force it. Hand-tighten, then repeat for the other side.
Pull both to the torque stated in the manual for your model year. Lower the bike, then redo both fender measurements and note them beside the originals.
Now do the sum properly. Remember that the rear wheel can move further than the shock itself, which means the new gap needs to be comfortably more than the travel you have been told about.
Rub test on real roads
Wipe the inner fender clean, or make a light marker line on the tyre's top face. A short ride on a mixed road will show any contact, since the line will have been scrubbed away or a fresh mark will appear inside the fender.
Then recheck the belt against the manual if length changed, see how it sits on its stand, and go around every fastener a final time with the wrench.
Mistakes that cost money
- Choosing for comfort without measuring the tyre-to-fender gap.
- Ignoring old rub marks inside the fender.
- Going shorter on a bike with very little travel to start with.
- Using body weight to force a shock eye onto its mount.
- Forgetting that longer shocks also change steering feel.
When to stop
If you can see tyre contact on the fender, or the rider-on gap is close to nothing, do not ride the bike until you have sorted it out. A tyre that has grabbed a fender at speed is a very bad day.
Parts for this job
Check fitment for your own model and year before ordering — add your bike and we will flag what fits.
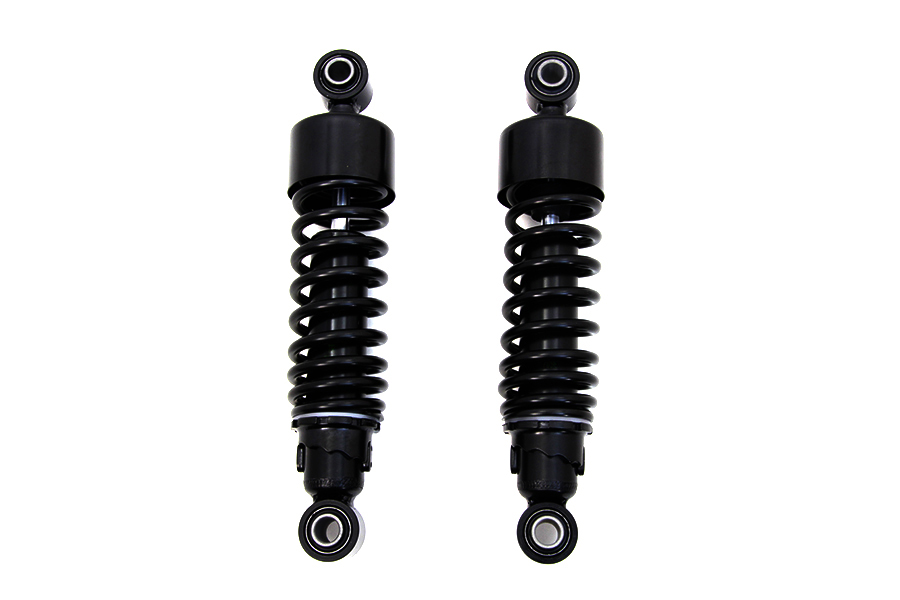
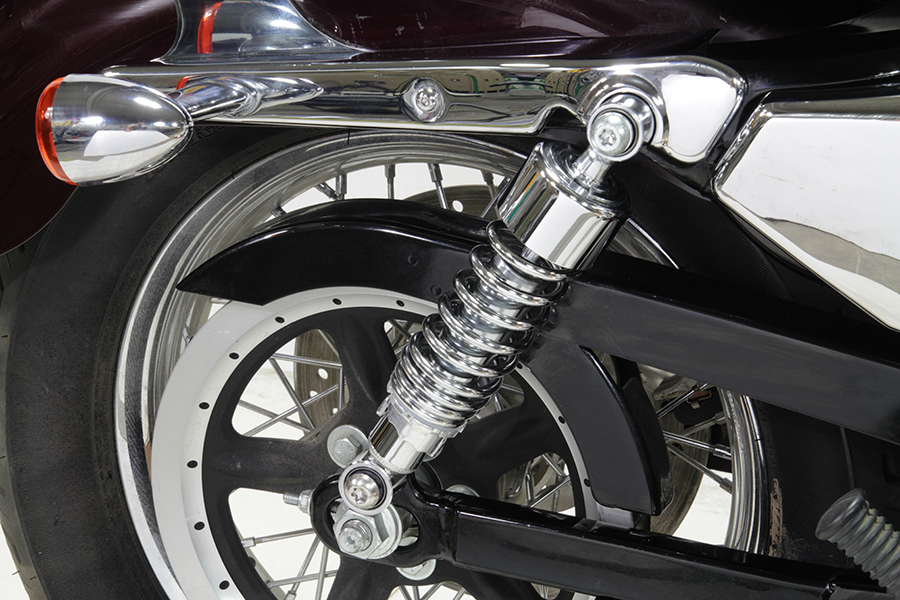
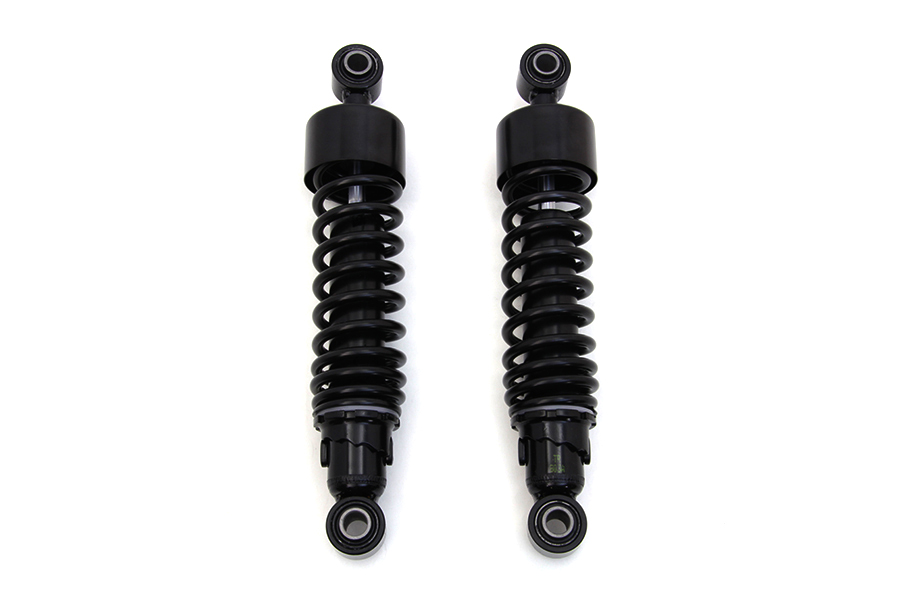
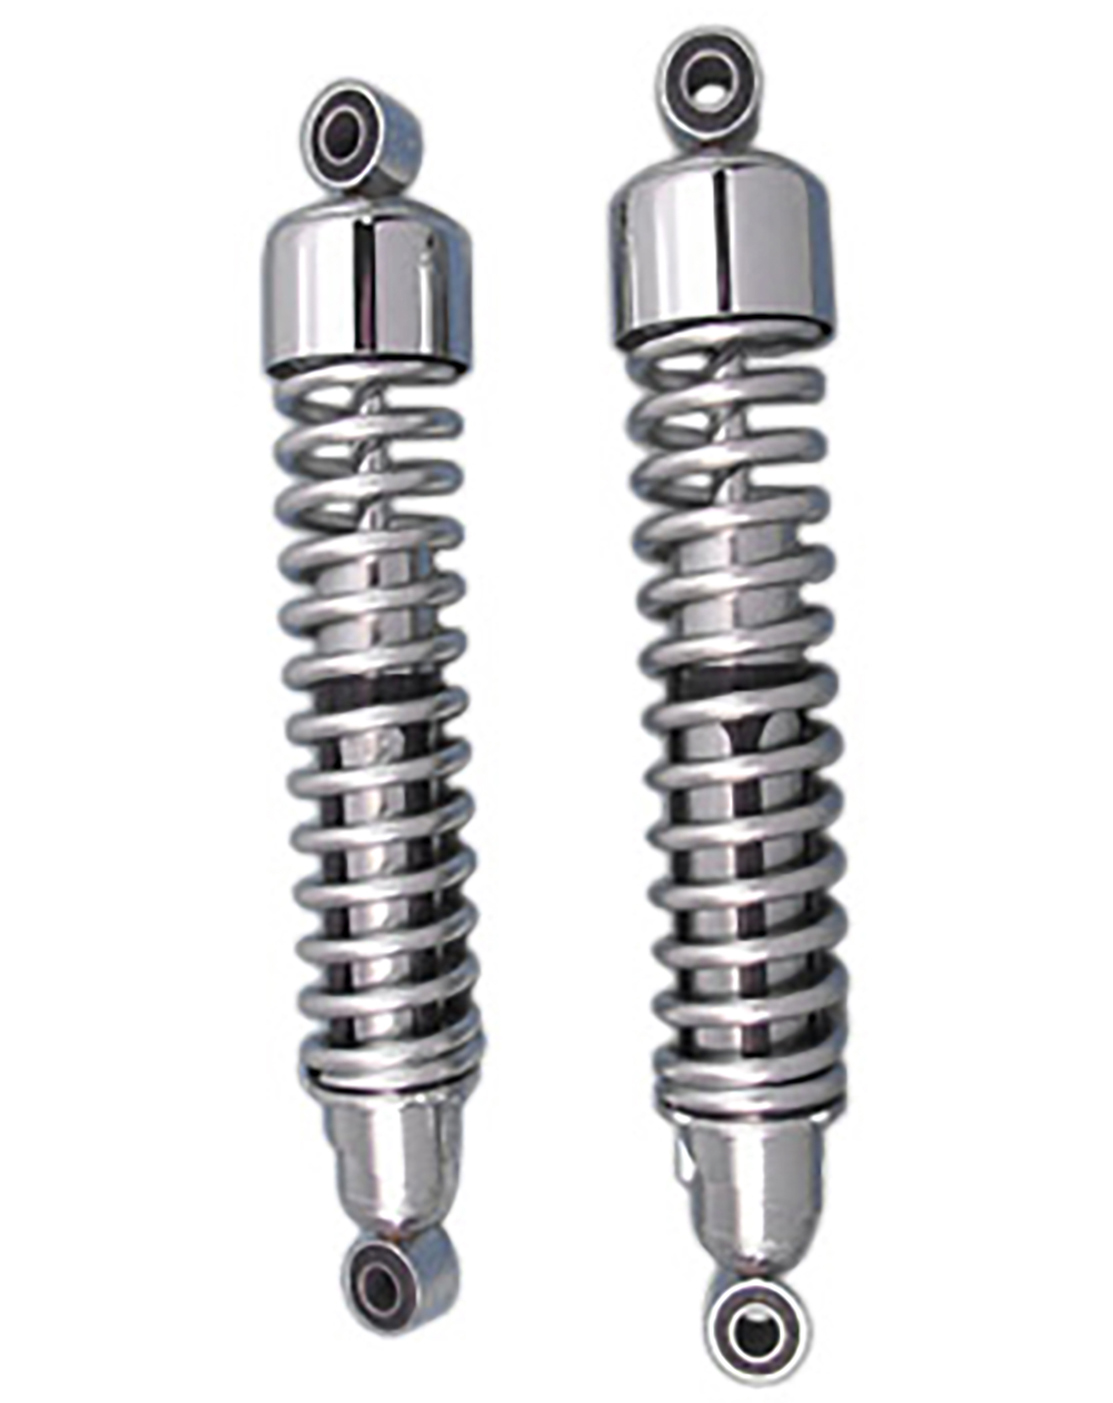
Other Harley how-to guides
This guide covers procedure and judgement. Torque figures, fluid capacities, gaps and tension settings are specific to your model and year and must come from the factory service manual for your motorcycle — we deliberately do not print numbers we cannot stand behind for your bike. Independent aftermarket retailer, not affiliated with Harley-Davidson, Inc.