 HarleyMotorcycleParts
Shocks for a CVO Road Glide (FLTRXSE): Check the CVO Exclusions First
A kit that fits a Road Glide may specifically exclude yours. Read the fine print, then mask up and do the job.
Riders see FLTR on a shock box and assume it covers their bike. On a CVO that assumption can cost you. Aftermarket kits sometimes carry a line of small print that excludes CVO models, and factory parts specific to the CVO can be costly. A wrong order here means a return at best, and at worst a shock installed by someone convinced it must fit. Read before you buy.
Tools
- Parts listings and your VIN details
- Masking supplies
- Socket set
- Torque wrench
- Frame lift
- Padded jack for the swingarm
- Air pump if fitted
- Service manual
The paperwork phase
Find your exact designation and model year from the bike's documents or VIN, not from memory. Then, for every kit on your shortlist, read the complete fitment notes. Do not settle for the headline.
Print the listing, or save a copy, on the day you order. Fitment notes get edited, and a saved page shows what you were promised when you bought the kit. Keep the packaging intact until the part has been compared with the old one, because returns often depend on it being complete.
Look for wording such as 'except CVO', 'excludes FLTRXSE' or a list of included codes that does not mention yours. If it is ambiguous, email the maker, name your exact bike and year, and keep the reply. That answer will be useful if the part turns out not to fit.
Next, price up the factory option through a dealer so that you have a real comparison. CVO-specific parts can carry a high price, but they remove any doubt, and that may be worth something to you.
Keep in mind that rear length and travel differ on low and standard Touring models, so fit isn't simply a question of the bolts lining up.
Sort the old parts out first
Before you tear in, write down the part markings on what is there now. CVOs change hands too, and earlier owners may already have swapped something.
If yours has air shocks and they are losing pressure, soap-test the line and valve before ordering, since the fault may not lie in the shocks. If the ride feels off, measure sag against the manual, because preload alters your place in the travel and could be all you need.
Masking the sharknose bike
Bags get masked before anything else. Do this while they are still on the bike, so that a slip during removal lands on tape. Then empty them, take them off, and rest them on padding at the far side of the garage.
Now tape every edge near the rear of the machine. You do not need to touch the frame-mounted fairing, so keep your tools and trays well clear of it. Carrying a loose wrench past the front of a CVO is a mistake waiting to happen.
Removal and inspection
Raise the bike using frame points, on a level floor. Keep clear of the exhaust. Then pad a jack and bring it to light contact under the arm.
Older bikes need the air released and the shared line disconnected before a shock moves. On later bikes you are looking for a preload adjuster at the left, as on most M8 models, and the manual explains how to release it.
Now document. Get a picture of each mount. On a 2014-2016 bike, note the right shock's orientation carefully, as some were reportedly fitted upside down at the factory under what became bulletin M-1386A.
Unfasten the bottom mount first and the top next. Remove the shock gently, and place all spacers in labeled trays. Evaluate each bushing for splits, hardness and movement. Look at the swingarm and frame mounts for wear, and clean the threads. Worn items get replaced with parts correct for this bike, not whatever is in your drawer.
Installation and setup
Before bolting up, compare the new and old shock once more on the bench. This is your last easy exit if the wrong part shipped. Then fit from the top, use the jack to line up the lower hole, and start by hand.
Torque comes from the service manual. Do not take it from the kit's generic sheet unless that sheet tells you to and you are satisfied it applies. Where the two disagree, ask the maker before you go on. Do the second side only after the first has been finished.
Rejoin the line or adjuster, peel the tape, refit the bags and lower the bike. Press the rear down and look for any contact, then set sag.
Ride a quiet road first, feeling for vagueness up front as the rear settles, because a sharknose shows that quickly. Recheck the fasteners at home, then again after a long ride. File the maker's email and the receipt with the bike's records.
Mistakes that cost money
- Reading FLTR on the box and skipping the exclusions.
- Relying on a seller's verbal assurance of fit.
- Assuming the shocks are bad without testing air line and sag.
- Masking only after the bags have started to come off.
- Following a generic torque sheet without checking the manual.
When to stop
If a kit needs modification to fit, stop right there. Do not drill, shim or force it. It is the wrong kit, and that is exactly what the exclusion was warning about.
Parts for this job
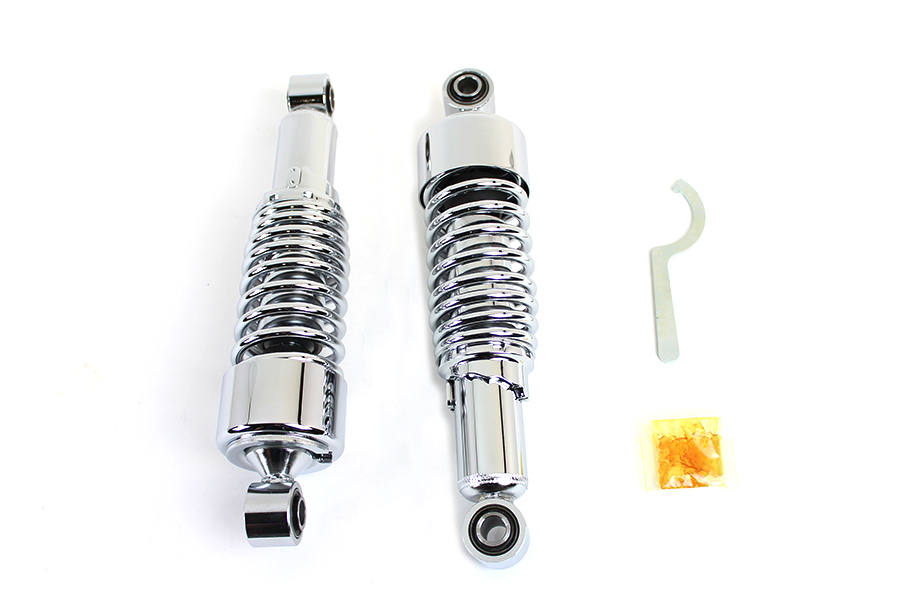
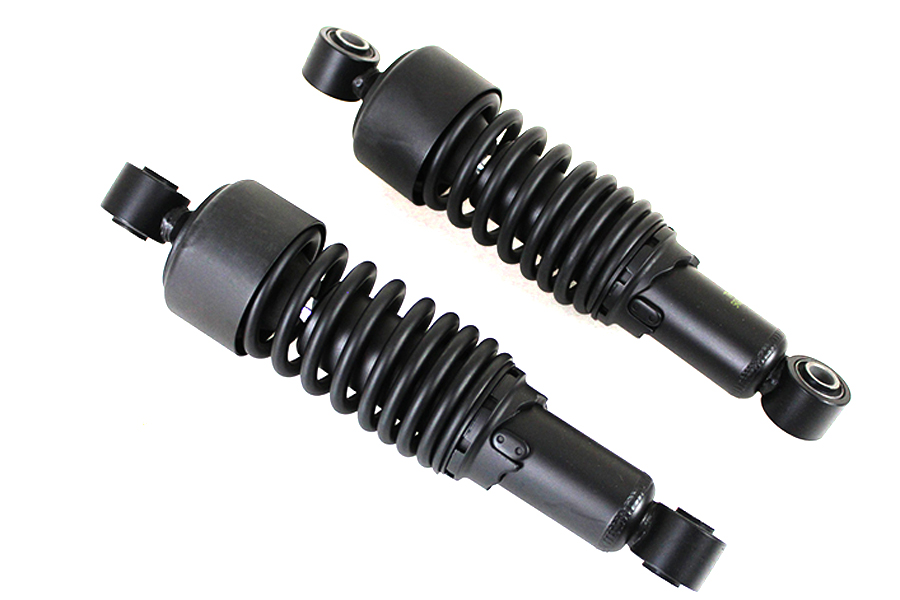
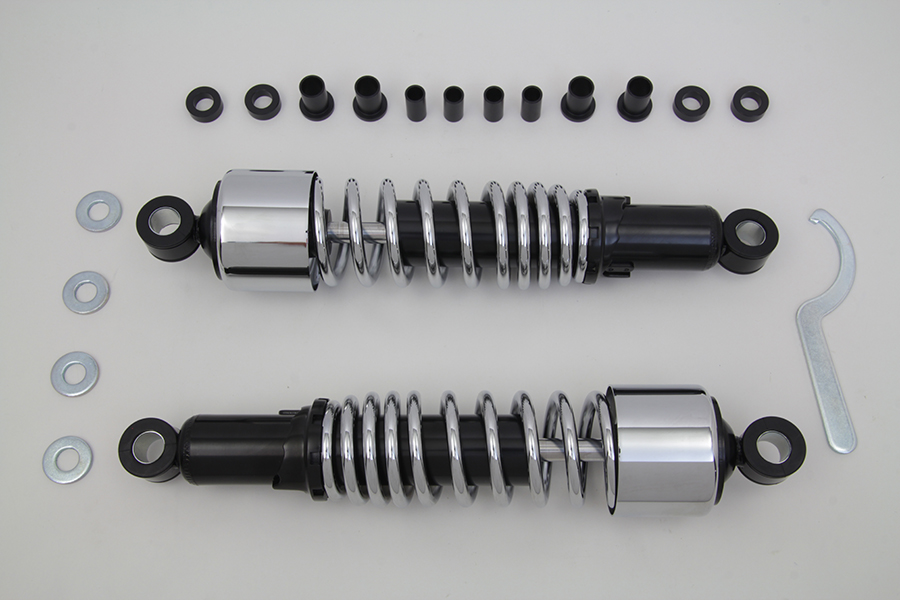
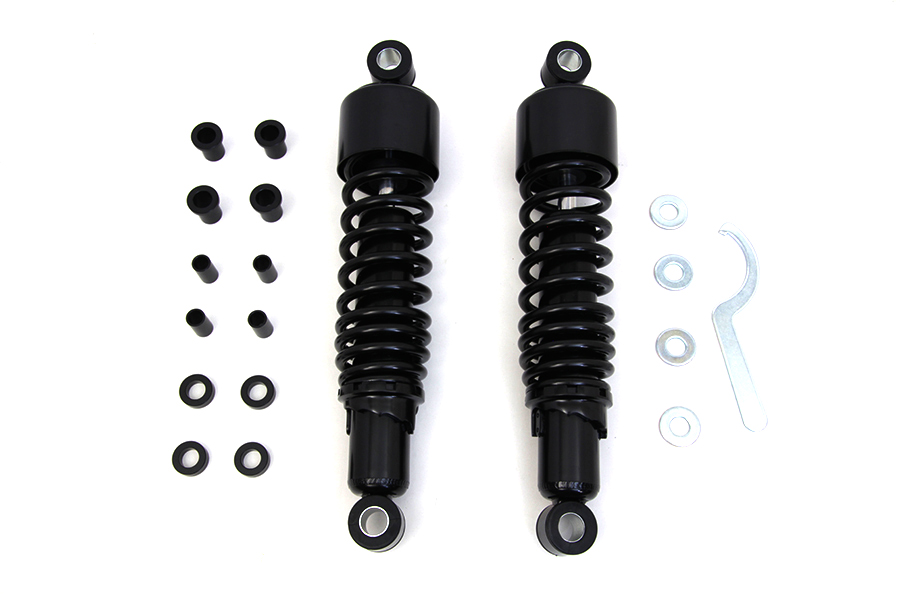
Check fitment for your own model and year before ordering — add your bike and we will flag what fits.
Other Harley how-to guides
This guide covers procedure and judgement. Torque figures, fluid capacities, gaps and tension settings are specific to your model and year and must come from the factory service manual for your motorcycle — we deliberately do not print numbers we cannot stand behind for your bike. Independent aftermarket retailer, not affiliated with Harley-Davidson, Inc.