 HarleyMotorcycleParts
Dyna Street Bob (FXDB) Primary Chain: Inspect the Shoe, Mind the Linkage
Every Dyna Street Bob has an automatic tensioner. What you can check, when to fit a manual adjuster, and how to get the shifter linkage out of the way.
First, make sure you have the right Street Bob. If your bike is a 2018 or later, it is a Softail and none of this applies; the Dyna Street Bob ran 2006 to 2017. Second, the chain. Your rear wheel turns on a belt, which you never oil. The chain on a Street Bob that actually wears out is the primary, inside the left-side case, and on every Dyna Street Bob it rides on a self-adjusting tensioner. That simplifies the job in one way and makes people go looking for an adjuster that is not there in another.
Tools
- Service manual for your year
- Phone for linkage photos
- Paint pen or tape to mark the shift lever spline
- Drain pan
- Torch
- Primary locking tool or wedge
- Torque wrench and breaker bar
- Threadlocker
- New cover gasket or seal
- Correct primary fluid
One tensioner, every year
The Dyna range moved to an automatic spring-loaded hydraulic tensioner for 2006, the same year the Street Bob arrived. So every FXDB has it. There is no locknut and no slack to set in routine service.
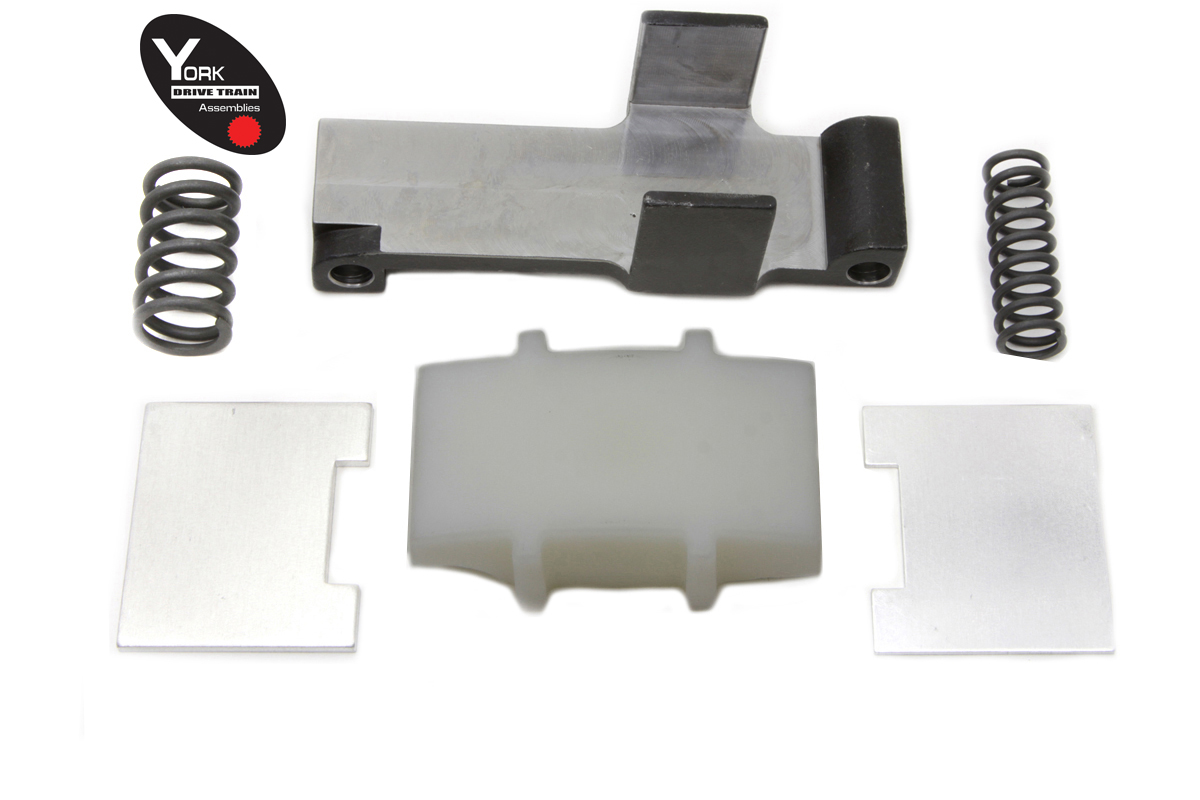
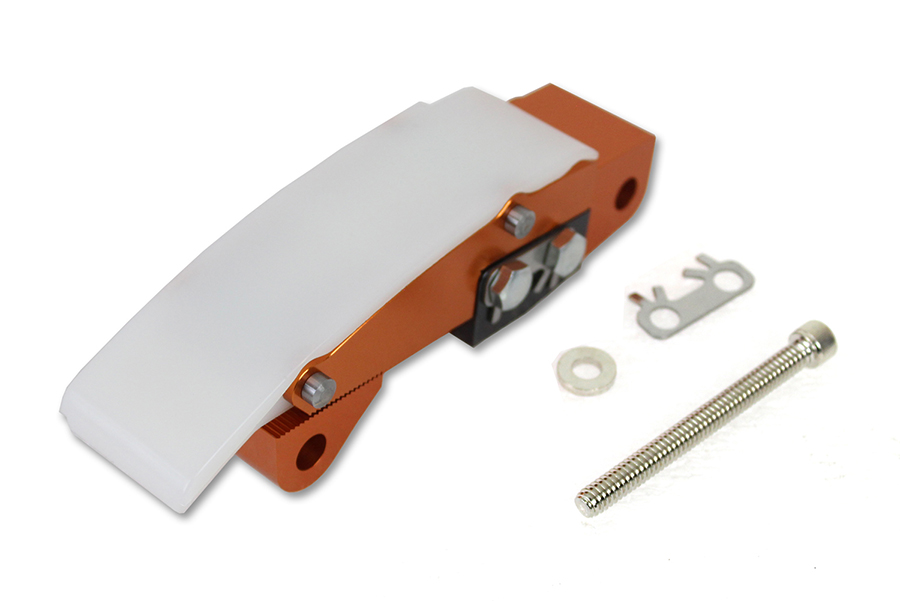
What you can do is inspect. And if you want control over slack, you can convert. Our catalogue lists manual-adjuster kit 18-8328 for FXD 2006-2017, which covers the Dyna Street Bob years.
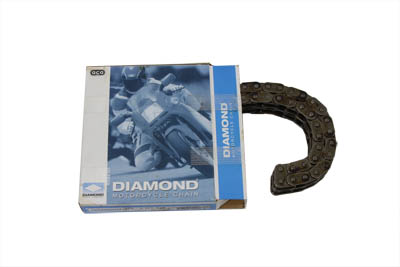
For chain replacement, our catalogue lists a 92-link chain for FXD 2006-2017. Confirm against the parts fitment for your bike before ordering.
What wear looks and sounds like
Street Bob riders tend to be the ones who have opened up the intake and exhaust, and more power through the primary means more wear on the shoe and chain.
Listen at idle for a slap or rattle from the left side that changes when you pull the clutch in. Notice whether take-up from a stop has become jerky. At fluid changes, wipe the drain plug magnet and look for flakes.
If what you hear is a clunk at start-up or shut-down rather than a running rattle, that can be the compensator - a related fault that a new chain will not fix. This guide does not diagnose it.
Pay attention to new noise after any engine work. If the slap starts soon after a stage kit, inspect sooner rather than later.
Inspecting through the cover
Remove the chain inspection cover. With a torch, look at the shoe face. Light marking is normal. Deep grooves, or a face worn through to its backing, mean the chain has stretched beyond what the tensioner wants to deal with.
Turn the engine over in top gear using the rear wheel and look along the chain for plates with bright rub marks.
Do not pry on the tensioner to see how much movement is left. It is hydraulic and spring-loaded; the manual describes the only correct way to retract or retain it.
The shifter linkage is the job
Mid controls put the shift lever and its linkage right across the front of the primary. On a Street Bob that linkage is the main thing in your way, so the time you spend here decides how the bike shifts afterwards.
Before you take anything off, photograph the linkage from the side and from above. Mark where the shift lever sits on its spline with a paint pen. Note the angle of the lever relative to the footpeg. Then remove the linkage as far as the manual says you need to clear the primary cover.
If the rod ends are worn or sloppy, this is the cheap moment to replace them.
Removing the primary drive
Disconnect the battery negative. Drain the primary fluid. Remove the left footpeg if it is in the way, then the outer primary cover.
Retract or retain the tensioner as the manual describes. Lock the drive with a sprocket locking tool, or a wedge between the sprockets. Break loose the compensator nut, then the clutch hub nut. The Big Twin clutch hub nut is LEFT-HAND thread. If it will not move, check the direction before adding a longer bar.
The factory chain has no master link, so the engine sprocket, chain and clutch basket come off together. The alternator rotor sits behind the compensator. Its magnets will grab a dropped nut and hold it right where it can do damage.
Building it back up
Install the new sprocket, chain and basket together. Apply threadlocker where the manual specifies and torque every fastener to the manual's figure. Reset the tensioner. If you fitted the manual-adjuster kit, set slack at the tightest spot against the manual's cold figure.
Fit a new gasket or seal - the manual says which type - and the cover. Refill with the correct primary fluid to the level the manual specifies.
Refit the shifter linkage to your marks and photos. Check clutch adjustment.
After a stage upgrade
If you plan to add power, or the previous owner already did, look at the primary before and after. A baseline inspection now - shoe condition, chain plates, drain plug magnet - gives you something to compare against in a few thousand miles. Faster wear after an upgrade is normal; the question is whether it is getting ahead of you.
Before you ride off
Sit on the bike and work the shifter through every gear with the engine off, rolling the bike slightly to help it engage. Then start it, idle in neutral and listen to the left side with the clutch in and out.
Short ride, then check the cover and drain plug for weeps. If you converted to a manual adjuster, check slack again once the bike has gone cold, and put it on your service list from now on.
Mistakes that cost money
- Working from a Softail Street Bob guide on a Dyna, or the reverse.
- Not marking the shift lever position before removing it.
- Prying on the automatic tensioner.
- Blaming the chain for a compensator clunk.
- Fitting a manual adjuster and then forgetting it exists.
When to stop
If the shoe has worn through and the chain has been running against metal, stop. Inspect the sprockets, basket and inside of the case before you order. A Street Bob that locks its primary at speed locks its rear wheel.
Parts for this job
Check fitment for your own model and year before ordering — add your bike and we will flag what fits.
Other Harley how-to guides
This guide covers procedure and judgement. Torque figures, fluid capacities, gaps and tension settings are specific to your model and year and must come from the factory service manual for your motorcycle — we deliberately do not print numbers we cannot stand behind for your bike. Independent aftermarket retailer, not affiliated with Harley-Davidson, Inc.