 HarleyMotorcycleParts
Dyna Low Rider Primary Chain: Bringing an Original 1990s Primary Back to Life
Many older Low Riders are still on their original manual adjuster and original chain. How to judge them, adjust them, and replace them when the time comes.
Plenty of Dyna Low Riders from the 1990s are still running the primary chain they left the factory with, on the original manual adjuster, and nobody has looked at either in years. That is what this page is built around. One quick correction first: the Low Rider's rear wheel is driven by a belt, and belts are never oiled. The chain that needs your attention lives inside the primary case on the left, carrying drive from the engine to the clutch.
Tools
- Service manual for your year
- Torch
- Drain pan
- Clean jar for a fluid sample
- Primary locking tool or wedge
- Torque wrench and breaker bar
- Threadlocker
- New cover gasket or seal
- Correct primary fluid
Old Low Rider or new?
1991 to 2005: MANUAL adjuster. 2006 on: AUTOMATIC spring-loaded hydraulic tensioner. Check your year on the frame tag or title.
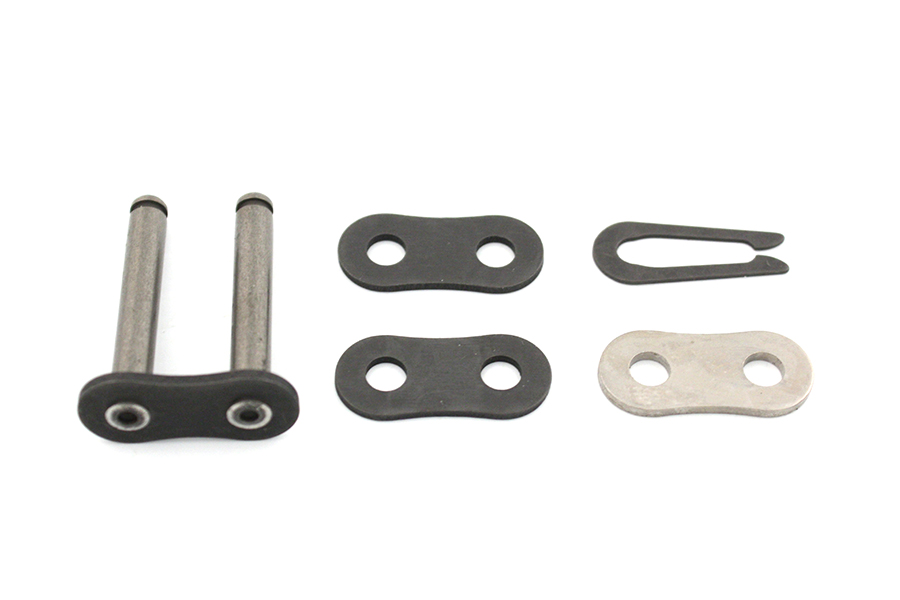
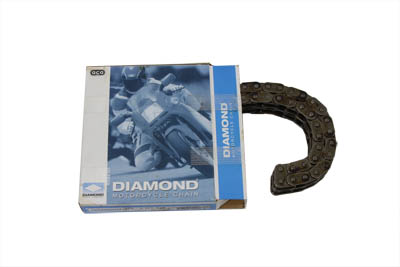
Our catalogue lists an 82-link chain for FXD 1991-2005 and a 92-link for FXD 2006-2017. For some older chains the catalogue also lists connector links, but stock chains are typically endless, and you should assume yours is until you see a master link with your own eyes.
Waking up a neglected primary
On an old Low Rider that has sat, or one you just bought, drain the primary fluid before anything else. It is separate from the engine oil and the transmission fluid.
Look at it in a clean jar. Grey haze is normal wear. Flakes, slivers or grit mean a part has been eating itself. Then look at the drain plug magnet. Metal flake there is a recognised sign of a worn primary.
Refill with fresh fluid if you are only inspecting today. Old fluid does the chain no favours.
Symptoms on a high-mile original
A slap from the left at idle that changes when you pull in the clutch. Jerky take-up from a stop. Those two together on a 1990s Low Rider usually mean slack has crept up over years without adjustment.
The shoe is the next clue. Its nylon face wears as the chain runs against it. A face grooved right through means it has been running too slack for too long.
On a 2006-up bike, a clunk at start-up or shut-down can be the compensator - related, but not a chain fault.
Slack that has crept for years does not only wear the shoe. A loose chain whips on the overrun and hammers the sprockets. Look at the sprocket teeth for hooking when the cover is off.
Adjusting the original manual adjuster
Remove the chain inspection cover. The manual gives a COLD and a HOT free-play figure; use the one that matches the engine right now.
In top gear, turn the rear wheel to rotate the engine and check slack at several points. An old chain is rarely even. Find the tightest spot and adjust there.
Loosen the adjuster locknut. On a bike that has not been touched in years, it may be stiff; use the right size spanner and steady pressure. Move the shoe, re-lock and recheck at the tightest spot.
If the shoe is at the end of its range and the chain is still loose, the chain is stretched beyond use. Replace it, and the shoe with it if the face is grooved.
Restoring the manual adjuster itself
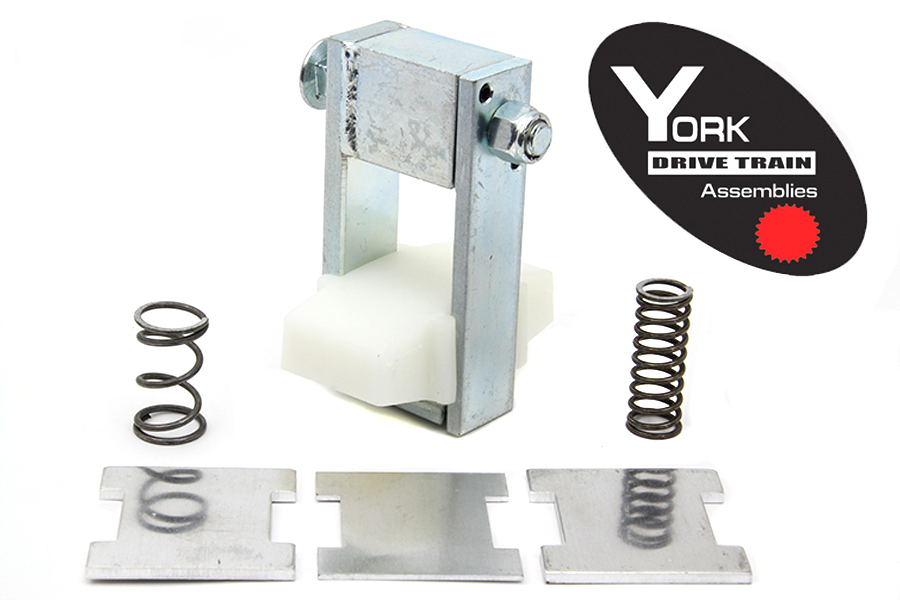
On an original 1990s adjuster, the shoe's nylon face is the wear part. If it is grooved or worn, replace it with the chain rather than fitting a new chain onto an old shoe. Check the bracket it sits on is straight and that the locknut threads are clean; a locknut that will not hold lets the shoe creep and the slack open up again within a few hundred miles.
Clean any old gasket material from both faces of the case and cover while the cover is off. A good seal later depends on clean faces now.
Inspecting a 2006-up Low Rider
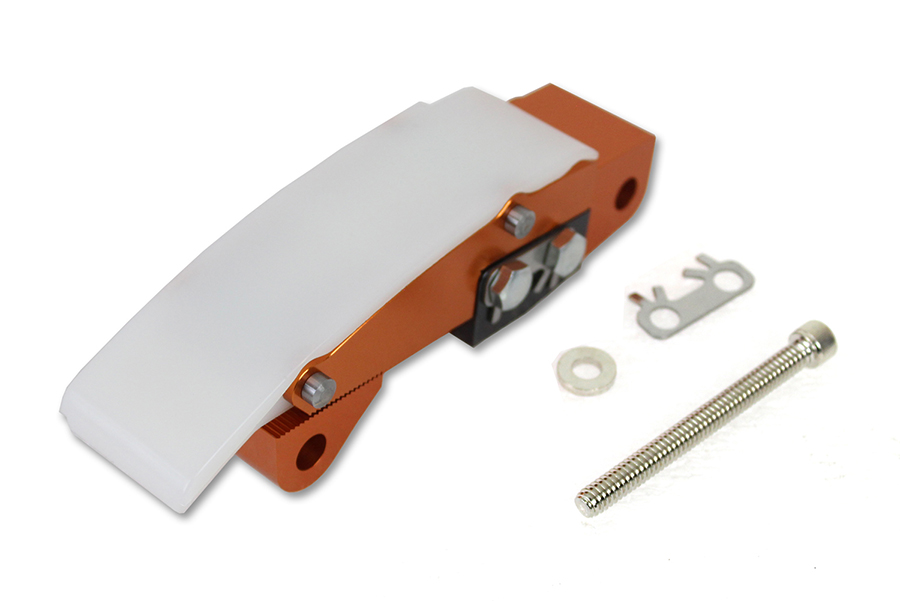
No adjustment. Torch through the inspection opening; look at shoe grooving and chain plate wear. If you want a manual adjuster on a later bike, our catalogue lists kit 18-8328 for FXD 2006-2017.
Replacement
Battery negative off. Fluid drained. Remove the left footpeg or floorboard and shifter linkage as needed, then the outer primary cover. On an old bike the cover may be stuck to its gasket; work round it evenly.
Back off the manual adjuster, or retain the automatic tensioner as the manual describes. Lock the primary with a sprocket locking tool or wedge between the sprockets. Loosen the compensator nut and the clutch hub nut. On a Big Twin the clutch hub nut is LEFT-HAND thread. On an original 1990s bike it has likely never been off, so do not add a cheater bar until you are certain of the direction.
Remove the engine sprocket, chain and clutch basket together. The alternator rotor sits behind the compensator - its magnets grab tools and will be coated in any metal that has been circulating, so clean them.
Reassembly and the first ride
Fit new parts as an assembly. Threadlocker and torque from the manual. Set slack at the tightest spot or reset the tensioner. New gasket or seal, cover on, refill with correct primary fluid to the manual's level. Check clutch adjustment.
Short ride, listening at idle with the lever in and out. Check for leaks. Recheck slack cold against the cold figure. On an older bike, note the date and mileage - this primary's next check should not wait another decade.
Mistakes that cost money
- Assuming the chain has a master link without looking.
- Adjusting at the loosest spot on an unevenly worn original chain.
- Leaving decades-old primary fluid in after an inspection.
- Adding a cheater bar to a left-hand nut turned the wrong way.
- Reusing a grooved shoe with a new chain.
When to stop
If the shoe is worn through to the bracket or the fluid is full of metal, stop and inspect everything in the primary before ordering. An old primary that finally gives up can lock the rear wheel.
Parts for this job
Check fitment for your own model and year before ordering — add your bike and we will flag what fits.
Other Harley how-to guides
This guide covers procedure and judgement. Torque figures, fluid capacities, gaps and tension settings are specific to your model and year and must come from the factory service manual for your motorcycle — we deliberately do not print numbers we cannot stand behind for your bike. Independent aftermarket retailer, not affiliated with Harley-Davidson, Inc.