 HarleyMotorcycleParts
Forty-Eight (XL1200X) Fuel Line: Let the Peanut Tank Help You
The fitting is cramped under that tiny tank, but the tank itself is your way in.
Riders attacking this job tend to fight the fitting under the tank with long pliers and a bad angle, because the tiny peanut tank leaves so little space there. Ironically, the same tank is the solution. It is light and easy to lift compared with anything on a Big Twin, so your best tool is often a little patience and a soft mat. Give your hands room to work and the sleeve stops being a fight.
Tools
- Soft mat to rest the tank on
- Sockets for the tank mounts (sizes per manual)
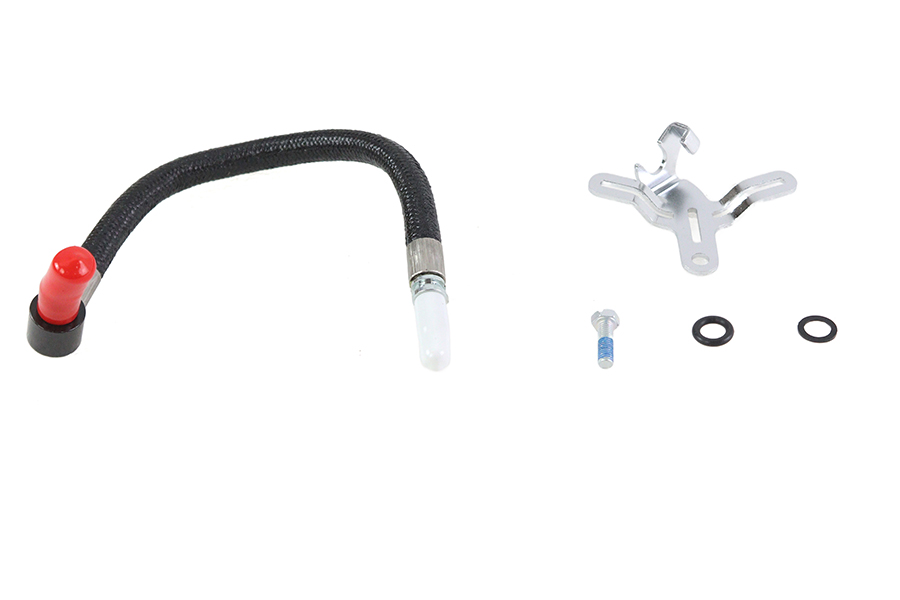
- XL 2007-2021 line and new O-rings
- Sleeve release tool if yours requires one
- Sealed can for residual gasoline
- Fire extinguisher fit for fuel
- Service manual
Before the tank moves
Set up first. Tanks that lift easily also spill easily, so plan on a low fuel level before you begin, and have a sealed can for anything that needs draining. Your motor needs to be cold, and the bike needs real airflow around it, ideally outdoors. Ban sparks and flame, from cigarettes to shed heaters. Stand an extinguisher fit for fuel nearby, and keep your exit path clear. Rags that catch drips go outside afterwards.
Check the part as well. Forty-Eights take the single XL 2007-2021 EFI line in our listings, with no year splitting to worry about. Confirm your own year, then compare the new line with the photos you are about to take.
Pressure out while the tank is still bolted down
Leave the mounts alone until this is finished. Your service manual's purge procedure comes before any lifting, because the fitting you are about to expose still holds high-pressure gasoline. Usually the fuse or pump connector is taken out, the engine is run or cranked until it dies, and the pump stays disconnected.
Then pull the battery's negative cable. Short runs heat a small Sportster quickly, so check the rear header and cylinders by hand before leaning across them.
Lifting it clear
Tank fasteners and their torque are in the manual. Undo them and raise the tank just enough to see below. Do not lift it clean away yet, since it is still tied to the bike by the fuel line, the pump wiring and possibly a vent. Those connections are short, and a tank that is carried off without a look will damage them.
With a helper holding it, or with it resting safely on a padded block, take pictures of everything underneath. Your rag goes below the fitting.
Now release the quick connect, sliding the sleeve with the push and pull your manual shows. You will find this easy with the room you have just made. Plug the tank port. Unplug the pump connector, and anything else that the manual lists, then carry the tank upright to the mat. Keep it away from the bike and from any heat, and do not lay it on its side.
Looking after a tank on the floor
Off the bike, the tank is still a container of fuel and fumes. Check the cap is shut and the port plug is firmly in. Choose a shaded spot on the mat, out of the sun, away from your tools and clear of anywhere you need to walk. Nothing should get put down on top of it.
Aim to refit it the same day. An open bike left overnight invites lost parts and a forgetful morning, and the paint marks easily, so handle the tank with clean hands.
Line off, line on
With the tank out of the way you get a rare clear view of the top of the engine, so look around. Old rub marks, a loose clip or wiring resting against the old line are all worth fixing while you are here.
Follow the old line along its path and record it, then release the engine end as instructed. Offer the new line up next to it, and confirm that the bends agree.
New O-rings on all fittings, no reuse. Those little seals are single-use, and on these joints they are the leak you are most likely to meet. Lock the connection at the engine end, tug it, and clip the line in position with no strain and no contact with anything hot.
Be firm with yourself about one thing. On this tiny bike a short hose and clamp might look like the tidiest answer, and even a good one. It is not allowed. It cannot be trusted on a pressure line.
Tank back on
Carry the tank back and hold it just above its mounts. Reconnect the pump wiring, the vent if there is one, and the line. Lock that fitting while you can still see it, because this is your last good view, then pull it to prove the lock.
Lower the tank, making sure no wire or line is trapped under it. Bolt down to the manual's figure.
Key-on proof
Pump circuit restored, battery after it. Key on, without starting. There should be a short prime, then silence. That peanut tank sits close to everything, so inspect by torch from each side. Repeat several cycles.
A dry result allows you to start it. Look again at idle and at running temperature. If what you need to reach is a line on the module inside the tank, our Fuel Filter and Fuel System Service guide is where that job lives.
Mistakes that cost money
- Wrestling the fitting with pliers rather than raising the tank.
- Unbolting the tank before the purge.
- Lifting it clear while the line and pump wiring are still attached.
- Laying the tank on its side with fuel inside.
- Trapping a wire or the line as the tank goes down.
When to stop
Stop and call a shop if a tank port or connector has cracked, if the pump wiring was strained, or if the tank will not sit down without forcing it. Also if any joint seeps after two tries.
Parts for this job
Check fitment for your own model and year before ordering — add your bike and we will flag what fits.

Other Harley how-to guides
This guide covers procedure and judgement. Torque figures, fluid capacities, gaps and tension settings are specific to your model and year and must come from the factory service manual for your motorcycle — we deliberately do not print numbers we cannot stand behind for your bike. Independent aftermarket retailer, not affiliated with Harley-Davidson, Inc.