 HarleyMotorcycleParts
Fat Boy Fuel Line Replacement, FLSTF and FLFB
The job opens at the tank-top console, and the right line depends on which of two chassis you own.
The surprise on a Fat Boy is not at the fuel line at all. It is on top of the tank. The dash and console mounted there have to come off before you get anywhere, which catches out people who pictured a quick fix. And a Fat Boy is two different bikes: one built on the older twin-shock chassis, the other on the 2018-up design. Parts do not simply cross over between them.
Tools
- Soft blanket for the tank and console
- Tray for console fasteners
- Correct chassis line, or fuel-rated hose and clamps for a carb bike
- New O-rings
- Sealed fuel can
- Extinguisher rated for fuel
- Service manual
Three possibilities behind one name
An FLSTF through 2006 is carburetted, unless it is the injected FLSTFI. Look on your paperwork for that code, then confirm on the bike: petcock and hose running to a carb, or quick connector and throttle body.
Later FLSTF models are EFI and use the FXST/FLST 2001-17 line span in our catalogue, as does the FLSTFI within that range. An FLFB is the 2018-up chassis, so look to the 2018-23 line. Past that, check before buying. Getting this wrong means a dismantled bike and a part you cannot use.
Lay down your safety margin
No matter which fuel system you have, nobody opens a line on a warm Fat Boy. Wait until nothing near the tank or pipes feels warm. Pick somewhere breezy, away from anything with an igniter, and keep sparks and smoke out of it. Set a fuel-rated extinguisher by the door. Decide where drained fuel goes: a closed fuel-safe can, not the floor.
Console off, without marring the finish
A blanket across the tank comes first, since a slipped console will scratch it in a blink. Your service manual gives the removal sequence for the dash and console on your year. Fasteners go in a tray, in the order they came out. Photograph the connections underneath, then unplug them per the manual and support the console so that wires do not take its weight.
On EFI bikes, the pump fuse or connector procedure may interact with this step, so read ahead and do things in the order the manual lists. Do not let tidiness push you to disconnect the battery too soon.
EFI line: FLSTFI, later FLSTF, FLFB
Purge the line under the manual's procedure before unfastening anything fuel-related. Normally, remove the pump fuse or connector, run or crank to a stall, and keep it disconnected. Cool down again if it ran. Negative battery terminal off after that.
Now reach the quick-connect at the tank. Rag in place, slide the sleeve in the push and pull way the manual describes, and part the line. Plug that port right away. If the tank has to rise for access, the manual covers how on your chassis, and the routing on the two chassis should not be assumed to match.
Note the route with photos, take out the old line, then compare. Fit new O-rings, which are the usual leak and are single-use. Lock the fittings in place and pull on them, then secure the clips.
If you were thinking of cutting out a bad section and joining with hose and clamps: no. Not on this line, not for a mile. High-pressure fuel needs the proper formed line.
Carb line: FLSTF through 2006
Close the petcock and remove the battery negative. Drain the hose into the can as you slip it from its ends. Fit fuel-rated, ethanol-tolerant hose, using proper clamps, with an easy path away from heat and no kinks. Replace any O-ring you disturbed. Open the petcock and look for weeps before cranking.
Keep the old line until the new one has proved itself
Do not throw anything away yet. The two chassis have different parts, and nothing from a pre-2018 Softail should be assumed to carry over to an FLFB, so the old line is your reference if the replacement looks wrong or a question comes up about routing. It also shows you exactly where any wear happened.
Solid-disc wheels and big fenders do not affect this job, but those deep fenders can catch drips you miss. After finishing, wipe them down, and let any fuel-soaked rags dry out in open air.
Putting the bike back and proving it
Hold off refitting the console until the leak test passes, as far as your wiring allows. It is much easier to see the fittings with it off. If the console's wiring has to be connected for the key to work, rest it on the blanket with care rather than bolting it down.
EFI: restore the pump circuit, with the battery back last. Switch on without touching the starter, hear the short prime, and study each joint. Repeat a few times. Carb: open the petcock, wait, then look.
Dry? Start it, recheck at idle and hot, then shut off, let it cool, and bolt down the console to the manual's figures. If your line issue is inside the tank, the pump module is covered in our Fuel Filter and Fuel System Service guide.
Mistakes that cost money
- Assuming every FLSTF through 2006 is a carb bike, when the FLSTFI exists.
- Ordering the pre-2018 line for an FLFB, or the other way round.
- Working on the tank with no protection under the console.
- Letting the console hang from its wiring.
- Bolting the console down before the leak test.
When to stop
Stop and book a shop if a console connector breaks, the bike reports faults afterwards, the quick connector or port is damaged, or a joint still weeps after new O-rings.
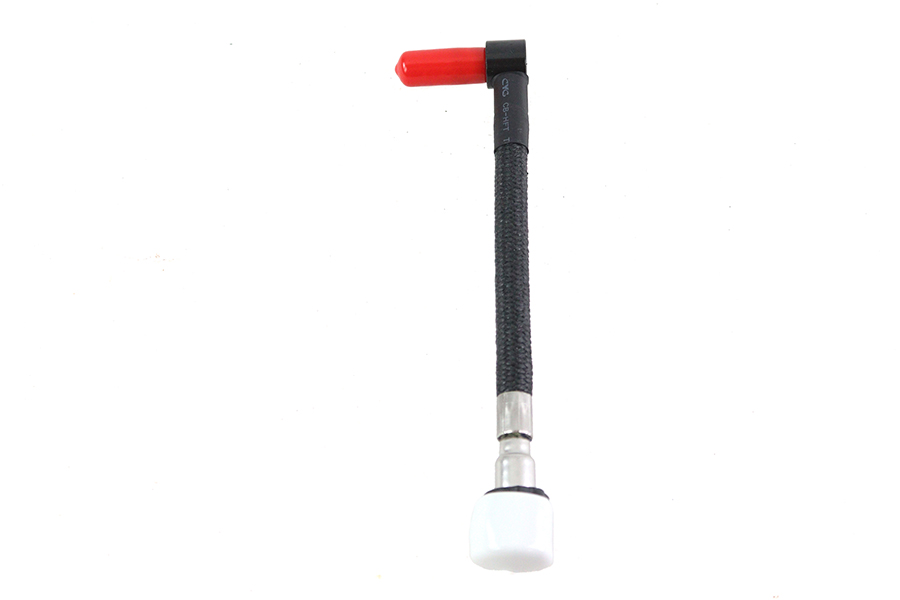
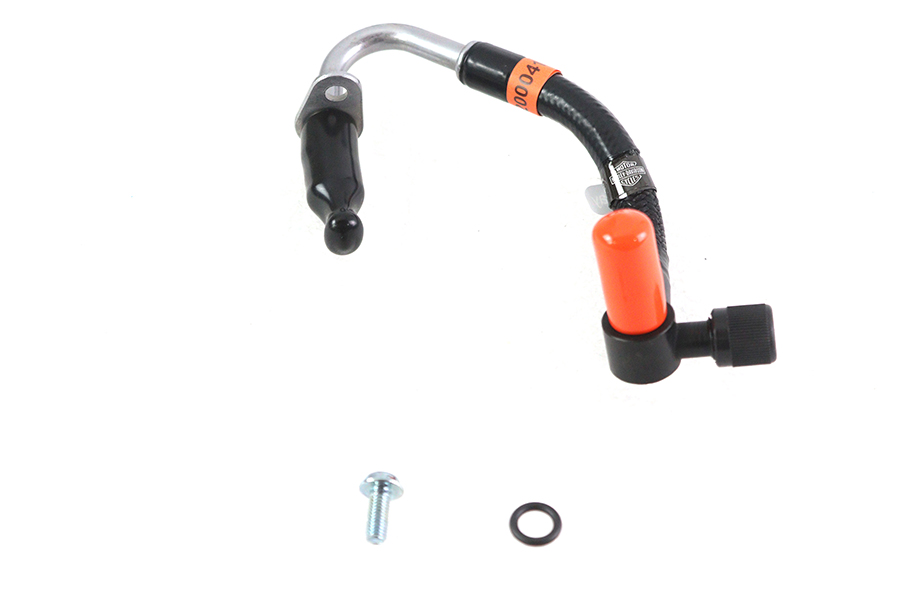
Parts for this job
Check fitment for your own model and year before ordering — add your bike and we will flag what fits.

Other Harley how-to guides
This guide covers procedure and judgement. Torque figures, fluid capacities, gaps and tension settings are specific to your model and year and must come from the factory service manual for your motorcycle — we deliberately do not print numbers we cannot stand behind for your bike. Independent aftermarket retailer, not affiliated with Harley-Davidson, Inc.