Oil Change Guide: 2026 Harley-Davidson Road Glide FLTRX
Oil Change Guide: 2026 Harley-Davidson Road Glide FLTRX
Quick Reference Table
| Spec | Value | Source |
|---|---|---|
| Engine | Milwaukee-Eight 117 (1,923cc) | Harley-Davidson |
| Oil Type | SAE 20W-50 (Harley-Davidson Formula+ or equivalent API SG+) | H-D Service Manual |
| Oil Capacity (with filter) | 3.5 quarts (112 oz) | H-D Service Manual |
| Oil Capacity (no filter) | 3.0 quarts | H-D Service Manual |
| OEM Oil Filter | Harley-Davidson 63731-99A | H-D Parts Catalog |
| Aftermarket Filter Alternatives | K&N KN-170, WIX 57089XP, HiFloFiltro HF204, Amsoil EA79 | Cross-reference |
| Drain Plug Socket | 3/8 inch hex socket | H-D Service Manual |
| Drain Plug Torque | 14-18 ft-lbs | H-D Service Manual |
| Drain Plug Washer | Crush washer (copper or aluminum), replace every change | H-D Service Manual |
| Oil Filter Install | Hand-tighten plus 3/4 turn after gasket contact | H-D Service Manual |
| Service Interval | 5,000 miles | H-D Owner Manual |
Difficulty & Time Estimate
- Difficulty Level: Beginner to Intermediate (1 out of 5)
- Estimated Time: 45-60 minutes (first-timer: 60-75 min)
- Best Done: On a warm engine (oil flows easier)
Complete Tool List
| Tool | Size or Type | Purpose |
|---|---|---|
| Hex wrench or socket | 3/8 inch (10mm) | Remove drain plug |
| Torque wrench | 10-25 ft-lb range, 3/8 drive | Torque drain plug |
| Oil filter wrench | Cap style (76mm 14-flute) or strap type | Remove old filter |
| Oil drain pan | Minimum 6 quart capacity | Catch used oil |
| Funnel | Standard or motorcycle specific | Add new oil |
| New oil filter | OEM 63731-99A or aftermarket equivalent | Replace old filter |
| Drain plug washer | Copper or aluminum crush washer, new each time | Seal drain plug |
| Clean rags or paper towels | Several | Cleanup |
| Cardboard or mat | One piece | Protect floor |
| Jack or lift | Motorcycle rated | Elevate bike for access |
Step by Step Instructions
Step 1: Warm the Engine
Run your bike for 5 to 10 minutes to warm the oil. Warm oil flows more completely and carries suspended contaminants. Do NOT change oil on a completely cold engine. Park on a level surface and let the bike sit for 2 to 3 minutes so oil drains back into the sump.
Step 2: Elevate the Bike
Place the motorcycle on a jack or lift so it is level and you have good access to the underside of the engine. Use jack stands for safety. Do not rely on a hydraulic jack alone.
Step 3: Remove the Oil Fill Cap
Remove the oil fill cap or dipstick from the top of the oil tank. This allows air in so the oil can drain freely. On most Milwaukee Eight Touring models, the fill cap is on the right side under the seat or accessible from the right side panel.
Step 4: Position the Drain Pan
Place your oil drain pan beneath the engine. Make sure it has at least 6 quart capacity.
Step 5: Remove the Drain Plug
Using a 3/8 inch hex wrench, loosen the drain plug on the bottom of the oil tank. Turn counterclockwise. Finish removing by hand, being ready for hot oil to flow immediately.
Warning: Oil may be hot. Wear gloves and eye protection.
Step 6: Drain All the Oil
Allow all oil to drain completely. This takes 10 to 15 minutes. While draining, inspect the drain plug and washer for damage, burrs, or excessive metal shavings.
Step 7: Replace the Drain Plug Washer
Remove the old crush washer from the drain plug. Replace it with a new one. Never reuse crush washers, they deform to make a seal and reusing them causes leaks.
Step 8: Reinstall the Drain Plug
Clean the drain plug and its threads. Install drain plug with the new washer, hand tighten, then use your torque wrench to tighten to 14 to 18 ft-lbs.
Important: Do not over-torque. Stripping the oil tank threads is an expensive repair. Always use a torque wrench, never guess.
Step 9: Remove the Old Oil Filter
The oil filter is typically located on the bottom or side of the oil tank on Milwaukee Eight engines. Position the drain pan beneath it. Use an oil filter wrench to loosen the filter, then spin it off by hand. Check that the old rubber gasket did not stick to the engine mounting surface (this causes major leaks if it does).
Step 10: Prepare the New Filter
Dip your finger in clean oil and rub a thin coat onto the rubber gasket of the new filter. This ensures a good seal and makes future removal easier. Verify the old filter gasket came off with the old filter.
Step 11: Install the New Filter
Screw the new filter on by hand. When the rubber gasket contacts the mounting surface, tighten it an additional 3/4 turn by hand. Do not use a wrench or filter tool to tighten the new filter. Hand tight only.
Step 12: Add New Oil
Using a funnel, pour 3 quarts of SAE 20W-50 motorcycle oil into the fill port. Use oil that meets Harley Davidson Formula+ specifications or API SG or higher. Do not use automotive oils with friction modifiers as they cause clutch slippage.
Step 13: Check the Oil Level
- Install the dipstick or fill cap but do not fully tighten it yet
- Start the engine and let it idle for 2 to 3 minutes to circulate the new oil through the filter
- Turn off the engine and wait 1 to 2 minutes for oil to settle
- Check the oil level with the dipstick (the bike should be level during this check)
- If the level is low, add oil in small amounts (a quarter cup at a time) and recheck
- Final oil level should be between the Add and Full marks on the dipstick
Step 14: Final Inspection
- Check for leaks around the drain plug
- Check for leaks around the oil filter
- Tighten the oil fill cap or dipstick securely
- Clean up any spilled oil
- Reset service reminder if equipped
Tips, Warnings & Common Mistakes
Helpful Tips
- Harley Davidson Formula+ semi or full synthetic oil is the OEM recommendation
- Good alternatives: Mobil 1 V-Twin 20W-50, Amsoil V-Twin Synthetic, Castrol Power1 V-Twin 20W-50
- Always verify JASO MA or MA2 rating on any oil for wet clutch compatibility
- Change oil after long storage or before the riding season
- Keep a maintenance log with date, mileage, and oil brand used
- Check oil level before every ride, as Milwaukee-Eight engines can show some consumption
Warnings
- NEVER use automotive oils with Energy Conserving labels or friction modifiers. These cause wet clutch slippage and damage the transmission.
- NEVER start the engine without oil. This causes immediate and severe engine damage.
- NEVER over-torque the drain plug. A stripped oil tank thread requires expensive repair.
- Always use a motorcycle-specific oil filter. Some car filters do not have the correct bypass valve pressure.
Common Mistakes to Avoid
| Mistake | Consequence | Prevention |
|---|---|---|
| Over-torquing drain plug | Stripped oil tank threads | Always use a torque wrench |
| Reusing drain plug washer | Oil leak after change | Always replace washer, keep extras on hand |
| Using car oil instead of motorcycle oil | Clutch slippage | Verify JASO MA or MA2 on label |
| Not checking oil level after fill | Engine damage from low oil | Start bike, wait, then recheck dipstick |
| Double-gasketing the filter | Massive oil leak | Confirm old gasket came off with old filter |
| Forgetting to remove fill cap before draining | Oil will not fully drain | Always remove the fill cap first |
Oil Disposal
Used motor oil is hazardous waste and should never be poured down a drain, into the trash, or on the ground.
- Pour the drained oil into a clean container with a tight fitting lid, such as the empty oil bottles
- Take it to a certified recycling center. Most auto parts stores accept used oil for free: - AutoZone: Free oil recycling at all locations - OReilly Auto Parts: Free oil and filter recycling - Advance Auto Parts: Free oil recycling - NAPA Auto Parts: Accepts oil at most locations, call ahead to confirm
- Take the old oil filter with you. These stores typically also recycle filters.
- Your municipal recycling center or household hazardous waste facility is another option.
- Never mix used oil with other automotive fluids (antifreeze, brake fluid, transmission fluid) as this makes recycling difficult or impossible.
Verification Notes for 2026 Model Year
The 2026 Road Glide received a new frame design compared to 2024 and earlier Touring models. The following specs should be verified against your owner's manual:
| Item | Known Value | Notes |
|---|---|---|
| Oil capacity | 3.5 quarts with filter | Based on Milwaukee-Eight Touring specs, verify for 2026 frame |
| Drain plug tool | 3/8 inch hex | Standard Mil-8 spec, confirm on actual bike |
| Drain plug torque | 14 to 18 ft-lbs | Standard Mil-8 spec, owner manual may differ |
| Filter location | Bottom or side of oil tank | New frame geometry may alter access |
| Oil fill location | Right side under seat area | May differ on 2026 frame |
To verify all specifications, check your 2026 Road Glide owner's manual included with the motorcycle, or access it through the Harley-Davidson mobile app.
This guide was prepared using Milwaukee-Eight service manual specifications and Harley-Davidson OEM recommendations. Always verify against your specific owner's manual before performing maintenance.
Parts for this job
Fits FLTRX, FLTR, FLT, FL — from our catalogue of 41,000+ aftermarket parts.
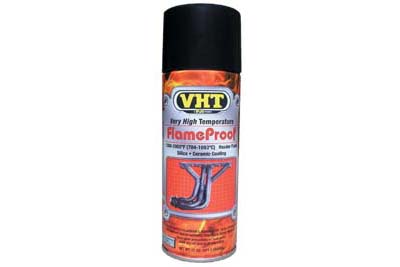 Exhaust Port Nuts Zinc$8.51
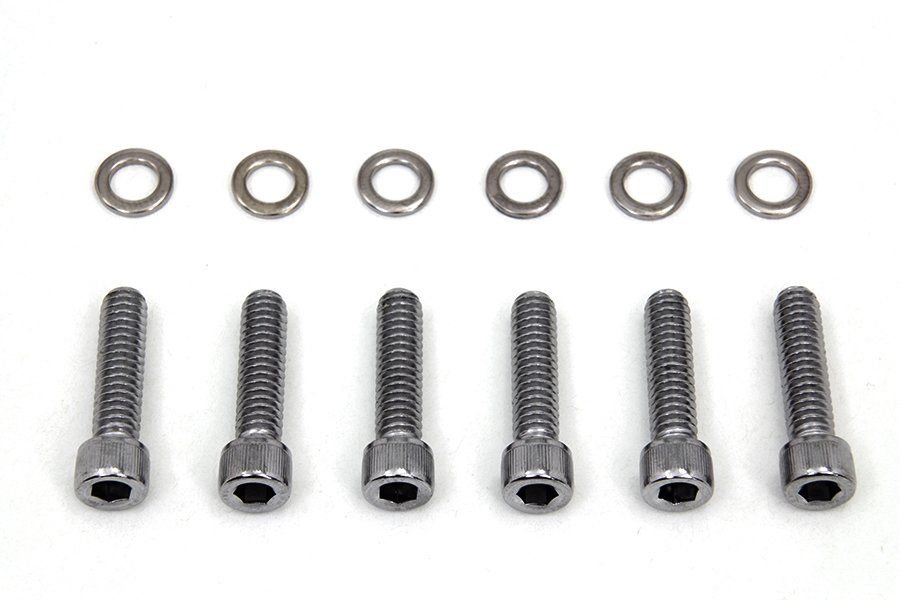 Transmission Shifter Cover Allen Screw Kit Zinc$10.67
 Gas Tank Hose Fitting Cadmium$10.67
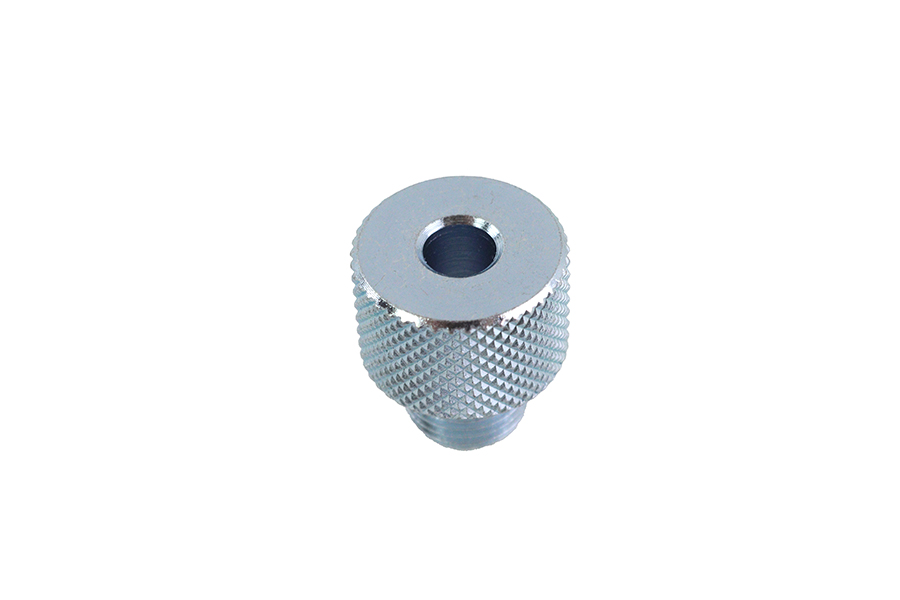 Oil Pump Plug$11.88
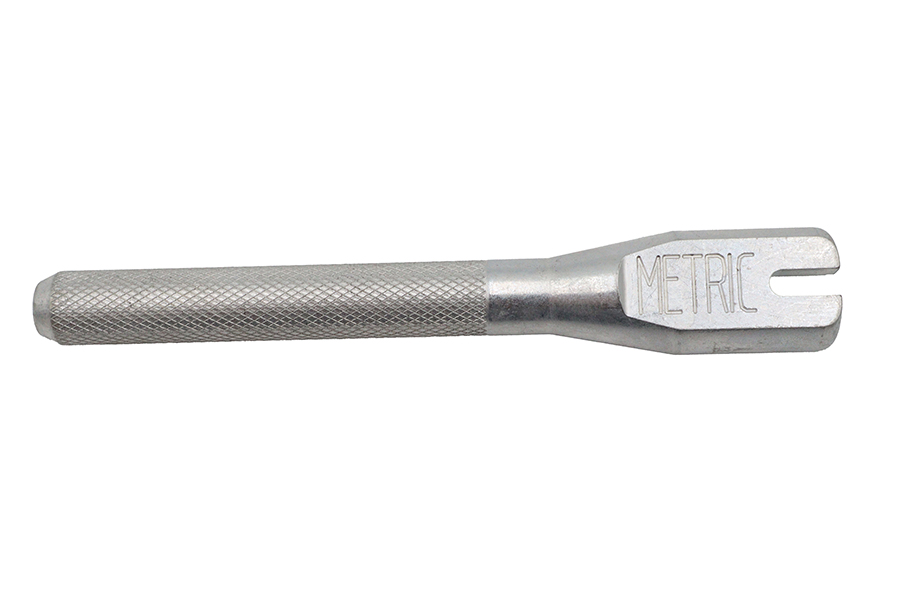 Mainshaft Oil Seal Cork Washer and Main Drive Gear S$12.67Transmission Shifter Cover Screw Kit Chrome$12.80
 Hex Spin On Oil Filter$12.80
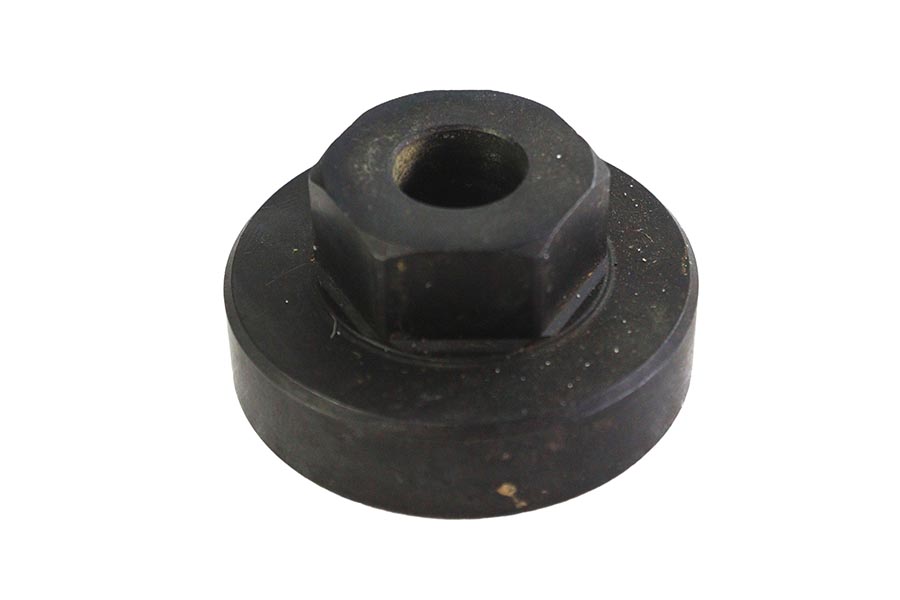 Chrome Flat Top Fork Tube Bolt$12.80
 Brake Caliper Bleeder Screws Black$12.83Gas Tank Buffer$13.21
 K&N Spin On Oil Filter Black$14.72
 Magnetek Oil Filter$14.96