Oil Change Guide: 2025 Harley-Davidson Iron 883 XL883N
Oil Change Guide: 2025 Harley-Davidson Iron 883 XL883N
Quick Reference Table
| Spec | Value | Source |
|---|---|---|
| Engine | Evolution 883cc (54 cubic-inch, air-cooled 45-degree V-twin) | Harley-Davidson |
| Frame Platform | Sportster (classic tube frame, rubber-mounted engine) | Harley-Davidson |
| Oil Type | SAE 20W-50 (Harley-Davidson Formula+ or equivalent API SG+) | H-D Service Manual |
| Oil Capacity (with filter) | Approximately 3.0 quarts (96 oz) | H-D Service Manual |
| Oil Capacity (no filter) | Approximately 2.5 quarts (80 oz) | H-D Service Manual |
| OEM Oil Filter | Harley-Davidson 63731-99A | H-D Parts Catalog |
| Aftermarket Filter Alternatives | K&N KN-170, WIX 57089XP, HiFloFiltro HF204 | Cross-reference |
| Drain Plug Socket | 3/8 inch hex (10mm Allen) | H-D Service Manual |
| Drain Plug Torque | 14-18 ft-lbs | H-D Service Manual |
| Drain Plug Washer | Copper or aluminum crush washer, replace every change | H-D Service Manual |
| Oil Filter Install | Hand-tighten plus 3/4 turn after gasket contact | H-D Service Manual |
| Service Interval | 5,000 miles (Evolution engines have shorter intervals than M-8) | H-D Owner Manual |
Difficulty and Time Estimate
- Difficulty Level: Beginner (1 out of 5)
- Estimated Time: 30-45 minutes (first-timer: 45-60 min)
- Best Done: On a warm engine (5-10 min of riding, then 5 min to settle)
Complete Tool List
| Tool | Size/Type | Purpose |
|---|---|---|
| Allen/hex wrench | 3/8 inch (10mm) | Remove drain plug |
| Torque wrench | 10-25 ft-lb range, 3/8 inch drive | Torque drain plug to spec |
| Ratchet | 3/8 inch drive | General use |
| Oil filter wrench | Can-style spin-on filter wrench or strap-type | Remove old filter |
| Oil drain pan | Minimum 4-quart capacity | Catch used oil (Iron 883 uses less oil) |
| Funnel | Standard | Add new oil |
| New oil filter | OEM 63731-99A or aftermarket equivalent | Replace old filter |
| Drain plug washer | Copper or aluminum crush washer (new) | Seal drain plug |
| Clean rags | Several | Cleanup |
| Ground cover | Cardboard or mat | Protect floor |
Step-by-Step Instructions
Step 1: Warm the Engine
Start your Iron 883 and let it run for 5-10 minutes. The air-cooled Evolution engine warms up relatively quickly. Warm oil drains more thoroughly and carries away debris better than cold oil. Park on a level surface and let the engine sit for 5 minutes to let oil drain back to the crankcase sump.
Step 2: Position the Bike
The Iron 883 sits low to the ground with its 25.9 inch seat height. Position the bike so you have good access to the underside. A small pad or creeper helps. For easier access, prop the bike up slightly on a rear stand or lift if available.
Step 3: Remove the Oil Fill Cap
Locate the oil fill cap on the top of the oil tank (located on the left side of the frame on Sportster models). Remove it to allow air into the system for a complete drain.
Note: On Evolution Sportsters, the oil tank is a separate component mounted under the seat area — this differs from Softail models where the oil is held within the frame.
Step 4: Position the Drain Pan
Place a minimum 4-quart capacity drain pan beneath the drain plug on the bottom of the Evolution engine crankcase.
Step 5: Remove the Drain Plug
Using a 3/8 inch hex wrench, loosen the drain plug on the bottom of the crankcase counterclockwise. Finish removing by hand — be ready for oil to flow immediately.
Warning: Oil may be warm. Wear gloves and eye protection.
Step 6: Drain the Oil Completely
Allow all oil to drain. This should take 10-15 minutes. While waiting, inspect the drain plug and mounting area for damage. The Evolution engine has a cast aluminum crankcase — treat it gently to avoid thread damage.
Step 7: Replace the Drain Plug Washer
Remove the old crush washer from the drain plug and replace with a new copper or aluminum washer. Do NOT reuse the old washer — it was deformed to create a seal and will leak if reused.
Step 8: Reinstall the Drain Plug
Clean the drain plug threads, install with the new washer, hand-tighten, then use your torque wrench to tighten to 14-18 ft-lbs.
Do NOT over-torque. The Evolution crankcase has aluminum threads. Stripping them is expensive and difficult to repair.
Step 9: Remove the Old Oil Filter
The spin-on oil filter is located on the right side of the Evolution engine, near the bottom. Place catch rags or a small pan below the filter area. Use a can-style filter wrench or strap wrench to loosen, then spin off by hand. Oil will drip out as you remove it.
Step 10: Prepare the New Filter
Before installing: 1. Apply a thin film of clean 20W-50 motorcycle oil to the rubber gasket of the new filter 2. Inspect the engine mounting surface to confirm the old gasket was fully removed 3. Do NOT pre-fill the filter — it is mounted horizontally and will spill
Step 11: Install the New Oil Filter
Screw on the new filter by hand. When the gasket contacts the mounting surface, turn an additional 3/4 turn by hand.
No tools. Hand-tighten only.
Step 12: Add New Oil
Using a funnel, pour approximately 2.5 quarts of SAE 20W-50 motorcycle oil into the fill port on the oil tank. Use Harley-Davidson Formula+ or equivalent API SG or higher rated oil with JASO MA or MA2 certification.
Step 13: Check the Oil Level
- Place the fill cap back on the oil tank without tightening it down
- Start the engine and idle for 2-3 minutes to circulate oil through the filter
- Turn off the engine and wait 1-2 minutes for oil to settle back into the tank
- Check the dipstick — oil level should be between the Add (lower) and Full (upper) marks
- If below the lower mark, add oil in small increments (1/4 cup at a time), rechecking between each
- Tighten the fill cap securely when the level is correct
Step 14: Final Checks
- Inspect around the drain plug for any leaks
- Inspect around the oil filter for any leaks
- Wipe down any spilled oil from the engine or frame
- Clean up your work area
- Properly dispose of the used oil and filter (see below)
- Record your service in a maintenance log
Tips, Warnings and Common Mistakes
Helpful Tips
- Evolution engines are simpler: The 883cc Evolution engine is mechanically simpler than Milwaukee-Eight and Revolution Max engines, making oil changes more straightforward.
- Shorter service interval: Evolution engines typically use a 5,000-mile oil change interval — more frequent than modern Milwaukee-Eight bikes. This is because the Evolution platform was designed with conservative maintenance schedules.
- Oil recommendations: H-D Formula+ is OEM spec. Good alternatives: Mobil 1 V-Twin 20W-50, Red Line V-Twin 20W-50, Amsoil V-Twin Synthetic 20W-50. Must be JASO MA/MA2.
- Frequent checks: Sportster engines can consume a small amount of oil. Check the dipstick regularly, especially on higher-mileage Iron 883s.
Warnings
- NEVER use automotive oils with friction modifiers — wet clutch slippage and transmission damage will result.
- Do NOT over-torque the drain plug — the Evolution aluminum crankcase is vulnerable to thread damage.
- NEVER start the engine without oil — immediate and catastrophic engine damage will occur.
Common Mistakes to Avoid
| Mistake | Consequence | How to Avoid |
|---|---|---|
| Over-torquing drain plug | Stripped crankcase threads | Always use torque wrench at 14-18 ft-lbs |
| Reusing drain washer | Oil leaks from crankcase | Always replace — keep spares in your kit |
| Using car (automotive) oil | Clutch slippage, transmission wear | Verify JASO MA or MA2 on the bottle |
| Not checking oil after refill | Running with low oil | Always start engine, wait, recheck |
| Double-gasketing the filter | Oil leak from filter mount | Confirm old gasket came off with old filter |
| Forgetting to remove fill cap | Oil does not drain fully | Remove fill cap as your first step |
Oil Disposal
Used motor oil is hazardous waste and must be recycled properly. Never pour it down a drain, into the trash, or on the ground.
- Pour the drained oil into a clean container with a tight-fitting lid (empty oil bottles work well)
- Take to a certified recycling center. These auto parts stores accept used oil for free: - AutoZone — free oil recycling, all U.S. locations - O'Reilly Auto Parts — free oil and filter recycling - Advance Auto Parts — free oil recycling - NAPA Auto Parts — most locations accept oil, call ahead
- Bring the old oil filter — these stores also recycle filters
- Your municipal recycling center or hazardous waste disposal facility also accepts used oil
- Never mix oil with other automotive fluids — this makes recycling very difficult or impossible
Verification Notes for 2025 Model Year
Note: The Iron 883 was discontinued after 2022 in many markets, but remains popular as a used motorcycle. Verify these specs against your specific year and model owner's manual:
| Spec | Known Value | Notes |
|---|---|---|
| Oil capacity | ~3.0 quarts (with filter) | Evolution 883 cc sportster engine spec |
| Oil type | SAE 20W-50 | Standard for air-cooled Evolution engines |
| Drain plug tool | 3/8 inch hex (10mm Allen) | Standard for Sportster platform |
| Drain plug torque | 14-18 ft-lbs | Do NOT exceed — aluminum crankcase |
| Filter location | Right side of engine, near bottom | Easy access on Sportster |
| Oil fill location | Top of left-side oil tank (under seat area) | Separate tank, not frame-mounted |
| Service interval | 5,000 miles | Evolution engines use more frequent service intervals |
| Oil tank type | Separate mounted tank (not frame-integrated) | Differs from Softail and Milwaukee-Eight |
To verify: Consult your specific model year owner's manual or contact an authorized Harley-Davidson dealer. The Evolution engine was produced for many years with minimal changes, so specs are generally consistent across model years.
Guide prepared based on Harley-Davidson Evolution 883cc service manual specifications and OEM recommendations. Always verify against your specific owner's manual before performing maintenance.
Parts for this job
Fits XL883N, XL883, XL — from our catalogue of 41,000+ aftermarket parts.
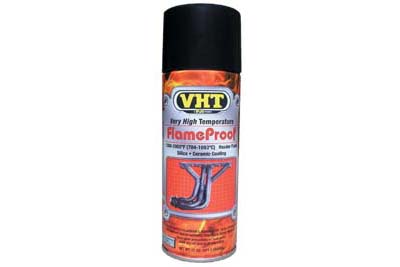 Exhaust Port Nuts Zinc$8.51
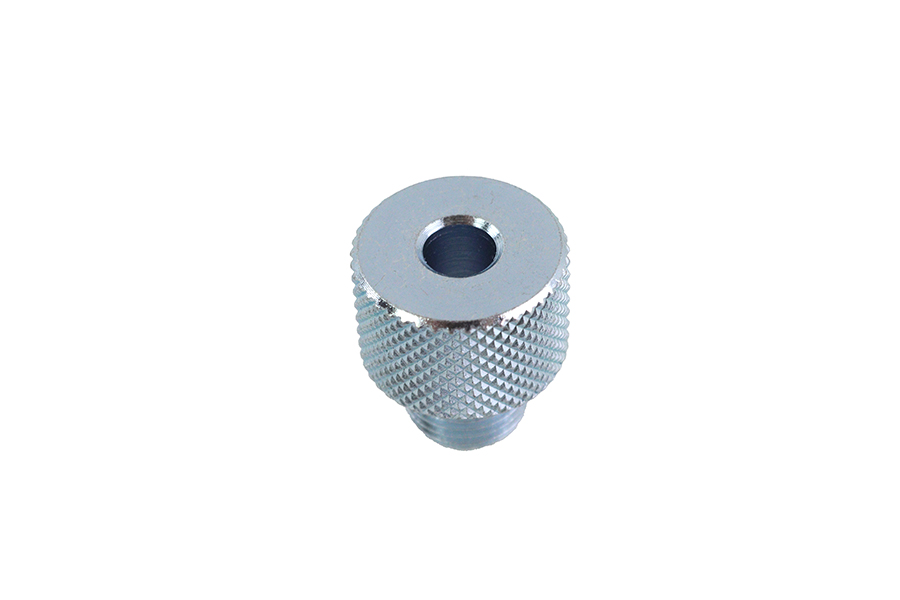 Oil Pump Plug$11.88
 Gas Tank Mounting Kit Chrome Plated$12.10
 Spin On Oil Filter$12.80
 Hex Spin On Oil Filter$12.80Gas Tank Mount Kit$14.62
 K&N Spin On Oil Filter Black$14.72
 Magnetek Oil Filter$14.96
 Ultima Spin On Oil Filter Chrome$16.74
 Spin-On Oil Filter$17.15
 Lower Fork Slider Chrome Drain Plug$18.34
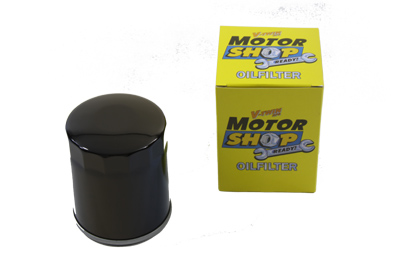 Stock Spin On Oil Filter$18.50