Oil Change Guide: 2026 Harley-Davidson Freewheeler (FLRT)
Oil Change Guide: 2026 Harley-Davidson Freewheeler (FLRT)
The Harley-Davidson Freewheeler (FLRT) is Harley's three-wheel touring trike powered by the Milwaukee-Eight 114 V-twin. Its dry-sump lubrication system stores oil in the frame reservoir rather than the crankcase, and its extra-trike weight adds unique service considerations. This guide walks you through a complete oil and filter change.
Quick Reference Table
| Spec | Value |
|---|---|
| Engine | Milwaukee-Eight 114 (1,868cc / 114 cu in) air-cooled V-twin |
| Oil Type | SAE 20W-50 V-twin motorcycle oil, API SJ or higher, JASO MA |
| Oil Capacity (with filter) | 3.5 quarts (3.3 liters) |
| Oil Capacity (without filter) | 3.0 quarts (2.8 liters) |
| OEM Oil Filter | Harley-Davidson 63731-09 |
| Aftermarket Filter Alternatives | K&N KN-170, Hiflo HF170, AMSOIL EaO10, WIX 57053 |
| Drain Plug Socket | 5/16 inch hex socket |
| Drain Plug Torque | 14-16 ft-lbs (19-22 Nm) |
| Drain Plug Washer | Harley-Davidson sealing washer, replace every service |
| Oil Filter Install | Hand-tighten to gasket contact + 3/4 turn |
| Service Interval | 5,000 miles or 12 months, whichever comes first |
Difficulty and Time Estimate
- Difficulty Level: Intermediate (2.5 out of 5) — trike stability requires extra care
- Estimated Time: 45-60 minutes (first-timer: 60-90 min)
- Best Done: On a warm engine after a short ride, trike on a dead-level concrete surface with a trike-rated lift or heavy-duty jack stands
Complete Tool List
| Tool | Size/Type | Purpose |
|---|---|---|
| Hex socket | 5/16 inch hex | Remove frame oil tank drain plug |
| Torque wrench | 10-30 ft-lb range, 3/8 inch drive | Torque drain plug to Harley spec |
| Ratchet | 3/8 inch drive | General use |
| Socket extension | 3/8 inch drive, 3-6 inch | Reach frame drain plug |
| Oil filter wrench | Strap or cap type (3 inch filter diameter) | Remove old spin-on filter |
| Oil drain pan | Minimum 5-quart capacity | Catch used oil |
| Funnel | Long-neck, wide base | Add oil into frame reservoir |
| New oil filter | Harley-Davidson 63731-09 or equivalent | Replace old filter |
| Drain plug sealing washer | Harley-Davidson OEM sealing washer | Seal drain plug after removal |
| Trike-rated motorcycle lift | Rated 1,000+ lbs with wide base plates | Safely lift and stabilize the trike |
| Front wheel chock | Heavy-duty | Secure front wheel while lifting |
| Clean shop towels | Several | Cleanup and wiping |
| Ground cover | Cardboard or rubber mat | Protect your floor |
| Nitrile gloves | Standard | Protect hands from hot oil |
Step-by-Step Instructions
Step 1: Warm the Engine
Start the Freewheeler and let it idle for 3-5 minutes to warm the oil. The Milwaukee-Eight 114 heats up relatively quickly. Warm oil drains more completely and carries suspended contaminants out of the system. Park the trike on a dead-level concrete surface.
Tip: Do not rev the engine — a gentle idle is sufficient to warm the oil without overheating components.
Step 2: Secure the Trike and Position Lift
Engage the parking brake. Place a heavy-duty front wheel chock and position a trike-rated motorcycle lift under the main frame cross-member or designated lift points. Do NOT lift by the rear differential, swingarm, exhaust pipes, or primary cover. Raise the trike just enough to clear the floor and engage the lift locks or jack stands.
Warning: The Freewheeler weighs over 1,100 lbs with the trike rear end. Its center of gravity is shifted rearward compared to two-wheel Harley models. Use equipment rated for this weight class and never rely on a standard motorcycle jack alone.
Step 3: Remove the Seat and Access the Frame Oil Reservoir
On the Freewheeler, the oil fill cap/dipstick is on top of the frame-mounted oil reservoir tube. Pull the seat quick-release, lift straight up, and set aside. Clean the area around the fill cap thoroughly before opening to prevent dirt from entering the reservoir.
Step 4: Open the Oil Fill Cap
Unscrew the oil fill cap to release vacuum in the reservoir. This allows oil to drain freely from the frame tank.
Step 5: Position the Drain Pan
Slide a minimum 5-quart oil drain pan beneath the frame oil tank drain plug, located on the lower frame rail on the right side near the transmission housing. Make sure the pan is stable and well-positioned before removing the plug.
Tip: The rear differential and drive shaft are positioned above the drain area. Take care not to contaminate brake components or U-joints with oil drips.
Step 6: Remove the Drain Plug
Using a 5/16 inch hex socket, crack the drain plug loose. Remove the final turns by hand — oil will flow immediately once the plug is free.
Warning: Oil may be very hot. Wear nitrile gloves and eye protection. Keep hands clear of hot exhaust pipes.
Step 7: Drain the Oil Fully
Allow all oil to drain completely — approximately 12-15 minutes. Inspect the drain plug and drained oil for any unusual metallic debris. A small amount of fine particles is normal, but visible chunks or excessive metallic material should be reviewed by a Harley-Davidson service center.
Step 8: Replace the Drain Plug Sealing Washer
Remove the old sealing washer from the drain plug. Replace it with a new Harley-Davidson OEM sealing washer. Do NOT reuse the old washer — these crush washers deform during service and will leak if reinstalled.
Step 9: Reinstall the Drain Plug
Clean the drain plug threads and the frame tank drain port seating area. Install with the new washer and hand-tighten. Using your torque wrench, tighten to 14-16 ft-lbs (19-22 Nm).
Do NOT over-torque. The frame oil tank uses thin-gauge metal. Cross-threading or over-torquing will require expensive helicoil repair or frame section replacement.
Step 10: Locate and Remove the Old Oil Filter
The spin-on oil filter is mounted on the lower right frame rail, forward of the rear wheels and below the transmission area. Position the drain pan underneath to catch residual oil. Use a strap or cap-style filter wrench to loosen, then unscrew by hand.
Step 11: Clean the Mounting Surface and Prepare the New Filter
Wipe the filter mounting pad on the frame bracket with a clean lint-free shop towel. Ensure zero remnants of the old rubber gasket remain before installing the new filter.
Before installing: 1. Apply a thin film of clean 20W-50 motorcycle oil to the rubber gasket on the new filter 2. Do NOT pre-fill the filter — it is mounted at an angle and will spill during installation 3. Verify the filter matches the Harley-Davidson 63731-09 specification or cross-reference
Step 12: Install the New Oil Filter
Screw the new filter on by hand. When the gasket contacts the mounting surface, tighten an additional 3/4 turn by hand.
Hand-tighten only. Do NOT use a wrench for installation. Over-tightening will distort the gasket and cause leaks.
Step 13: Add New Oil
Using a long-neck funnel, pour approximately 3.0 quarts of SAE 20W-50 V-twin motorcycle oil into the frame oil reservoir fill tube.
Critical: Use SAE 20W-50 motorcycle oil meeting API SJ or higher AND JASO MA. Do NOT use 10W-30 Honda oil. Do NOT use automotive oils with friction modifiers — they will cause Harley wet-clutch slippage.
Step 14: Verify the Oil Level
- Reinstall the oil cap/dipstick but do NOT thread it in — simply seat it on the fill tube
- Wait 60-90 seconds for oil to settle
- Remove and check — the oil level should be between the lower "Add" mark and the upper "Full" mark on the dipstick
- If below the Add mark, add oil in 2-ounce increments, reseat the cap, and recheck
- Once level is correct, firmly reinstall the fill cap
Step 15: Run, Leak-Check, and Finalize
- Start the engine and idle for 2-3 minutes
- Inspect the drain plug and oil filter for any seepage or leaks
- Shut off the engine and wait 3-5 minutes for oil to settle back into the frame tank
- Re-check the dipstick level one final time and top off if needed
- Reinstall the seat securely
- Clean any spilled oil from the frame, engine, and trike rear end
Warning: The Freewheeler's dry-sump system stores all engine oil in the frame tank. Running the engine even briefly below the minimum oil level will cause oil pump starvation and catastrophic engine failure. Always err on the side of over-checking rather than under-checking.
Tips, Warnings and Common Mistakes
Helpful Tips
- Trike-specific lift points: Always use the main frame cross-member or OEM-designated lift points. Never lift by the rear differential housing, swingarm pivot, or exhaust headers.
- Keep a log: Record date, mileage, oil brand, and filter part number for warranty documentation and maintenance tracking.
- Filter availability: The Harley 63731-09 filter is cross-referenced with the K&N KN-170 and Hiflo HF170, making aftermarket sourcing easy.
- Check oil regularly: The Milwaukee-Eight 114 may burn a small amount of oil. Check the dipstick at every fuel fill-up or at least every 500 miles.
Warnings
- NEVER use automotive oils with friction modifiers — these cause wet-clutch slippage in the Milwaukee-Eight. Always verify JASO MA certification.
- Do NOT over-torque the drain plug — the frame oil tank metal is thin. Torque to exactly 14-16 ft-lbs using a calibrated wrench.
- Do NOT skip the seat removal cleanup — loose debris (leaves, dust, insects) on the seat base will fall into the oil reservoir when you open the fill cap.
Common Mistakes to Avoid
| Mistake | Consequence | How to Avoid |
|---|---|---|
| Using 10W-30 motorcycle oil | Wrong viscosity for Milwaukee-Eight operating temperature range | Use 20W-50 as specified by Harley-Davidson |
| Using automotive passenger car oil | Wet-clutch slippage and transmission wear | Verify JASO MA certification on the oil label |
| Over-torquing drain plug | Stripped frame tank threads, oil leak, expensive repair | Torque to 14-16 ft-lbs exactly |
| Reusing old sealing washer | Recurring oil weeping and drips | Always replace with new OEM washer each service |
| Lifting by swingarm or rear differential | Frame stress, misalignment, trike instability | Use designated frame lift points only |
| Overfilling oil reservoir | Excess crankcase pressure, oil aeration, blown breather | Fill in small increments and verify dipstick each time |
| Performing oil change on uneven surface | Inaccurate oil level reading, trike tipping hazard | Park on dead-level concrete with front wheel chocked |
Oil Disposal
Used motor oil is hazardous waste. Never pour it down a drain, into the trash, or on the ground.
- Pour the drained oil into a clean, sealable container (empty oil bottles work well)
- Take it to a certified recycling center. Most major auto parts stores accept used oil at no charge: - AutoZone — free oil recycling, all locations - O'Reilly Auto Parts — free oil and filter recycling - Advance Auto Parts — free oil recycling - NAPA Auto Parts — most locations accept oil, call ahead - Harley-Davidson dealerships — typically accept owner-dropped oil for recycling
- Bring the old oil filter — these stores typically recycle filters as well
- Your local municipal recycling center or household hazardous waste program also accepts used oil
- Never mix used oil with other fluids (antifreeze, brake fluid, gasoline) — this prevents recycling
Verification Notes for 2026 Model Year
The following specs should be verified against your 2026 Harley-Davidson Freewheeler owner's manual:
| Spec | Known Value | Notes |
|---|---|---|
| Oil capacity | 3.5 qts with filter (3.0 qts without) | FLRT Milwaukee-Eight 114 spec — verify for your model year |
| Oil type | SAE 20W-50, API SJ+, JASO MA | Do NOT use 10W-30 or automotive oil |
| Drain plug tool | 5/16 inch hex socket | Imperial — Harley uses SAE tools |
| Drain plug torque | 14-16 ft-lbs | Frame oil tank — do not exceed |
| Oil filter part | Harley-Davidson 63731-09 | Cross-reference: K&N KN-170, Hiflo HF170 |
| Oil fill/check location | Under seat — top of frame oil reservoir tube | Check with cap seated, NOT screwed in |
| Service interval | 5,000 miles or 12 months | More frequent for severe/touring conditions |
| Trike weight | ~1,100+ lbs | Use trike-rated lift equipment |
To verify: Consult your 2026 Harley-Davidson Freewheeler owner's manual. It is available in print (included with the motorcycle) or digitally via Harley-Davidson's rider resources website. An authorized Harley-Davidson service center can also confirm specifications.
Guide prepared based on Harley-Davidson Milwaukee-Eight 114 service manual specifications and Harley-Davidson OEM recommendations. Always verify against your specific owner's manual before performing maintenance. Trike-specific weight and center-of-gravity considerations apply to the Freewheeler FLRT platform only.
Parts for this job
Fits FLRT, FL — from our catalogue of 41,000+ aftermarket parts.
 Gas Tank Hose Fitting Cadmium$10.67
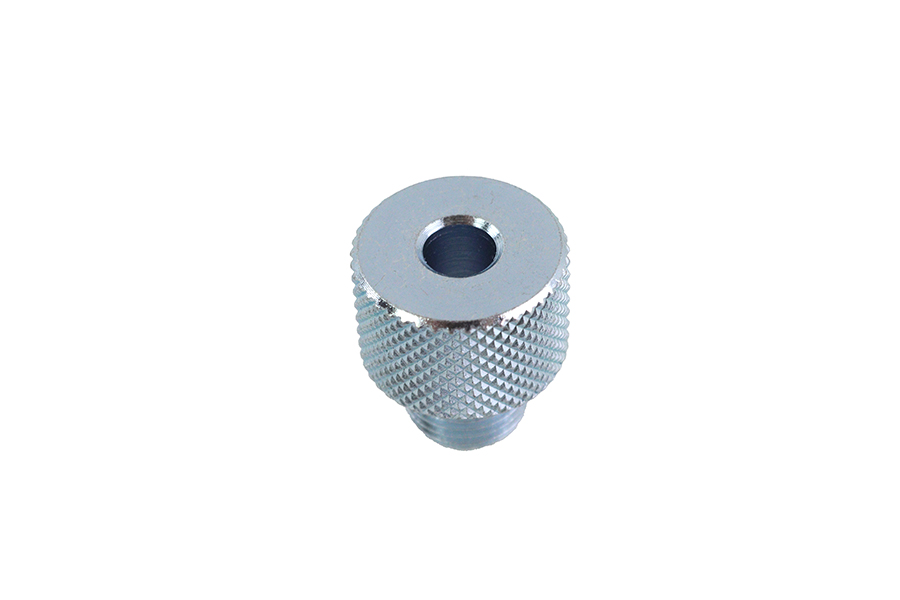 Oil Pump Plug$11.88
 Hex Spin On Oil Filter$12.80
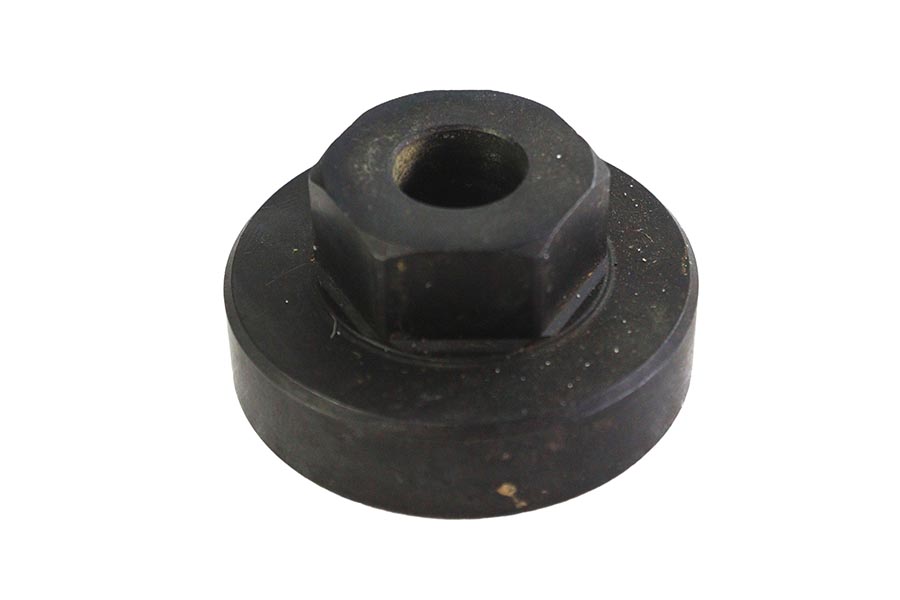 Chrome Flat Top Fork Tube Bolt$12.80Gas Tank Buffer$13.21
 K&N Spin On Oil Filter Black$14.72
 Magnetek Oil Filter$14.96
 Drop In Oil Filter$15.72
 Oil Filter Element$15.72
 Oil Filter Element$15.72
 Oil Pump Screen Check Relief Plug$15.7741mm Fork Slider Drain Screw$15.89