How to Replace Light Bulbs on a 2026 Harley-Davidson Iron 883 (XL883N — Evolution 883)
Light Bulb Replacement Guide: 2026 Harley-Davidson Iron 883 XL883N
This guide covers every exterior light bulb position on the 2026 Harley-Davidson Iron 883 (XL883N), the stripped-down, dark-custom version of the Sportster powered by the Evolution 883 V-twin engine. The Iron 883 features traditional halogen lighting throughout, making bulb replacement straightforward.
Quick Reference Bulb Table
| Position | Bulb Type | Wattage | OEM Part Number | LED Upgrade Option |
|---|---|---|---|---|
| Headlight (Low/High Beam) | H4 (9003) | 60W/55W | HARLEY-DAVIDSON 68166-06 | H4 LED (Sylvania ZEVO, Kuryakyn 324) |
| Front Left Turn Signal | 1157NA (Amber) | 28.3/8.3W | HARLEY-DAVIDSON 68170-99 | 1157 Amber LED |
| Front Right Turn Signal | 1157NA (Amber) | 28.3/8.3W | HARLEY-DAVIDSON 68170-99 | 1157 Amber LED |
| Rear Left Turn Signal | 1157NA (Amber) | 28.3/8.3W | HARLEY-DAVIDSON 68170-99 | 1157 Amber LED |
| Rear Right Turn Signal | 1157NA (Amber) | 28.3/8.3W | HARLEY-DAVIDSON 68170-99 | 1157 Amber LED |
| Tail / Brake Light | 1157 (Dual Contact) | 28.3/8.3W | HARLEY-DAVIDSON 72690-96 | 1157 Red LED (Sylvania ZEVO) |
| License Plate Light | 194 (W5W/T10) | 2.1W | HARLEY-DAVIDSON 72623-99 | 194 White LED |
| Front Running Light (Left) | 1157 | 28.3/8.3W | HARLEY-DAVIDSON 68170-99 | 1157 Warm White LED |
| Front Running Light (Right) | 1157 | 28.3/8.3W | HARLEY-DAVIDSON 68170-99 | 1157 Warm White LED |
Difficulty & Time Estimate
- Difficulty Level: Beginner (1 out of 5)
- Estimated Time: 20-35 minutes
- Best Done: In a well-lit area with the bike on a level surface
Complete Tool List
| Tool | Size or Type | Purpose |
|---|---|---|
| Phillips head screwdriver | #2 | Rear fender light assembly screws |
| Torx socket / driver | T-25 | Headlight trim ring bolts |
| Flathead screwdriver | Small | Turn signal lens cover removal |
| Needle-nose pliers | Standard | Grip and extract wedged bulbs |
| Socket set | 5/16" | License plate light mounting |
| Clean microfiber cloth | Any | Clean bulb glass and lenses |
| Isopropyl alcohol | 70-99% | Clean halogen glass if touched |
| Gloves | Nitrile | Prevent skin oils on bulb glass |
| Dielectric grease | Tub or squeeze tube | Protect electrical contacts from corrosion |
OEM Part Numbers & Aftermarket Alternatives
| Position | OEM Part | Aftermarket Halogen | LED Alternative |
|---|---|---|---|
| Headlight H4 | Harley-Davidson 68166-06 | Sylvania H4 SilverStar Ultra | Philips X-tremeVision Pro H4 LED |
| Turn Signal / Tail 1157 | Harley-Davidson 68170-99 / 72690-96 | Sylvania 1157 SilverStar | Sylvania ZEVO 1157 LED |
| License Plate 194 | Harley-Davidson 72623-99 | Sylvania 194 Long Life | Auxbeam 194 LED 6000K |
Step-by-Step Replacement Instructions
Step 1 — Safety First
- Park the Iron 883 on a level surface and turn the ignition OFF.
- Remove the key and wait for the entire motorcycle to cool.
- Put on nitrile gloves before handling any halogen bulbs.
Step 2 — Headlight Bulb Replacement (H4 / 9003)
The Iron 883 uses a classic round 7-inch headlight with a replaceable H4 halogen bulb.
- Locate the T-25 Torx bolts securing the headlight trim ring to the headlight bucket.
- Remove the trim ring bolts (2-3 bolts depending on ring style) and set the ring aside.
- Pull the rubber dust cover off the rear of the headlight bucket.
- Locate the wiring harness connector and press the locking tab to disconnect it.
- The metal wire retaining clip holds the bulb in place. Squeeze the clip ends and push up and aside to release.
- Grasp the bulb base and pull it straight out of the socket.
- Do not touch the glass of the new H4 bulb. Use gloves or a clean cloth. If you accidentally touch the glass, wipe it with isopropyl alcohol.
- Insert the new H4 bulb with the flat flange of the base oriented downward (the three-tab alignment will only fit one way).
- Reinstall the wire retaining clip.
- Reconnect the wiring harness connector.
- Replace the rubber dust cover and press it firmly into place.
- Reinstall the trim ring bolts. Torque to 48-84 in-lbs.
Step 3 — Front Turn Signal Bulbs (1157NA — Amber)
The front turn signals are bullet-style units mounted to the fork legs below the triple clamp.
- Turn the handlebars to provide clear access to the turn signal.
- Grip the amber lens cover and gently pry it off using a cloth-wrapped flathead screwdriver as a fulcrum.
- The bulb socket is a push-and-twist design. Push the bulb in and turn counter-clockwise.
- Remove the old 1157NA amber bulb.
- Insert the new 1157NA bulb into the socket and turn clockwise until it locks.
- Verify the bulb is seated by gently tugging on it.
- Snap the amber lens cover back into the housing.
- Repeat on the opposite side.
Step 4 — Rear Turn Signal Bulbs (1157NA — Amber)
The rear turn signals are mounted at the trailing edge of the rear fender.
- Loosen the base bolt securing each turn signal to the fender rail.
- Carefully pull the signal housing away from the fender to expose the rear wiring.
- Remove the rear rubber grommet cover on the housing.
- Push the bulb in and twist counter-clockwise to release it.
- Extract the old 1157NA bulb.
- Insert the new bulb and twist clockwise to lock.
- Replace the rubber grommet cover and ensure it seals fully.
- Position the housing back into its bracket and tighten the base bolt to 60-96 in-lbs.
Step 5 — Tail / Brake Light Bulb (1157 — Dual Contact)
The Iron 883 has a simple rear fender-mounted tail light assembly.
- Locate the two Phillips screws on the rear tail light lens cover.
- Remove the screws and set the lens cover aside.
- The 1157 bulb is held by a push-and-twist socket. Push inward gently and turn counter-clockwise.
- Remove the old bulb.
- Align the two offset pins on the new 1157 bulb with the socket notches.
- Push in and rotate clockwise to lock.
- Wipe the inside of the lens with a microfiber cloth.
- Reinstall the lens cover and tighten the Phillips screws. Torque to 15-25 in-lbs. Do not overtighten.
Step 6 — License Plate Light Bulb (194 / W5W / T10)
The license plate light is a small wedge-type bulb on a bracket beneath the rear fender.
- Locate the license plate light bracket just above the plate.
- Remove the 5/16" bolt or Phillips screw holding the bracket.
- The 194 bulb is a wedge type — pull it straight out of the socket.
- Push the new 194 bulb straight into the socket. No twisting required.
- Reinstall the bracket and tighten the fastener.
Step 7 — Front Running Light Check
If your Iron 883 has separate running light positions:
- The 1157NA bulbs in the front turn signals serve dual duty as running lights.
- The running light filament is the dimmer one. Use a standard 1157 (not 1156).
- After replacement, verify both filaments light independently.
Step 8 — Test All Lights
- Turn the ignition to ON.
- Verify headlight low beam illuminates.
- Switch to high beam and verify it illuminates.
- Activate the left turn signal — verify both front and rear flash amber in unison.
- Activate the right turn signal — verify the same.
- Press the front brake lever — verify the tail light brightens.
- Press the rear brake pedal — verify the same brightening.
- Verify the tail light is dimly illuminated as a running light.
- Confirm the license plate light is on.
Step 9 — LED Upgrade Considerations
When upgrading the Iron 883 to LED:
- Headlight H4 LED: Choose an H4 LED with a proper beam pattern. Cheaper LEDs produce scattered light. Look for models with adjustable aim rings.
- Turn Signal LEDs: The Sportster Evolution platform may hyper-flash with low-draw LED bulbs. Install a load equalizer (Harley-Davidson p/n 68194-04) for each pair.
- Tail/Brake LED (1157): Most 1157 LED replacements drop in without resistors on the Sportster platform.
- LED polarity matters: If an LED does not light, remove it, flip it 180 degrees, and reinsert.
Step 10 — Headlight Aiming
After headlight bulb replacement:
- Park the motorcycle 25 feet from a flat vertical wall on level ground.
- Mark a horizontal line on the wall at the height of the headlight center.
- The top edge of the low beam hotspot should be at or slightly below the horizontal line.
- Adjust using the vertical adjustment screws on the headlight bucket if necessary.
- Tighten all adjustment hardware.
Tips & Warnings Table
| Category | Detail |
|---|---|
| ⚠️ WARNING | Never touch halogen bulb glass with bare fingers. Skin oils create hot spots that cause early burnout. Use nitrile gloves or clean cloth. |
| 🔧 TIP | Keep spare H4 and 1157 bulbs in your saddlebag. They weigh nothing and can save a dangerous night ride. |
| 💡 TIP | When installing LED turn signals, place load equalizers near the turn signal wiring for easiest routing. |
| ⚠️ WARNING | Always re-aim the headlight after any headlight service. Misaimed lighting endangers everyone on the road. |
| 🔧 TIP | Apply dielectric grease to bulb contacts before installation — especially important for the Iron 883's exposed Sportster wiring. |
Common Mistakes to Avoid
| Mistake | Consequence | Prevention |
|---|---|---|
| Touching halogen bulb glass | Premature failure from hot spots | Always use gloves |
| Installing H4 bulb with wrong orientation | Beam pattern will be wrong, dark spots on road | Align flat flange downward — only fits one way |
| Skipping headlight aiming | Oncoming drivers blinded; ticketable offense | Always re-aim after headlight service |
| Forgetting rubber dust cover | Dust, moisture, and bugs destroy bulb and reflector | Reseat cover firmly before reinstalling trim ring |
| Using LED without load equalizers | Hyper-flashing; false bulb-out warnings | Install resistors at turn signal wiring |
| Overtightening tail light screws | Cracked lens; water infiltration | Torque to 15-25 in-lbs only |
Proper Disposal
- Halogen bulbs: Safe for regular trash disposal. Wrap in paper before discarding to prevent glass injury.
- LED bulbs: Recycle at electronics recycling center or auto parts store.
- Burnt-out bulbs: Many auto parts stores accept them for recycling at no cost.
Verification Checklist
- [ ] Headlight low beam illuminates
- [ ] Headlight high beam illuminates
- [ ] Front left turn signal flashes amber
- [ ] Front right turn signal flashes amber
- [ ] Rear left turn signal flashes amber
- [ ] Rear right turn signal flashes amber
- [ ] Tail/brake light brightens on front brake lever
- [ ] Tail/brake light brightens on rear brake pedal
- [ ] Tail/brake light shows dim running glow
- [ ] License plate light is on
- [ ] Headlight aimed correctly at 25 feet
- [ ] All lens covers seated and sealed
- [ ] All hardware tightened to spec
- [ ] No tools left on or near motorcycle
Guide created for the Harley-Davidson Iron 883 XL883N with Evolution 883 engine. Always refer to the official Harley-Davidson Service Manual for the latest specifications and torque values.
Parts for this job
Fits XL883N, XL883, XL — from our catalogue of 41,000+ aftermarket parts.
 Stock Style Tail Lamp Replacement Lens Clear$7.02
 Tail Lamp Stock Type Red Plastic Lens$12.80
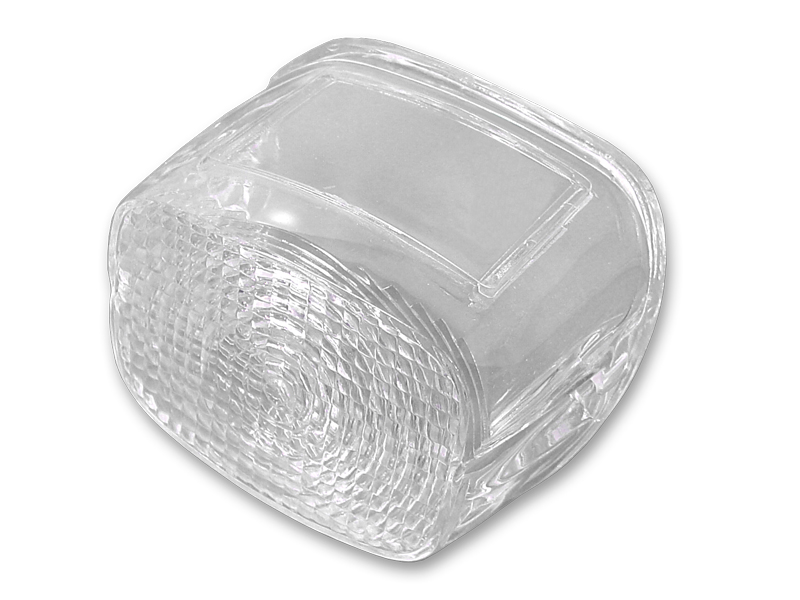 *UPDATE Tail Lamp Lens Stock Clear$12.94
 *UPDATE Tail Lamp Plastic Clear Lens$12.94
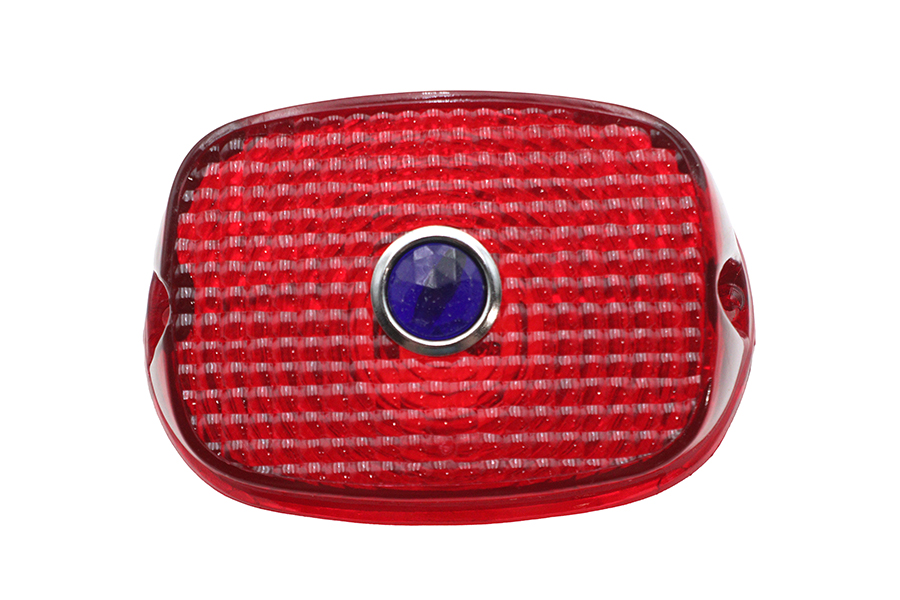 Tail Lamp Lens Red with Blue Dot$17.12
 Tail Lamp Blue Dot Red Plastic Lens$21.44
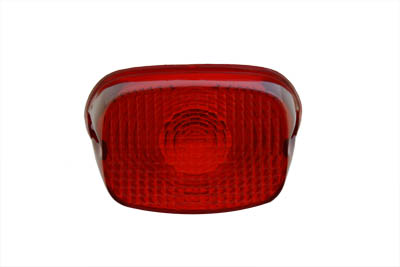 Tail Lamp Lens Stock Red$22.24
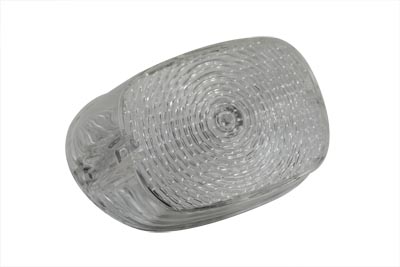 Stock Tail Lamp Clear Lens$29.71
 Lens and Rim Kit For Stock Tail Lamp$32.51
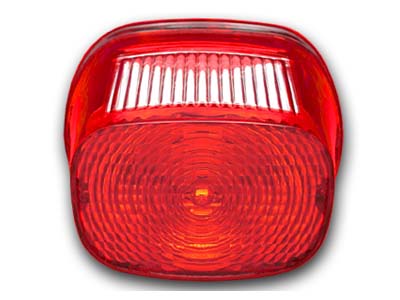 Tail Lamp Lens Stock Style Red$39.32
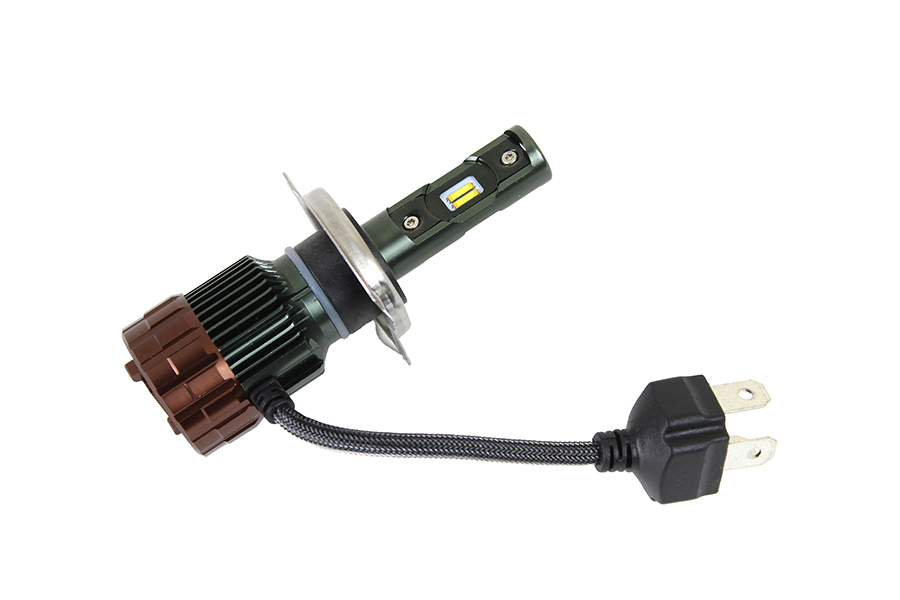 H-4 LED Bulb 6 to 24 Volt$40.67
 Replica Tail Lamp Lens Glass Red$48.24