How to Replace Light Bulbs on a 2025 Harley-Davidson Iron 883 (XL883N — Evolution 883)
Light Bulb Replacement Guide: 2025 Harley-Davidson Iron 883 XL883N
This guide covers every exterior light bulb position on the 2025 Harley-Davidson Iron 883 (XL883N), the dark-custom Sportster powered by the Evolution 883 V-twin engine. The Iron 883 features traditional halogen lighting throughout, with a classic 7-inch round headlight, bullet-style turn signals, and a compact tail light assembly.
Quick Reference Bulb Table
| Position | Bulb Type | Wattage | OEM Part Number | LED Upgrade Option |
|---|---|---|---|---|
| Headlight (Low/High Beam) | H4 (9003) | 60W/55W | HARLEY-DAVIDSON 68166-06 | H4 LED (Sylvania ZEVO, Kuryakyn 324) |
| Front Left Turn Signal | 1157NA (Amber) | 28.3/8.3W | HARLEY-DAVIDSON 68170-99 | 1157 Amber LED |
| Front Right Turn Signal | 1157NA (Amber) | 28.3/8.3W | HARLEY-DAVIDSON 68170-99 | 1157 Amber LED |
| Rear Left Turn Signal | 1157NA (Amber) | 28.3/8.3W | HARLEY-DAVIDSON 68170-99 | 1157 Amber LED |
| Rear Right Turn Signal | 1157NA (Amber) | 28.3/8.3W | HARLEY-DAVIDSON 68170-99 | 1157 Amber LED |
| Tail / Brake Light | 1157 (Dual Contact) | 28.3/8.3W | HARLEY-DAVIDSON 72690-96 | 1157 Red LED (Sylvania ZEVO) |
| License Plate Light | 194 (W5W/T10) | 5W | HARLEY-DAVIDSON 72623-99 | 194 White LED |
Difficulty & Time Estimate
- Difficulty Level: Beginner (1 out of 5)
- Estimated Time: 20-35 minutes
- Best Done: In a well-lit area with the bike on a level surface
Complete Tool List
| Tool | Size or Type | Purpose |
|---|---|---|
| Phillips head screwdriver | #2 | Rear fender and turn signal screws |
| Torx socket / driver | T-25 | Headlight trim ring bolts |
| Flathead screwdriver | Small | Tail light lens cover prying |
| Needle-nose pliers | Standard | Grip and extract wedge-base bulbs |
| Socket set | 5/16" | License plate light mounting bolts |
| Clean microfiber cloth | Any | Clean halogen glass and lenses |
| Isopropyl alcohol | 70-99% | Clean halogen glass if touched |
| Gloves | Nitrile | Prevent skin oils on bulb glass |
| Dielectric grease | Tub or squeeze tube | Protect electrical contacts from corrosion |
OEM Part Numbers & Aftermarket Alternatives
| Position | OEM Part | Aftermarket Halogen | LED Alternative |
|---|---|---|---|
| Headlight H4 | Harley-Davidson 68166-06 | Sylvania H4 SilverStar Ultra | Philips X-tremeVision Pro H4 LED |
| Turn Signal / Tail 1157 | Harley-Davidson 68170-99 / 72690-96 | Sylvania 1157 SilverStar | Sylvania ZEVO 1157 LED |
| License Plate 194 | Harley-Davidson 72623-99 | Sylvania 194 Long Life | Auxbeam 194 LED 6000K |
Step-by-Step Replacement Instructions
Step 1 — Safety First
- Park the Iron 883 on a level surface and turn the ignition OFF.
- Remove the key and wait for the motorcycle to cool.
- Put on nitrile gloves before handling any halogen bulbs.
Step 2 — Headlight Bulb Replacement (H4 / 9003)
The Iron 883 uses a classic round 7-inch headlight with a replaceable H4 halogen bulb.
- Locate the T-25 Torx bolt securing the headlight trim ring to the headlight bucket.
- Remove the bolt and set the ring aside.
- Pull the rubber dust cover off the rear of the headlight bucket.
- Disconnect the wiring harness connector by pressing the locking tab.
- Squeeze the wire retaining clip — push it up and release from its slot.
- Pull the old H4 bulb straight out.
- Do NOT touch the glass of the new bulb — use gloves or a paper towel.
- Insert the new H4 bulb, aligning the flat prong with the flat side of the socket.
- Reinstall the wire clip — press down and hook into the slot.
- Reconnect the wiring harness until it clicks.
- Push the rubber dust cover back on, ensuring a flush seal.
- Reinstall the trim ring and tighten the Torx bolt.
Step 3 — Front Turn Signal Bulbs (1157NA Amber)
- The Iron 883 front turn signals are bullet-style, mounted on short stalks from the triple tree.
- Remove the retaining screw on each signal housing with a #2 Phillips screwdriver.
- Slide the lens away from the housing base.
- Push the 1157NA bulb in and twist ~1/4 turn counter-clockwise to release.
- Install the new bulb, aligning the offset pins, push in, and twist clockwise.
- Reinstall the lens and tighten the screw snugly.
Step 4 — Rear Turn Signal Bulbs (1157NA Amber)
- The rear signals mount on the rear fender support struts.
- Remove the 5/16" mounting bolt and gently pull the assembly aside.
- Disconnect the wiring connector (push tab and pull apart).
- Twist the bulb socket counter-clockwise to remove from the housing.
- Replace the 1157NA bulb using the push-twist method.
- Reinstall, reconnect, and re-bolt the signal.
- Repeat on the opposite side.
Step 5 — Tail / Brake Light Bulb (1157 Dual Contact)
- Locate the tail light on the rear fender.
- Remove the center retaining screw or bezel fastener.
- Carefully pull the lens away — note the rubber gasket orientation.
- Push the 1157 bulb in and twist counter-clockwise to release.
- Install a new 1157 dual-contact bulb (wider pin first, push-twist to lock).
- Reinstall the lens and tighten the screw snugly — do not over-tighten.
Step 6 — License Plate Light (194 Wedge)
- The license plate light mounts behind the plate holder on the rear fender.
- Remove the housing cover Phillips screw.
- Pull the 194 wedge bulb straight out — no twisting needed.
- Push the new 194 bulb straight into the socket.
- Reinstall the cover and tightening the screw.
Step 7 — Final Verification
- Turn the ignition to ON.
- Verify headlight low and high beam.
- Verify all four turn signals flash amber at a steady rate.
- Verify tail light (dim) and brake light (bright) — test both rear pedal and front lever.
- Verify license plate illumination.
Tips, Warnings & Common Mistakes
| Tip / Warning | Details |
|---|---|
| Never touch halogen glass with bare fingers | Skin oils create hot spots that cause premature bulb failure |
| Use nitrile gloves always | Handle all halogen bulbs with gloves or clean cloth |
| Clean touched glass with alcohol | Wipe with isopropyl alcohol immediately and allow to dry |
| Do NOT over-tighten lens screws | Plastic lenses crack easily — snug only |
| LED upgrades may cause hyperflashing | Install an LED-compatible flasher relay if turn signals flash too fast |
| Replace turn signal bulbs in pairs | When one fails, the other is near end of life |
| Keep a spare H4 and 1157 on the bike | Prevents ride-ending bulb failure on the road |
Old Bulb Disposal
- Halogen bulbs: Contain pressurized halogen gas — wrap in original packaging or paper, dispose properly.
- LED bulbs: Dispose as e-waste.
- Packaging: Save original boxes for storing spare bulbs.
Verification Notes
- Headlight aim: Park 25 feet from wall. Low beam should strike 2-3 inches below center height.
- Flash rate: 60-120 flashes per minute. Uneven flashing suggests a bad ground or wrong bulb.
- Brake light sync: Both front lever and rear pedal should activate brake light at full brightness.
- Weather check: Verify all rubber seals seated. A gentle hose spray confirms no water intrusion.
Frequently Asked Questions
Can I upgrade all Iron 883 bulbs to LED? Yes. H4, 1157, and 194 all have direct LED replacements. An LED-compatible flasher relay may be needed for turn signals.
What H4 LED is best for the Iron 883? Philips X-tremeVision Pro H4 LED, Sylvania ZEVO H4, or Kuryakyn Kyma. Ensure the heat sink fits inside the 7-inch bucket.
Does the Iron 883 have a self-canceling turn signal module? No — the Iron 883 uses electronic but non-self-canceling turn signals. You must manually cancel after use.
Parts for this job
Fits XL883N, XL883, XL — from our catalogue of 41,000+ aftermarket parts.
 Stock Style Tail Lamp Replacement Lens Clear$7.02
 Tail Lamp Stock Type Red Plastic Lens$12.80
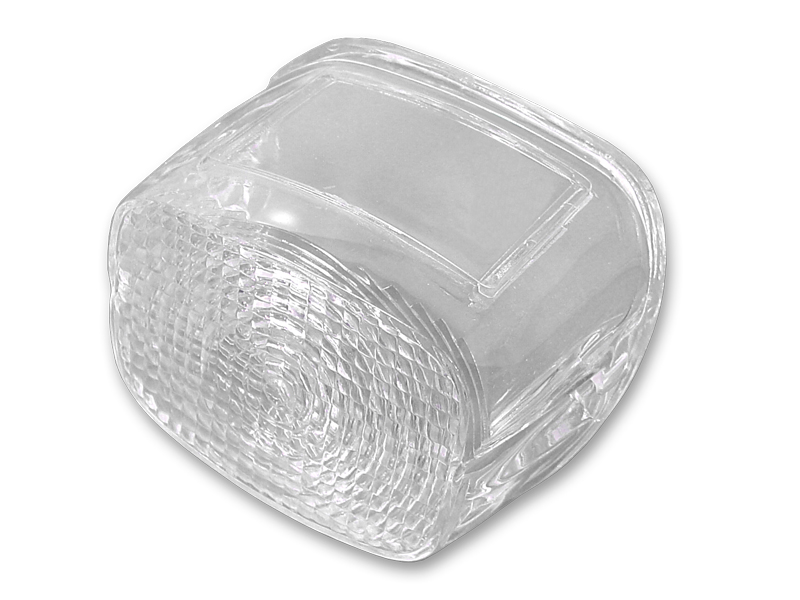 *UPDATE Tail Lamp Lens Stock Clear$12.94
 *UPDATE Tail Lamp Plastic Clear Lens$12.94
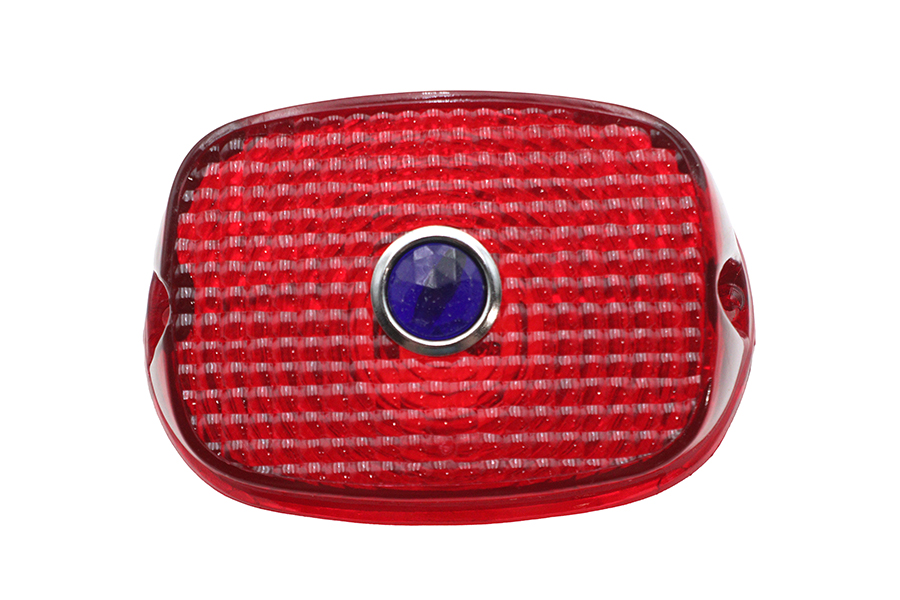 Tail Lamp Lens Red with Blue Dot$17.12
 Tail Lamp Blue Dot Red Plastic Lens$21.44
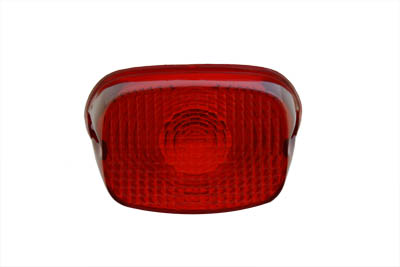 Tail Lamp Lens Stock Red$22.24
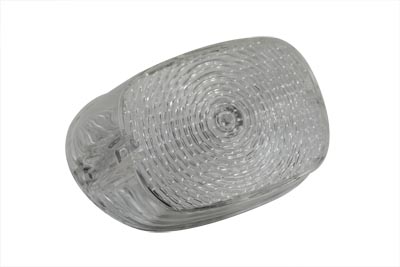 Stock Tail Lamp Clear Lens$29.71
 Lens and Rim Kit For Stock Tail Lamp$32.51
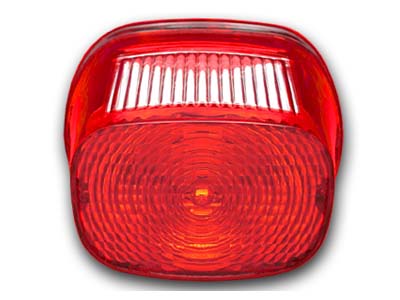 Tail Lamp Lens Stock Style Red$39.32
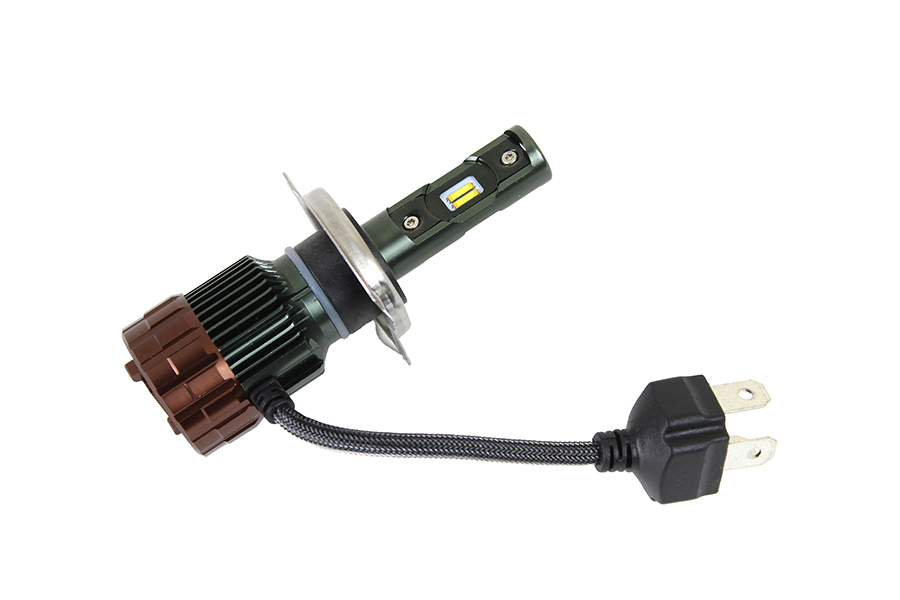 H-4 LED Bulb 6 to 24 Volt$40.67
 Replica Tail Lamp Lens Glass Red$48.24