How to Replace Light Bulbs on a Harley-Davidson Freewheeler (FLRT — Milwaukee-Eight Touring Trike)
Light Bulb Replacement Guide: Harley-Davidson Freewheeler FLRT
This guide covers every exterior light bulb position on the Harley-Davidson Freewheeler (FLRT), the three-wheel touring trike with an aggressive, forward-leaning design. Powered by the Milwaukee-Eight 114 engine, the Freewheeler features a full complement of exterior lighting including headlight, auxiliary passing lamps, front and rear turn signals, tail/brake lights, and rear fender marker lights.
Quick Reference Bulb Table
| Position | Bulb Type | Wattage | OEM Part Number | LED Upgrade Option |
|---|---|---|---|---|
| Headlight (Low/High Beam) | H7 | 55W | HARLEY-DAVIDSON 68233-05B | H7 LED (Sylvania ZEVO) |
| Auxiliary Passing Lamp | H11 | 55W | HARLEY-DAVIDSON 68465-05 | H11 LED (Sylvania) |
| Front Left Turn Signal | 1157NA (Amber) | 28.3/8.3W | HARLEY-DAVIDSON 68170-99 | 1157 Amber LED |
| Front Right Turn Signal | 1157NA (Amber) | 28.3/8.3W | HARLEY-DAVIDSON 68170-99 | 1157 Amber LED |
| Rear Left Turn Signal | 1157NA (Amber) | 28.3/8.3W | HARLEY-DAVIDSON 68170-99 | 1157 Amber LED |
| Rear Right Turn Signal | 1157NA (Amber) | 28.3/8.3W | HARLEY-DAVIDSON 68170-99 | 1157 Amber LED |
| Tail / Brake Light (Left) | 1157 (Dual Contact) | 28.3/8.3W | HARLEY-DAVIDSON 72690-96 | 1157 Red LED (Sylvania ZEVO) |
| Tail / Brake Light (Right) | 1157 (Dual Contact) | 28.3/8.3W | HARLEY-DAVIDSON 72690-96 | 1157 Red LED (Sylvania ZEVO) |
| License Plate Light | 194 (W5W/T10) | 5W | HARLEY-DAVIDSON 72623-99 | 194 White LED |
| Rear Fender Marker Lights | 194 (W5W/T10) | 5W | HARLEY-DAVIDSON 72623-99 | 194 Amber LED |
| Ground Effects Accent Lights | 194 (W5W/T10) | 5W | Harley-Davidson specific | 194 LED (color varies) |
Difficulty & Time Estimate
- Difficulty Level: Beginner to Intermediate (2 out of 5)
- Estimated Time: 35-50 minutes
- Best Done: In a well-lit area with the bike parked on an open, level surface — trike width requires extra clearance
Complete Tool List
| Tool | Size or Type | Purpose |
|---|---|---|
| Torx socket set | T-25, T-30 | Headlight bezel bolts |
| Phillips head screwdriver | #1, #2 | Turn signal housing screws |
| Flathead screwdriver | Small | Tail light lens cover removal |
| Needle-nose pliers | Standard | Extract wedge-base 194 bulbs |
| Socket set | 5/16", 3/8" | License plate light bolts, turn signal mounting |
| Extension bar | 3" | Reach rear housing bolts |
| Clean microfiber cloth | Any | Clean halogen glass and lenses |
| Isopropyl alcohol | 70-99% | Clean halogen glass if touched |
| Gloves | Nitrile | Prevent skin oils on bulb glass |
| Dielectric grease | Tub or squeeze tube | Protect contacts from corrosion |
| Flashlight or headlamp | LED | Illuminate dark housing areas |
OEM Part Numbers & Aftermarket Alternatives
| Position | OEM Part | Aftermarket Halogen | LED Alternative |
|---|---|---|---|
| Headlight H7 | Harley-Davidson 68233-05B | Sylvania H7 SilverStar Ultra | Philips X-tremeVision H7 LED |
| Passing Lamp H11 | Harley-Davidson 68465-05 | Sylvania H11 Standard | Sylvania ZEVO H11 LED |
| Turn Signal / Tail 1157 | Harley-Davidson 68170-99 / 72690-96 | Sylvania 1157 SilverStar | Sylvania ZEVO 1157 LED |
| License Plate / Marker 194 | Harley-Davidson 72623-99 | Sylvania 194 Long Life | Auxbeam 194 LED 6000K |
Step-by-Step Replacement Instructions
Step 1 — Safety First
- Park the Freewheeler on a level surface and turn the ignition OFF.
- Remove the key and wait for the motorcycle to cool.
- Due to the trike's wider footprint, ensure you have clear access on all sides.
- Put on nitrile gloves before handling halogen bulbs.
Step 2 — Headlight Bulb Replacement (H7)
The Freewheeler uses a single H7 headlight bulb in a distinctive angular fairing.
- The H7 bulb is accessed from behind the headlight fairing — you may need to loosen inner fairing panels for access.
- Remove the rubber dust cover from the rear of the headlight housing.
- Disconnect the wiring harness from the bulb connector by pressing the locking tab and pulling.
- Release the thin wire spring clip — press it down and swing it out of its retaining notch.
- Pull the old H7 bulb straight out from the housing.
- Do NOT touch the glass of the new H7 bulb. Use gloves or a clean paper towel.
- Insert the new H7 bulb — the base has a specific orientation with a flat edge. Align correctly.
- Reinstall the wire spring clip — it should snap securely over the bulb base.
- Reconnect the wiring harness connector (it should click).
- Push the rubber dust cover back on, ensuring it seats flush around the entire circumference.
Step 3 — Auxiliary Passing Lamp (H11)
- The auxiliary lamps are located on either side of the fairing, below the main headlight.
- Access the rear of each passing lamp housing through the inner fairing.
- Disconnect the wiring harness connector.
- Twist the bulb socket ~1/4 turn counter-clockwise to release it from the housing.
- Pull the old H11 bulb out of the socket.
- Insert the new H11 bulb (pins align one way only).
- Reinstall the socket into the housing and twist clockwise to lock.
- Reconnect the wiring harness.
- Repeat on the opposite side.
Step 4 — Front Turn Signal Bulbs (1157NA Amber)
- The front turn signals are integrated into the lower outer fairing on each side.
- Each turn signal lens is secured by two Phillips screws on the visible face.
- Remove both screws and set aside.
- Carefully pull the clear/amber lens away from the housing.
- The 1157NA bulb is a dual-contact bayonet type — push in and twist ~1/4 turn counter-clockwise.
- Remove the old bulb and insert the new one, aligning the offset pins.
- Push in and twist clockwise to lock.
- Reinstall the lens housing and tighten the Phillips screws snugly (do not over-tighten).
Step 5 — Rear Turn Signal Bulbs (1157NA Amber)
- The rear turn signals are mounted on the rear fender support structure.
- Remove the mounting bolt (5/16" or 10mm) securing each signal assembly.
- Gently pull the signal away from the fender to access the rear.
- Disconnect the wiring connector.
- Twist the bulb socket ~1/4 turn counter-clockwise and remove.
- Replace the 1157NA bulb using the push-twist method.
- Reinstall the socket, reconnect the wiring, and re-bolt the signal in position.
- Repeat on the opposite side.
Step 6 — Tail / Brake Light Bulbs (1157 Dual Contact, Both Sides)
- The Freewheeler has twin tail/brake light assemblies — one on each side of the rear.
- Each assembly has a lens held by 2-3 Phillips screws.
- Remove the screws and gently pull the lens away from the housing.
- Push the 1157 bulb in and twist counter-clockwise to release from the socket.
- Replace with a new 1157 dual-contact bulb. Align the wider pin — the dual-contact base only fits one way.
- Push in and twist clockwise to lock.
- Important: Verify the rubber gasket between the lens and housing is intact — a damaged gasket allows water intrusion.
- Reinstall the lens and tighten screws snugly.
- Repeat on the opposite side.
Step 7 — License Plate Light (194 Wedge)
- The license plate light is centrally mounted on the rear chassis behind the plate.
- Remove the housing cover screw (typically a Phillips #1).
- The 194 bulb is a wedge-type — simply pull it straight out of the socket.
- Push the new 194 bulb straight in — glass prongs only, no twisting required.
- Reinstall the housing cover and tighten the screw.
Step 8 — Rear Fender Marker Lights (194)
- Small marker/running lights are mounted on each rear fender on the Freewheeler.
- Each light has a small lens held by 1-2 tiny Phillips screws.
- Remove the screws and gently pry the lens off with a flathead.
- Pull the old 194 wedge bulb straight out.
- Push the new 194 bulb straight in.
- Reinstall the lens, making sure the rubber seal is in place, and tighten screws.
Step 9 — Ground Effects Accent Lights (if applicable)
- Some Freewheeler models have ground effects accent lights along the rear fender edges.
- Each uses a 194 wedge bulb accessed by removing the clear or colored lens cover.
- Pull the old bulb straight out, push the new one straight in.
- Reinstall the lens cover. Ensure waterproof seals are intact.
Step 10 — Final Verification
- Turn the ignition to ON (engine does not need to be started).
- Verify headlight: low beam and high beam.
- Verify auxiliary passing lamps.
- Verify all turn signals (4 total — both left and right front, both left and right rear).
- Verify tail/brake lights: tail light dimly lit with ignition ON, brake brightly lit with pedal pressed and front brake lever pulled.
- Verify license plate illumination.
- Check marker lights and ground effects for proper operation.
Tips, Warnings & Common Mistakes
| Tip / Warning | Details |
|---|---|
| Never touch halogen glass with bare fingers | Skin oils create hot spots that dramatically shorten halogen bulb life |
| Use nitrile gloves always | Handle all halogen bulbs with gloves or clean paper towel |
| Trike width requires extra clearance | The Freewheeler is very wide — ensure adequate workspace for rear access |
| Do NOT over-tighten lens screws | Plastic lenses crack easily — tighten until snug only |
| LED upgrades may cause hyperflashing | Harley flasher module may interpret lower LED draw as burnt bulb — install LED-compatible flasher relay if needed |
| Replace bulbs in pairs | When one signal fails, the mate is likely near end of life |
| Check rubber gaskets on twin tail lights | Each housing has a rubber seal — a pinched or torn gasket causes water leaks in the electrical |
| Keep spare bulbs on the trike | A spare H7, 1157, and 194 bulb can prevent ride-ending failures on long tours |
Old Bulb Disposal
- Halogen bulbs: Contain pressurized halogen gas — wrap in paper or original packaging before disposal. Do not throw loose.
- LED bulbs: Dispose as e-waste at electronics recycling centers.
- Bulb packaging: Save original boxes for storing spare bulbs in your toolkit or saddlebag.
- Consult local regulations for specific disposal requirements.
Verification Notes
- Headlight aim check: Park 25 feet from a wall. Low beam should strike 2-3 inches below center height. Adjust the two vertical aiming screws on the back of the housing if needed.
- Dual tail light sync check: Both left and right brake lights should illuminate simultaneously and at equal brightness. A difference indicates a ground issue or incorrect bulb.
- Flash rate check: Front and rear signals on each side should flash at 60-120 flashes/minute. Fast flashing on one side indicates a bad ground or wrong bulb wattage.
- Weather seal verification: After replacement, a gentle hose test (not pressure washer) confirms no water intrusion around housings.
- Auxiliary lamp coverage: Both passing lamps should cover approximately 100-150 feet ahead at night — significant differences indicate incorrect bulb type or aim issue.
Frequently Asked Questions
Can I upgrade all Freewheeler bulbs to LED? Yes. H7, H11, 1157, and 194 all have direct LED replacements. LED headlight and passing lamp bulbs include heat sinks — verify clearance behind the fairing before purchasing.
Why does my Freewheeler use H7 instead of H4 for the headlight? The Freewheeler's aerodynamic fairing design uses separate H7 headlight bulbs (single filament) while the H4 is a dual-filament design. The Freewheeler's high beam is handled differently in its reflector system.
What H7 LED brands are recommended? Philips X-tremeVision H7 LED, Sylvania ZEVO H7, and Opt7 FluxBeam are well-reviewed. Ensure the LED's heat sink fits within the Freewheeler's fairing cavity.
Can I remove the ground effects accent lights and blank them? Yes. You can blank the housing with a solid cover or replace the bulbs with non-illuminated inserts for a cleaner look. However, check local regulations — some jurisdictions require side marker illumination on three-wheel motorcycles.
Parts for this job
Fits FLRT, FL — from our catalogue of 41,000+ aftermarket parts.
 Stock Style Tail Lamp Replacement Lens Clear$7.02
 Tail Lamp Lens Plastic Clear Top$10.64
 12 Volt Bulb$12.02
 Spring Fork Spotlamp Bulb 12 Volt$12.02
 Tail Lamp Stock Type Red Plastic Lens$12.80
 Spring Fork Spotlamp Bulb 6 Volt$12.80
 Tail Lamp Lens Plastic Red$12.80
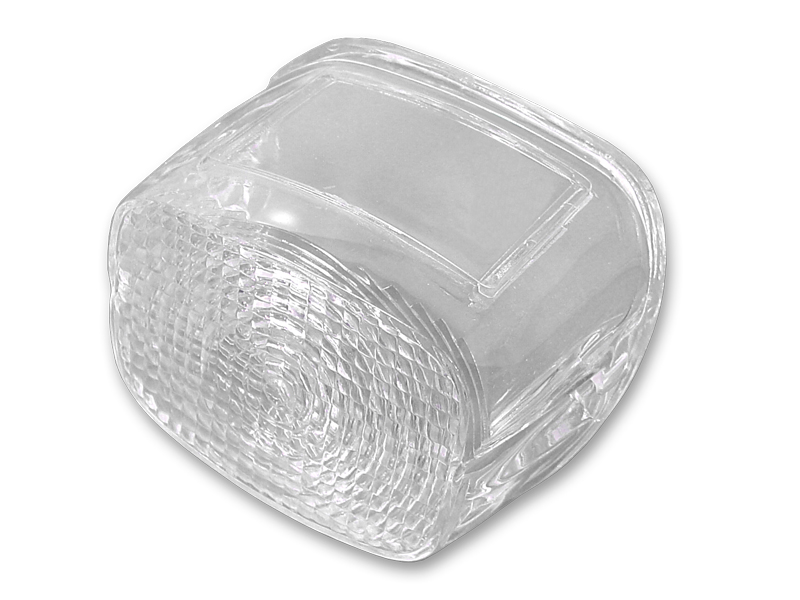 *UPDATE Tail Lamp Lens Stock Clear$12.94
 *UPDATE Tail Lamp Plastic Clear Lens$12.94
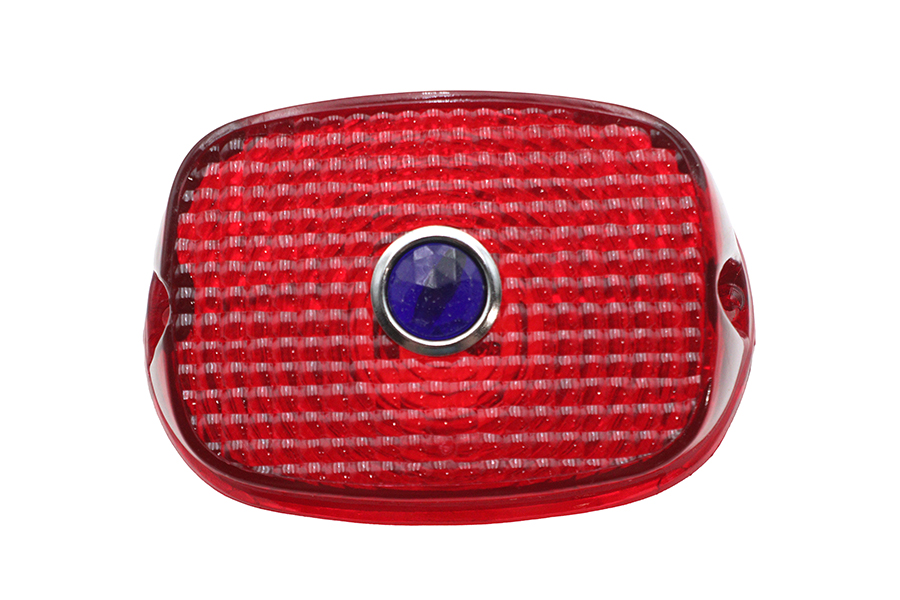 Tail Lamp Lens Red with Blue Dot$17.12
 6 Volt Bulb$19.31
 Tail Lamp Blue Dot Red Plastic Lens$21.44