How to Replace Light Bulbs on a 2022 Harley-Davidson 40-Eight (XL1200X — Evolution 1200)
Light Bulb Replacement Guide: 2022 Harley-Davidson 40-Eight XL1200X
This guide covers every exterior light bulb position on the 2022 Harley-Davidson 40-Eight (XL1200X), the last model year of the Evolution 1200 in the 40-Eight lineup. The 40-Eight features a distinctive "peanut" fuel tank, narrow chopped fender, and a single, bar-end-mirror-stalked headlight with a classic bullet-style nacelle. All lighting uses traditional replaceable halogen bulbs.
Quick Reference Bulb Table
| Position | Bulb Type | Wattage | OEM Part Number | LED Upgrade Option |
|---|---|---|---|---|
| Headlight (Low/High Beam) | H4 (9003) | 60W/55W | HARLEY-DAVIDSON 68166-06 | H4 LED (Sylvania ZEVO, Kuryakyn 324) |
| Front Left Turn Signal | 1157NA (Amber) | 28.3/8.3W | HARLEY-DAVIDSON 68170-99 | 1157 Amber LED |
| Front Right Turn Signal | 1157NA (Amber) | 28.3/8.3W | HARLEY-DAVIDSON 68170-99 | 1157 Amber LED |
| Rear Left Turn Signal | 1157NA (Amber) | 28.3/8.3W | HARLEY-DAVIDSON 68170-99 | 1157 Amber LED |
| Rear Right Turn Signal | 1157NA (Amber) | 28.3/8.3W | HARLEY-DAVIDSON 68170-99 | 1157 Amber LED |
| Tail / Brake Light | 1157 (Dual Contact) | 28.3/8.3W | HARLEY-DAVIDSON 72690-96 | 1157 Red LED (Sylvania ZEVO) |
| License Plate Light | 194 (W5W/T10) | 5W | HARLEY-DAVIDSON 72623-99 | 194 White LED |
Difficulty & Time Estimate
- Difficulty Level: Beginner (1 out of 5)
- Estimated Time: 25-40 minutes
- Best Done: In a well-lit area with the bike on a level surface
Complete Tool List
| Tool | Size or Type | Purpose |
|---|---|---|
| Torx socket / driver | T-25 | Headlight trim ring bolts |
| Phillips head screwdriver | #2 | Turn signal housing screws |
| Flathead screwdriver | Small | Tail light lens cover prying |
| Needle-nose pliers | Standard | Grip and extract wedge-base bulbs |
| Socket set | 5/16" | License plate light mounting bolts |
| Clean microfiber cloth | Any | Clean halogen glass and lenses |
| Isopropyl alcohol | 70-99% | Clean halogen glass if touched |
| Gloves | Nitrile | Prevent skin oils on bulb glass |
| Dielectric grease | Tub or squeeze tube | Protect contacts from corrosion |
OEM Part Numbers & Aftermarket Alternatives
| Position | OEM Part | Aftermarket Halogen | LED Alternative |
|---|---|---|---|
| Headlight H4 | Harley-Davidson 68166-06 | Sylvania H4 SilverStar Ultra | Philips X-tremeVision Pro H4 LED |
| Turn Signal / Tail 1157 | Harley-Davidson 68170-99 / 72690-96 | Sylvania 1157 SilverStar | Sylvania ZEVO 1157 LED |
| License Plate 194 | Harley-Davidson 72623-99 | Sylvania 194 Long Life | Auxbeam 194 LED 6000K |
Step-by-Step Replacement Instructions
Step 1 — Safety First
- Park the 40-Eight on a level surface and turn the ignition OFF.
- Remove the key and wait for the motorcycle to cool.
- Put on nitrile gloves before handling halogen bulbs.
Step 2 — Headlight Bulb Replacement (H4 / 9003)
The 40-Eight uses a classic 7-inch round headlight with a replaceable H4 bulb.
- Locate the T-25 Torx bolt on the headlight trim ring.
- Remove the bolt and set the trim ring aside.
- Pull the rubber dust seal off the rear of the headlight bucket.
- Disconnect the wiring harness at the bulb connector by pressing the locking tab.
- Squeeze the wire retaining clip — push it up and release it from its slot.
- Pull the old H4 bulb straight out of the headlight bucket.
- Do NOT touch the glass of the new H4 bulb with bare fingers — use gloves or a clean paper towel.
- If the glass is touched, wipe it with isopropyl alcohol and let it dry completely.
- Insert the new bulb into the bucket (the three-pronged base only fits one way — align the flat prong with the flat side of the socket).
- Reinstall the wire retaining clip — press it down and hook it into its retaining slot.
- Reconnect the wiring harness connector (it should click into place).
- Push the rubber dust seal back onto the rear of the headlight bucket. Make sure it seats flush all the way around.
- Reinstall the headlight trim ring and tighten the T-25 Torx bolt.
Step 3 — Front Turn Signal Bulbs (1157NA Amber)
- The front turn signals on the 40-Eight are mounted in bullet-style stalks on the handlebar riser clamps.
- Remove the retaining screw on each turn signal housing using a #2 Phillips screwdriver.
- Carefully slide the clear or amber lens away from the housing base.
- The 1157NA bulb is a dual-contact bayonet type — push it in slightly and twist ~1/4 turn counter-clockwise to release.
- Remove the old bulb and insert the new one. Align the two offset pins on the base with the slots in the socket.
- Push in and twist ~1/4 turn clockwise to lock.
- Reinstall the lens cover and tighten the retaining screw. Do NOT over-tighten — the lens is plastic and can crack.
Step 4 — Rear Turn Signal Bulbs (1157NA Amber)
- The rear turn signals are mounted on the rear fender struts.
- Each housing is held by a mounting bolt through the strut — typically a 5/16" bolt.
- Remove the mounting bolt and gently pull the signal assembly away from the strut enough to access the back.
- Disconnect the wiring connector (push the tab and pull apart).
- Twist the bulb socket ~1/4 turn counter-clockwise and remove it from the housing.
- Replace the 1157NA bulb using the same push-twist method as the front signals.
- Reinstall the socket (twist clockwise to lock), reconnect the wiring, and re-bolt the signal to the strut.
- Repeat on the opposite side.
Step 5 — Tail / Brake Light Bulb (1157 Dual Contact)
- Locate the tail light assembly on the rear fender.
- The tail light lens on most 40-Eight models is held by a single center screw or by a bezel ring.
- Remove the center screw or bezel retaining fastener using a Phillips screwdriver or appropriate Torx driver.
- Carefully pull the lens away from the housing. Note the orientation of the rubber gasket — it should remain in place between the lens and housing.
- Push the 1157 bulb in and twist ~1/4 turn counter-clockwise to remove it from the socket.
- Replace with a new 1157 dual-contact bulb (same push-twist method).
- Important: The 1157 bulb powers BOTH the tail light (low filament) and the brake light (high filament). If either function doesn't work, the bulb is not fully seated.
- Reinstall the lens, aligning it with the housing groove, and tighten the retaining screw. Do NOT over-tighten — the lens will crack with excess force.
Step 6 — License Plate Light Bulb (194 Wedge)
- The license plate light on the 40-Eight is mounted on the rear fender behind the plate holder or integrated into the tail light assembly.
- Remove the two small Phillips screws holding the license plate light housing cover.
- The 194 bulb is a wedge-type (T10/W5W) — it has no base, just glass two prongs. Simply pull it straight out of the socket.
- Push the new 194 bulb straight into the socket — no twisting needed. Make sure the glass base seats fully.
- Reinstall the housing cover and tighten the screws.
Step 7 — Final Verification
- Turn the ignition to ON (engine does not need to be started).
- Verify headlight: low beam turns on, switch to high beam and verify.
- Verify turn signals: switch left and right, confirm all four signals flash amber and at a steady rate.
- Verify tail/brake: tail light should illuminate dimly when ignition is ON. Press the brake pedal and front brake lever — the brake light should illuminate brightly.
- Verify license plate light: white light should illuminate behind the plate.
Tips, Warnings & Common Mistakes
| Tip / Warning | Details |
|---|---|
| Never touch halogen glass with bare fingers | Skin oils create hot spots on the bulb that dramatically shorten its life and can cause premature failure |
| Use nitrile gloves | Always handle halogen bulbs with gloves or a clean cloth |
| Clean with alcohol before install | If you accidentally touch the glass, wipe it with isopropyl alcohol immediately and let it dry before powering on |
| Do NOT over-tighten lens screws | Plastic lenses on Harley lighting are easily cracked — tighten just until snug |
| LED upgrades may cause hyperflashing | The Harley flasher module may interpret lower LED current as a burnt-out bulb — an LED-compatible flasher relay resolves this |
| Replace bulbs in pairs | When one turn signal bulb fails, the other is likely near end of life too |
| Keep spare bulbs on the bike | A spare H4 and 1157 bulb can save a ride-ending situation |
| Check headlight aim after replacement | After removing and reinstalling the headlight, aim the beam — it should point slightly below horizontal |
Old Bulb Disposal
- Halogen bulbs: Contain pressurized halogen gas — do NOT throw them loose in regular trash. Wrap in paper or place in original packaging before disposal.
- LED bulbs: Dispose as e-waste. Most electronics recycling centers accept them.
- Bulb packaging: Save the original boxes — they are useful for storing spare bulbs in your tool bag or saddlebag.
- Check local regulations for specific disposal requirements in your area.
Verification Notes
After completing all bulb replacements:
- Headlight beam aim check: Park the bike 25 feet from a flat wall on level ground. Low beam should illuminate 2-3 inches below center height. High beam should be centered with a bright hotspot. Adjust the two vertical screws on the back of the headlight bucket if needed.
- Flash rate check: Both front and rear turn signals should flash at 60-120 flashes per minute. If one side flashes faster, check for a bad ground or incorrect bulb wattage.
- Brake light check: Both the front brake lever and rear brake pedal should activate the brake light at full brightness (brighter than the tail light).
- License plate illumination check: The plate should be clearly legible from 50 feet in the dark.
- Weather sealing: After all replacements, verify all rubber seals are seated. A hose test (gentle spray, not pressure washer) can confirm no water intrusion.
Frequently Asked Questions
Can I upgrade all bulbs to LED on the 40-Eight? Yes. The H4 headlight, 1157 tail/brake/turn signals, and 194 license plate light all have direct LED replacements. LED headlight bulbs draw less current and produce more lumens, but require an external heat sink — make sure the heat sink fits inside the headlight bucket.
Do I need to update the flasher relay for LED turn signals? Most Harley-Davidson turn signals use a self-canceling electronic flasher module. LED bulbs draw less current and may cause hyperflashing. If this occurs, install an LED-compatible flasher relay (Harley-Davidson recommends part 73268-10B or equivalent Kuryakyn unit).
What is the correct headlight aim angle? The low beam should be aimed slightly below horizontal — approximately 1% downward angle, which translates to roughly 1 inch of drop for every 8 feet of distance to the wall.
Is the 2022 40-Eight the last Evolution 1200 model year? Yes. 2022 marks the final model year for the Evolution 1200 engine in the 40-Eight. From 2023 onward, the Sportster 40-Eight transitioned to the Revolution Max 1250T platform. The 2022 model retains the classic H4 headlight and traditional round lighting.
What H4 LED brands are recommended? Philips X-tremeVision Pro H4 LED, Sylvania ZEVO H4, and Kuryakyn Kyma are all strong choices. Ensure the LED bulb includes a heat sink or fan that fits within the 7-inch bucket housing.
Parts for this job
Fits XL1200X, XL1200, XL — from our catalogue of 41,000+ aftermarket parts.
 Stock Style Tail Lamp Replacement Lens Clear$7.02
 Tail Lamp Stock Type Red Plastic Lens$12.80
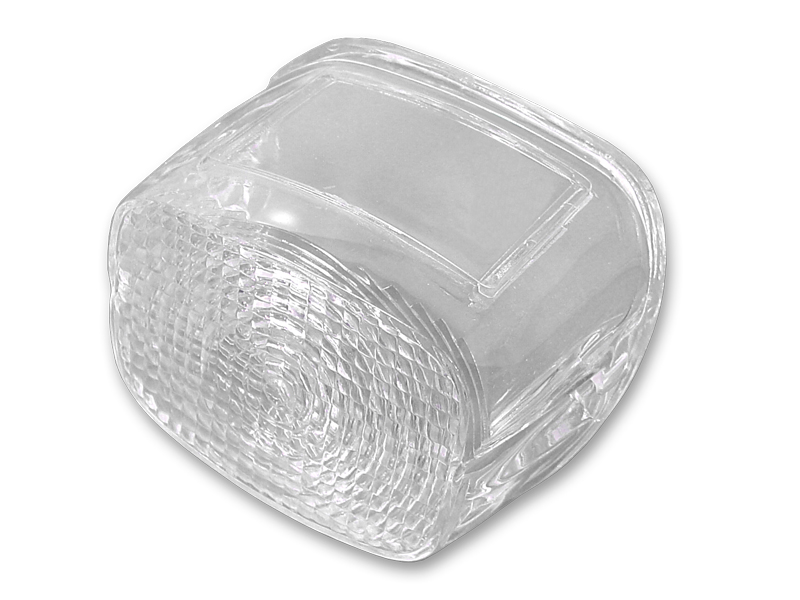 *UPDATE Tail Lamp Lens Stock Clear$12.94
 *UPDATE Tail Lamp Plastic Clear Lens$12.94
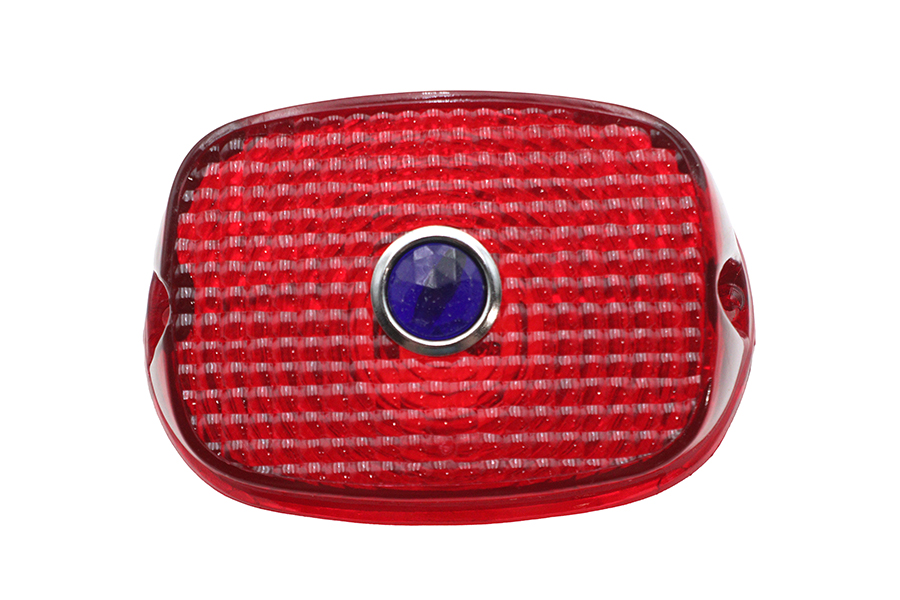 Tail Lamp Lens Red with Blue Dot$17.12
 Tail Lamp Blue Dot Red Plastic Lens$21.44
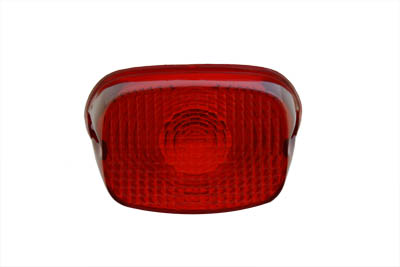 Tail Lamp Lens Stock Red$22.24
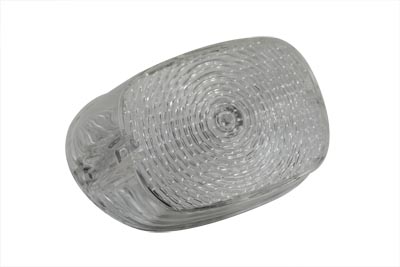 Stock Tail Lamp Clear Lens$29.71
 Lens and Rim Kit For Stock Tail Lamp$32.51
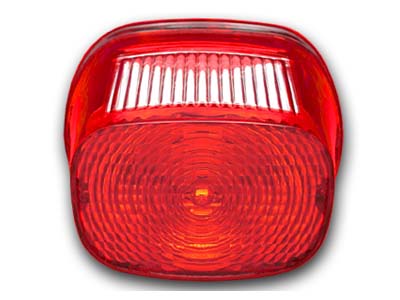 Tail Lamp Lens Stock Style Red$39.32
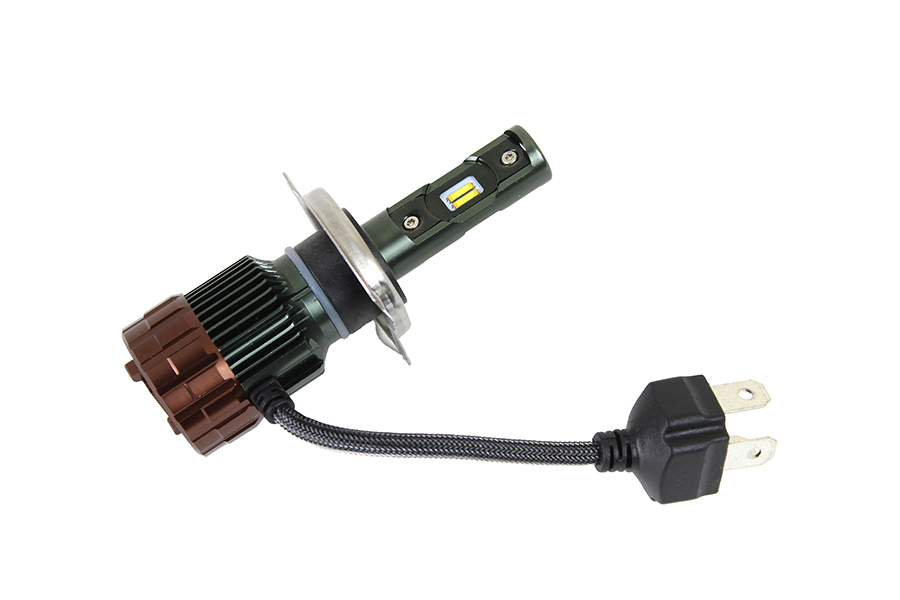 H-4 LED Bulb 6 to 24 Volt$40.67
 Replica Tail Lamp Lens Glass Red$48.24