 HarleyMotorcycleParts
Springer Softail (FXSTS) Rear Shocks: Do Not Judge the Ride by One End
The rear swap is ordinary. The trap is crediting or blaming it for what the springer front is doing.
Riders of this bike often fit new rear shocks, feel a change, and tell everyone the shocks fixed it, or ruined it. A springer's front has its own travel and its own manners, with those rockers working in plain view. So a harsh hit can start at either end. Find out which before spending money, because rear shocks cannot cure a front-end complaint.
Tools
- Stand or blocks
- Notebook for ride notes
- SAE and Torx sockets
- Torque wrench
- Shock spanner for a canister-type adjuster
- Tape measure
- Service manual
Separate the ends with a test ride
Pick a short loop you know well, with a few sharp edges and a long rolling section. Ride it solo at your normal pace, and pay attention to one question: where do you feel the hit? Through the bars and wrists points forward. Through the seat and lower back points rearward.
Write down what happened at each landmark. You will use these notes after the job. Memory flatters any new part you just paid for, whereas a note made beforehand does not.
Next, stand beside the bike with it off its stand. Push down on the seat and let it rise, then push on the bars and watch those rockers move. You are not measuring anything. You are simply learning how each end behaves on its own, so a sticky or clunking front does not get pinned on the rear.
If the bars are where it hurts, leave the shocks for now and have the front end looked at by someone who knows springers.
Order the correct era
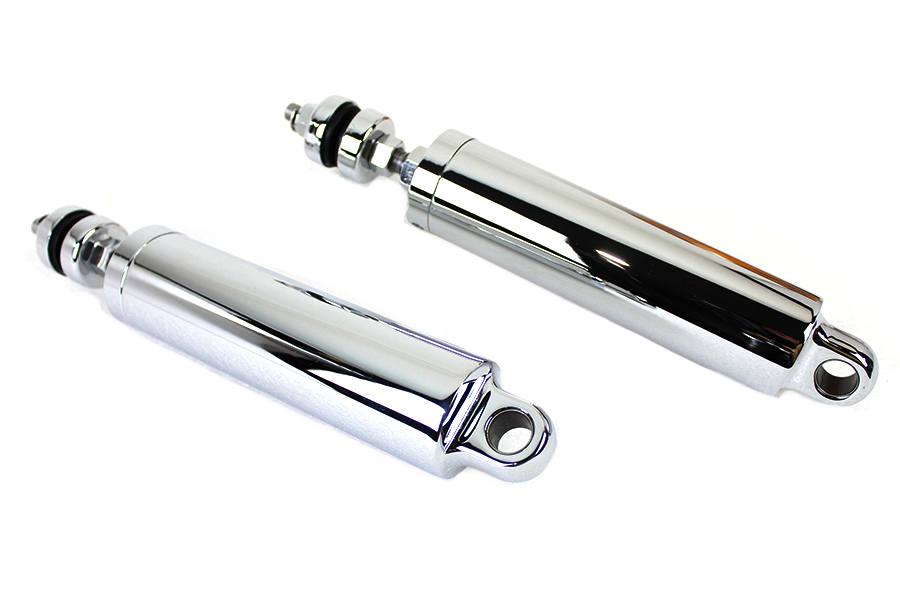
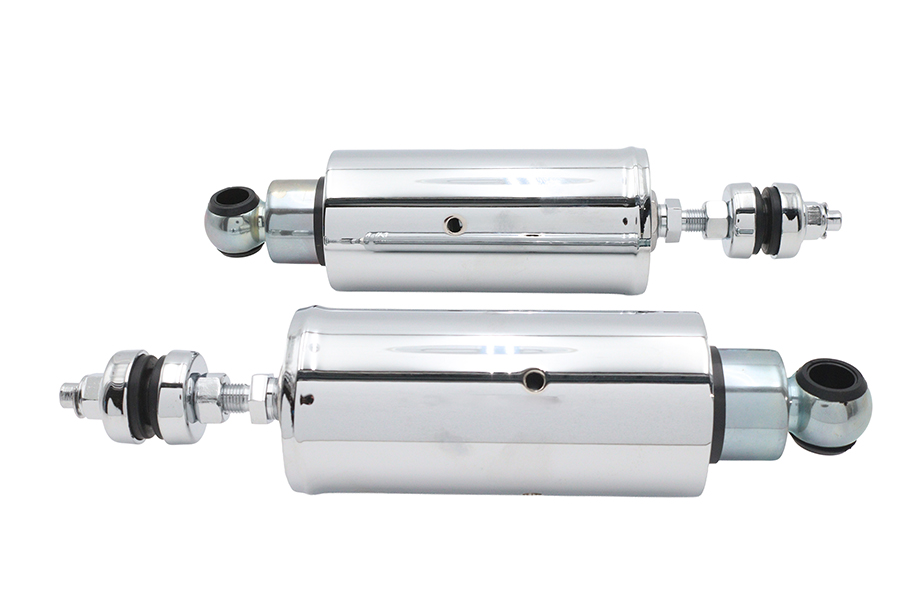
Under the bike lie two horizontal shocks, and they are of a pattern that changed along the way. Softails built from 1984 through 1999 and those from 2000 through 2017 do not take the same one. Get your model year from your paperwork and match it to that split before ordering.
Should you find a remote reservoir on an early example, bear in mind that it needs its own correct bushings and sleeves.
Lifting and removal
Use a level floor, and raise the frame on a stand or solid blocks until the rear tyre leaves the ground by only a small gap. Do not rest any weight on the springer's components, since they were not made to carry a lift. Lift only at the frame.
Wedge support beneath the wheel. A swingarm with its mounts released can fall quickly.
From below, see that the transmission bolts remain in OEM position, as this is what gives the shock its clearance. Document spacers and direction. Then undo the hardware as your manual directs, taking the weight of each shock with your free hand.
Bench inspection
Set the old parts down and study the bits they ran in. Look for hardened or torn bushings, sleeves with a wear step, and threads that feel gritty as you turn them. A mount with slop in it produces the same knock you may have been blaming on the front end.
Compare new against old for overall style, mount width and adjuster position. Differences should have an explanation. If a seller's listing cannot supply one, do not fit it until it can.
Installing the pair
Lift the new shock into place and line up the mount, using a tapered tool or a finger for alignment, never a hammer. Put the fasteners in by hand with spacers where you recorded them.
Use a torque wrench and the shop manual's listed value for each fastener. Do both shocks to the same standard. Set the adjusters alike; with the factory style, a spanner's tangs drop into holes on the canister, and it needs firm, square pressure so it does not slip and bruise your hand.
Lower the bike and set sag with a helper, measuring from the rear axle upward to a fixed mark. Keep in mind that preload positions the bike in its travel without making the spring any firmer, which is a frequent misunderstanding.
Run the same loop again
Warm up gently and listen for any noise from the rear. Stop and check your fasteners. Then repeat the exact loop from the beginning of this job, at the same pace, and take notes at each landmark.
Now compare. Whatever improved at the seat, credit to the rear. If the wrists still take a beating, the rear shocks were never the source, and you have a clear reason to look further forward. Resist the urge to keep adjusting preload to fix a sensation that arrives through the bars.
A change at both ends together would have told you nothing, which is why it pays to do one end at a time. Leave any front-end work until the rear has settled and you have ridden on it for a while. Recheck the rear bolts after that longer spell too.
Mistakes that cost money
- Fitting rear shocks to cure a harshness you feel through the bars.
- Changing the front and rear at the same time, so neither can be judged.
- Trusting memory for the comparison instead of written notes.
- Bearing any lift load on the springer front parts.
- Using preload to chase a front-end sensation.
When to stop
If you find play, binding or damage in the springer front end while doing this job, the rear shocks can wait. Do not ride it until someone competent has examined the front.
Parts for this job
Check fitment for your own model and year before ordering — add your bike and we will flag what fits.
Other Harley how-to guides
This guide covers procedure and judgement. Torque figures, fluid capacities, gaps and tension settings are specific to your model and year and must come from the factory service manual for your motorcycle — we deliberately do not print numbers we cannot stand behind for your bike. Independent aftermarket retailer, not affiliated with Harley-Davidson, Inc.