 HarleyMotorcycleParts
Softail Custom (FXSTC): Check for Old Lowering Work Before New Shocks
Many have already been lowered. Fit fresh parts on top of that without knowing, and the result will puzzle you.
The classic error on a used FXSTC is to buy stock-spec shocks and expect stock results. This long-running custom has passed through many hands, and plenty have been lowered along the way, by a kit, a changed shock or a wound-out adjuster. Stock parts on a modified bike can leave you baffled. So survey first, because what is fitted now changes everything you buy.
Tools
- Stand or blocks
- Tape measure
- Flashlight
- Camera
- SAE and Torx sockets
- Torque wrench
- Canister spanner for factory-type preload
- Service manual
The lowering survey
Start at the rear of the bike and see how it sits. Is the rear unusually close to the tyre? Is the side stand standing the bike oddly? These hints alone prove nothing, but they tell you to look harder.
Next go below with a light. A lowering kit generally shows as extra brackets, odd spacers or links that do not match the manual's illustrations. Compare what you see, part by part, with the diagrams in the shop manual for your year.
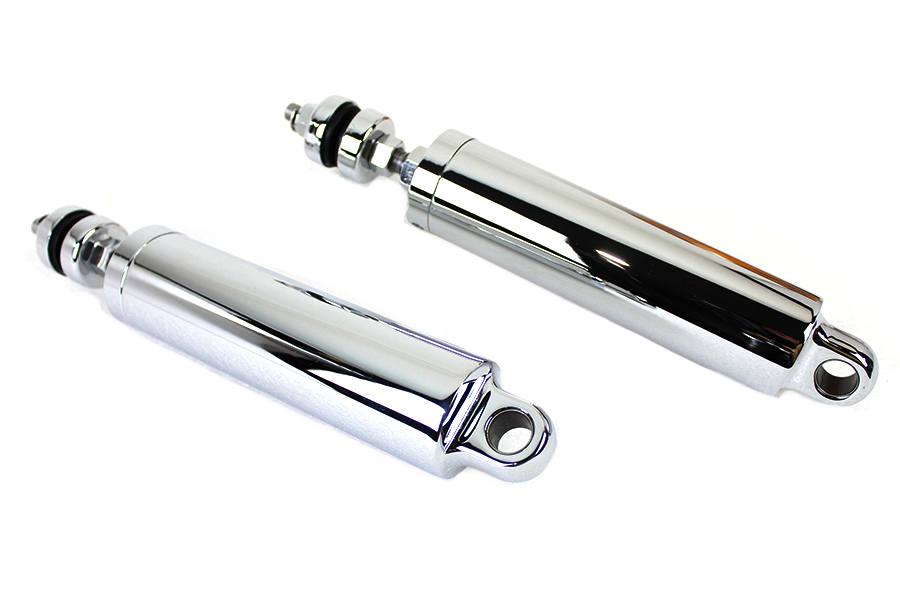
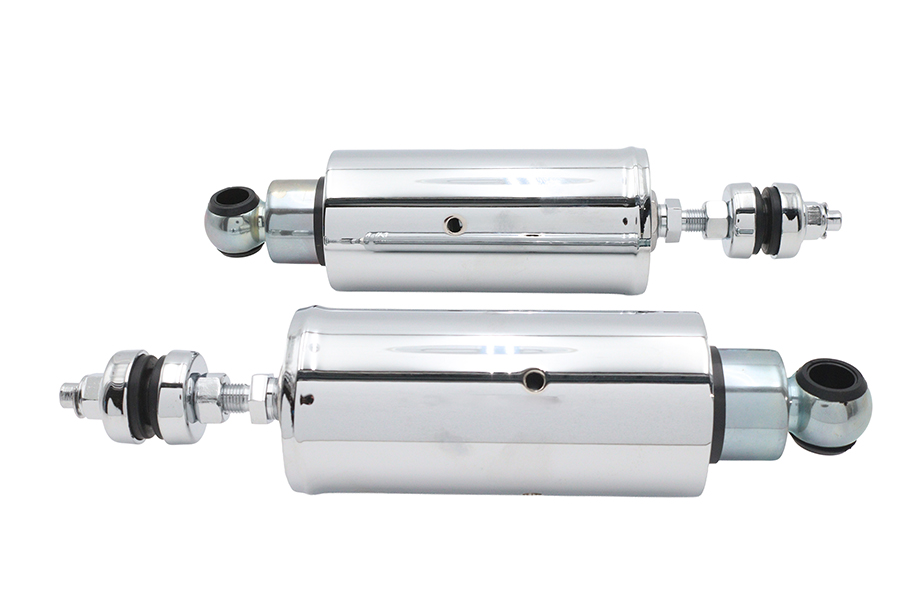
Look at the adjuster on each shock. If the factory canister type is present, its setting may have been run all the way off by someone chasing a lower seat. A preload wound down that far will sit deep in the travel, then feel hard, and it can pass for a bad shock when the shock itself is fine.
Note any label or number on the shock bodies, and photograph the lot. If the seller gave you receipts, read them. Past work is often written down somewhere.
Decide what the bike should be
With your findings in hand, there are three honest routes. Keep the existing lowered height with better shocks. Return to stock height. Or choose some other height, on purpose, from a shock maker who publishes its figures.
Whichever you pick, remove the guesswork. If a kit is coming off, buy the parts it replaced, or the stock layout will not go back together. If it is staying, ask the shock seller directly whether their shock works with it.
Many of these wear a wide rear tyre, which gives you less room to get things wrong. Check the listing's clearance claims against your actual wheel and tyre, particularly if that too may have been changed by somebody along the way.
Pay attention to era, as well. A frame from 1984-1999 and one from 2000-2017 want different shocks, as Bitubo's listed eye-to-eye lengths of 302.5 mm and 227.75 mm illustrate.
Removal from below
Rest the frame on a stand or blocks so the tyre barely clears the floor, and add solid support under the wheel. Check your transmission bolts are as the factory located them, since a previous builder may have disturbed that too, and clearance relies on it.
Remove any fittings in the sequence the manual sets out. Where a kit interrupts that sequence, take a photo at each stage so you can reverse your steps. Ease each shock clear by hand. Bag whatever parts belong to a kit, and label them. You may want to sell or refit them later.
What to look at while it is out
Lowered bikes often have a harder history, since they bottom more. Check for marks on the frame and swingarm where parts have struck. Inspect each bushing and sleeve for hardening, tearing or looseness, and throw out anything doubtful. Look down every mount hole for wear that has changed its shape.
Review bolts critically. Anything from an unknown kit should meet the manual's specification for that location, and a bright new look does not prove its grade.
New shocks in
Assemble things in the layout you chose, not necessarily the one you took apart. Check parts against the shop manual's diagram as you go. Start threads with your fingers.
Do not assume any torque you see online applies here. Open the manual for your year, find the fastener and use its value. If a kit stays on, its own instructions apply to its own bolts.
Equalise preload left and right using a spanner on the canister holes if yours are the factory style. Measure sag with a helper and compare to the manual's or shock maker's range.
Testing a bike with a past
Roll it off the stand, confirm the side stand holds the bike at a sensible lean, and bounce the rear by hand. Check tyre clearance visually. Ride a slow loop before any fast one. On returning, look for rub marks at the fender and at the swingarm, and go over the bolts.
Finally, leave a dated note with the bike's records saying exactly which shocks are fitted and at what height. The next time someone works on this Softail, they should not have to guess, and that someone may be you.
Mistakes that cost money
- Fitting stock-length shocks without checking for a lowering kit.
- Mistaking a wound-off preload setting for a dead shock.
- Removing a kit without the parts it originally replaced.
- Trusting unknown kit bolts because they look new.
- Keeping no record of what was fitted or the height it gave.
When to stop
If a past kit has left cracks, bent brackets or damaged mounts, do not fit anything over them. Have the frame and swingarm looked at properly first.
Parts for this job
Check fitment for your own model and year before ordering — add your bike and we will flag what fits.
Other Harley how-to guides
This guide covers procedure and judgement. Torque figures, fluid capacities, gaps and tension settings are specific to your model and year and must come from the factory service manual for your motorcycle — we deliberately do not print numbers we cannot stand behind for your bike. Independent aftermarket retailer, not affiliated with Harley-Davidson, Inc.