 HarleyMotorcycleParts
Forty-Eight Primary Chain: Working Around the Forward Controls
On the Forty-Eight the forward controls sit in front of the primary cover. Getting to the adjuster and the cover is most of the job.
Let's clear this up first: the Forty-Eight runs a belt to the rear wheel, not a chain. Its chain is the primary, between engine and clutch inside the left cover. On this bike the chain work itself is ordinary Sportster work. The difference is access. The forward controls sit in front of the primary cover, and getting to the adjuster and the cover around them is the whole job.
Tools
- Sportster service manual for your year
- Phone for photos of the controls
- Sockets and Allen keys
- Drain pan
- Primary locking tool
- Torque wrench
- Threadlocker per the manual
- New primary cover gasket
- Primary/transmission oil as specified
What the Forty-Eight primary is
It is a 2010-2020 rubber-mount Sportster primary. The primary and transmission share one oil on the five-speed bikes, so there is no separate primary fluid change. The chain is adjustable with an adjuster shoe; where the adjuster is reached and the slack spec depend on the year, and the manual shows where yours is reached.
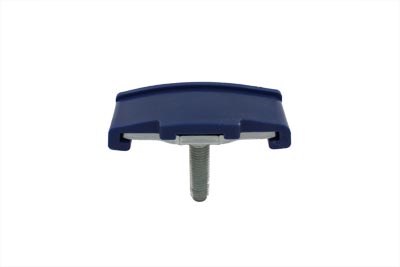
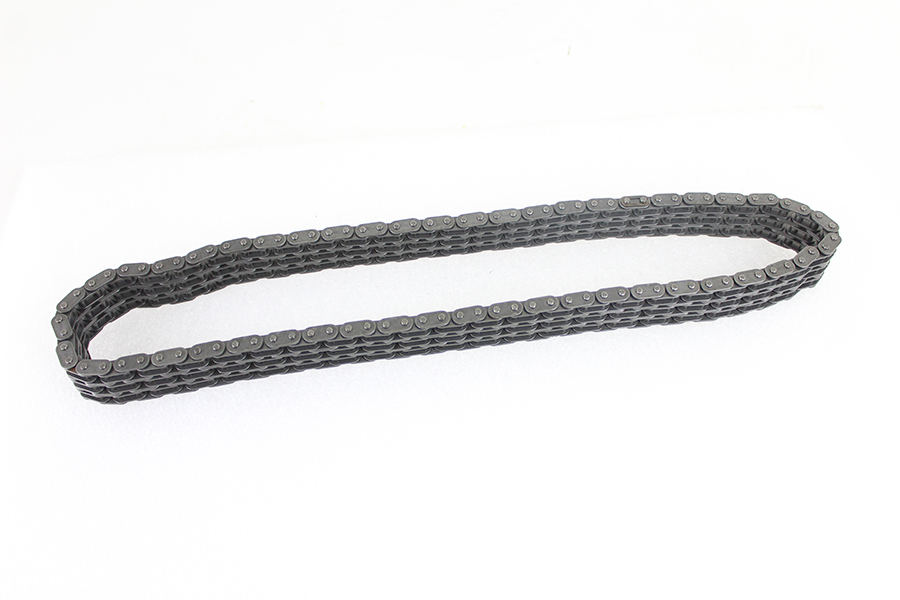
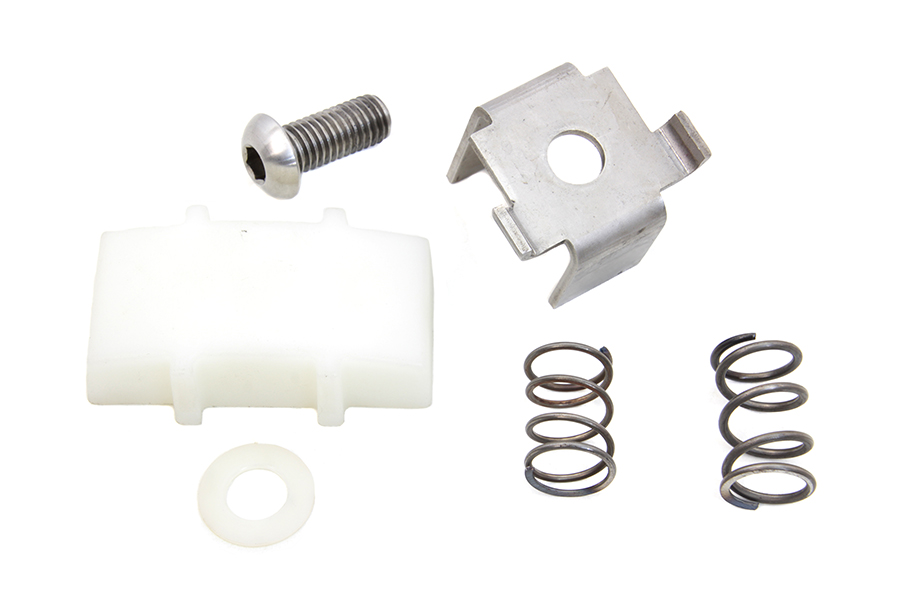
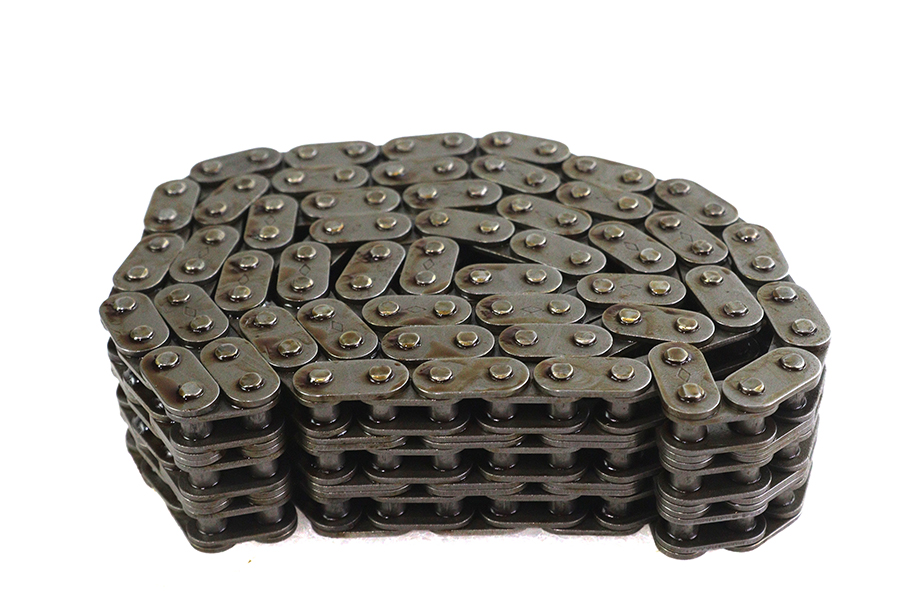
Our catalogue lists a 96-link endless chain for XL 2004-up, and 2004-up adjusters 18-0119 and the York automatic 18-3706. Check them against your manual.
Signs of a worn primary
Listen for slap or rattle from the left side at idle that changes when you pull in the clutch. Notice any jerky take-up when moving off. When you drain the primary/transmission oil, read the drain plug magnet for metal flake.
If you find a shoe or pad worn deep or a chain stretched beyond the adjuster's range, adjustment is over and replacement starts.
One oil, two jobs
Because the Forty-Eight's primary and gearbox share their oil, what comes out of the drain tells you about both. Flake on the magnet could be primary chain and sprocket wear, or it could be from the transmission side. Do not jump to conclusions from the magnet alone; put it together with what you hear and what you see once the cover is off.
That shared oil also means a primary job is a gearbox job in one respect: whatever you put back in is what the transmission runs on. Use exactly what the manual specifies for your year, fill to its level by its method, and do not top up with whatever engine oil is on the shelf.
If the oil comes out looking milky, smelling burnt, or far lower than it should be, note it and find out why before you finish. A leak or a contamination problem will not be fixed by a new chain.
Planning around the forward controls
Look at the left side with the manual open. Find where the adjuster is reached on your year, and work out which parts of the forward control, shift lever and linkage stand between you and it, and between you and the cover bolts.
On a Forty-Eight the controls are well forward of the case, but the shift linkage still crosses the area you need. Depending on your year, the manual may only need the linkage disconnected rather than the whole control assembly off; do the least you have to, because every part removed is one more part to refit correctly.
Photograph everything before you take anything off: the shift lever on its shaft, the linkage, the peg. Mark the lever on its splines with a paint pen. Forward controls refitted one spline out leave a shift lever you have to lift your foot awkwardly to reach, and that is a safety problem, not just comfort.
Bag and label each piece of hardware. Forward control mounts tend to use several bolt lengths.
Checking slack
With access cleared as the manual describes, check slack using its method and its figure, under the conditions it states. Rotate the engine and measure at several points; set it at the tightest spot.
Adjust per the manual, lock the adjuster and remeasure at that tight spot. If you cannot bring it into spec, the chain or shoe is worn out.
If the slack check is a fight every time because of the controls, that is worth weighing when you choose an adjuster. Our catalogue lists the York automatic adjuster, 18-3706, for XL 2004-up. On a bike where reaching the adjuster is most of the job, an automatic one may suit you better; read its instructions with the manual before deciding.
Replacement on the Forty-Eight
Battery negative off. Drain the oil from the primary/transmission per the manual. Remove the controls you identified and the primary cover. Expect a new gasket.
Back off the adjuster and lock the primary with a locking tool. Then the two big nuts: engine sprocket first, clutch hub second. Check the manual for the Sportster clutch hub nut's thread direction before applying force. It is not safe to assume, and a long breaker bar pulled the wrong way can damage the hub before you feel anything give.
The 2004-up chain is endless, so the engine sprocket, chain and clutch come off together as one unit. If the alternator rotor is exposed on your year, its magnets will catch stray tools.
Refit with the new chain and any worn parts, using threadlocker and torque values from the manual. Set slack at the tightest spot.
Do not rush the cover back on. Clean both sealing faces completely, so the new gasket sits on bare, dry metal. Old gasket fragments stuck to the case are the most common reason a freshly rebuilt Sportster primary weeps.
Closing up and refitting controls
New gasket, cover back on, and refill with the oil specified for the primary/transmission, to the manual's level. Remember the gearbox lives on that oil too.
Refit the forward controls to your marks and photos. Check the shift lever sits where your foot expects it, and check clutch adjustment.
Test and recheck
Run through every gear at low speed first; make sure each shift is clean and the lever returns properly. Then ride normally and check for leaks. After the first few rides, recheck slack at the tight spot.
Since you now know exactly what has to come off to reach the adjuster on your bike, write it down with your photos. Next time a slack check is due, it is a short job rather than an afternoon of rediscovery.
Mistakes that cost money
- Removing forward controls without marking the shift lever on its splines.
- Mixing up forward-control hardware of different lengths.
- Using a Big Twin slack figure or adjuster method.
- Assuming the Sportster clutch hub nut thread direction.
- Overfilling or underfilling the shared primary/transmission oil.
When to stop
If the shift lever does not return cleanly or gears are hard to find after reassembly, do not ride. Recheck the linkage against your photos first.
Parts for this job
Check fitment for your own model and year before ordering — add your bike and we will flag what fits.
Other Harley how-to guides
This guide covers procedure and judgement. Torque figures, fluid capacities, gaps and tension settings are specific to your model and year and must come from the factory service manual for your motorcycle — we deliberately do not print numbers we cannot stand behind for your bike. Independent aftermarket retailer, not affiliated with Harley-Davidson, Inc.