 HarleyMotorcycleParts
Breakout Primary Chain Service: Hard Launches, Worn Shoes and Chrome Covers
Breakouts get launched hard, and the primary takes it. How to inspect, replace and reassemble without marking that finish.
Breakouts do not have a rear chain; the back wheel is belt driven. What wears on a Breakout is the primary chain inside the left case, between engine and clutch. And it wears faster than average, because owners use the bike the way it looks: big torque, fat rear tyre, hard off the line. Every one of those launches goes straight through the primary.
Tools
- Service manual for your year
- Moving blankets or soft towels
- Masking tape for protecting finishes
- Drain pan
- Primary locking tool
- Torque wrench
- Specified threadlocker
- New gasket or seal for the primary cover
- Correct primary fluid
Two Breakouts, both automatic
The 2013-2017 Breakout uses the Twin Cam 103 and an automatic hydraulic tensioner. The 2018-up M8 Breakout uses an automatic tensioner too. There is no routine adjustment on either one, so if a forum post tells you to tweak the adjuster, it was written for an older Softail.
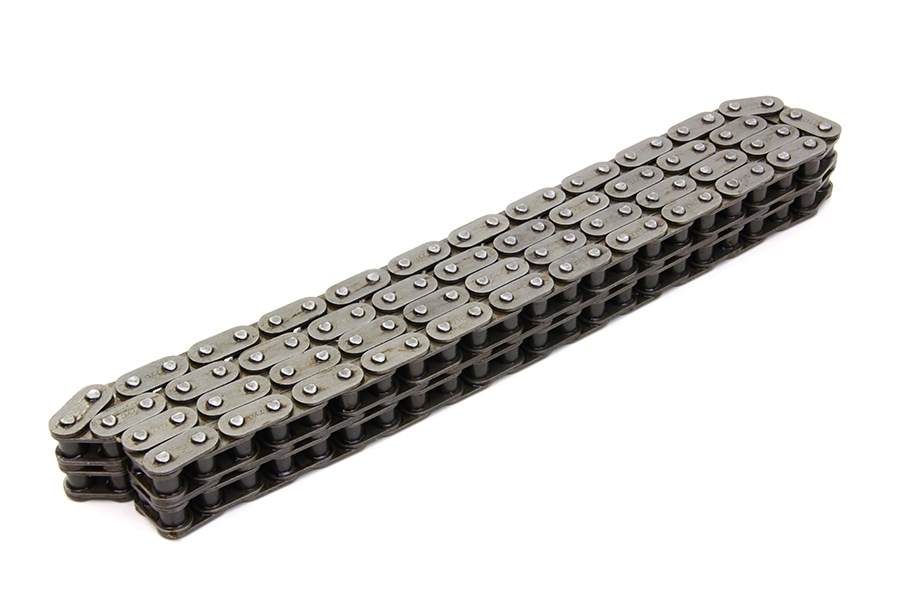
Our catalogue lists a 92-link chain for FLST/FXST 2007-up. Confirm it for your exact year in the manual before ordering, especially across the 2017-2018 chassis change.
What hard riding does to the primary
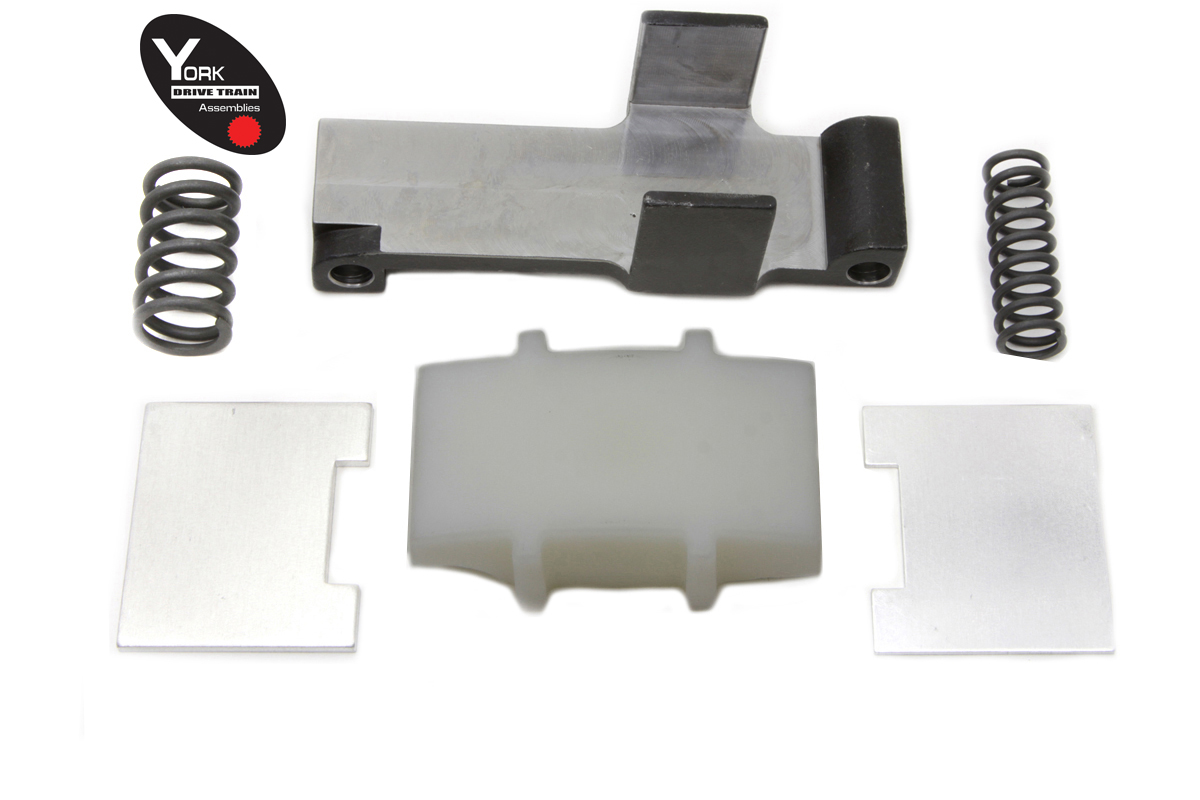
A launch loads the chain suddenly. The tensioner has to absorb that slack as it snaps back, and the shoe takes the hit. On a bike that sees a lot of hard starts, shoe grooving and chain wear arrive early.
Listen for a slap or rattle from the left at idle that changes with the clutch lever, and for jerky take-up when you pull away gently. Check the drain plug magnet at each fluid change: flakes rather than fine paste are the bad sign.
A clunk at start-up or shutdown is a different suspect: the compensator. It lives in the same case and suffers from the same riding style, but its diagnosis is a separate job.
If the bike has had engine work to make more power, add that to the picture. More torque through the same primary means wear arrives sooner still.
Inspecting rather than adjusting
Inspection on a Breakout means the shoe and the chain. Use the access your manual describes, look at the shoe face for grooves and the chain for damage, and compare what you see with the wear limits the manual gives.
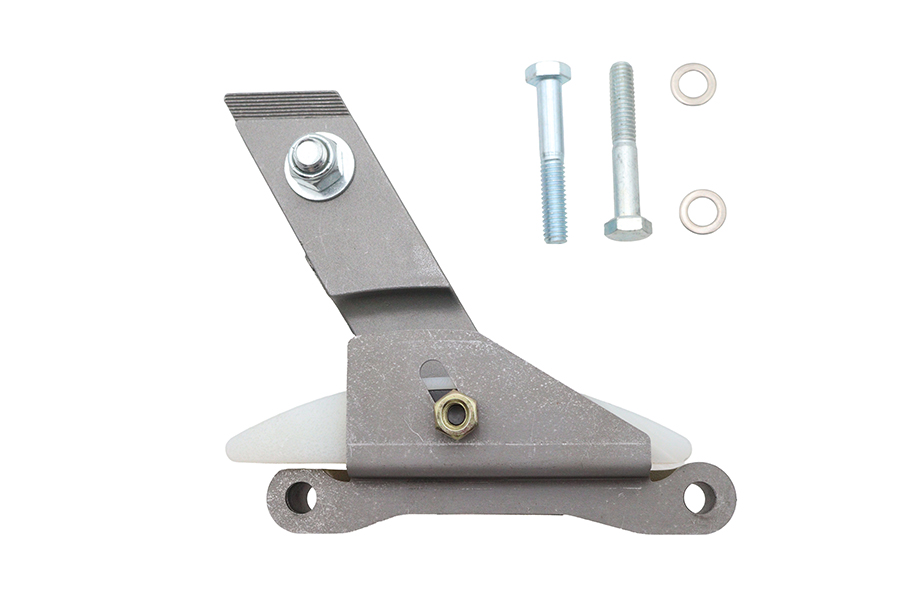
If you want to set slack yourself, a manual-adjuster conversion is sold for this era. Our catalogue lists 18-8328 for FXST/FLST 2007-2017 and the Ultima 18-1763 M8 adjuster for FXST/FLST 2018-up. Fit one and you must check slack at the tightest spot, cold or hot per the manual, on a schedule; it will not look after itself.
Protect the finish first
Breakouts wear a lot of chrome and gloss on the left side: derby cover, primary cover, controls. Those finishes mark easily, and a slipped wrench leaves a scar you will see every time you park.
Run masking tape around the edges of the cover and over the frame and pipes near where you will work. Lay a blanket on the floor for the cover to rest on, face up. Use proper sockets, not an adjustable wrench that can slip across chrome.
Keep the drained fluid off the finish as well. Primary fluid left to sit on a polished surface and then wiped with a dirty rag leaves fine scratches; rinse spills with a clean cloth and a suitable cleaner as soon as they happen, not at the end of the day.
Stage the job before the cover comes off
A Breakout spends its life outside, and nobody wants it in pieces in the garage for a week waiting on a gasket. Before you drain anything, have the new chain, a shoe if the inspection pointed that way, the correct cover gasket or seal, threadlocker, and enough of the specified primary fluid on the bench.
Check the parts against your year rather than the Breakout name. The 2013-2017 and 2018-up bikes are different chassis with different engines, and parts listed for one should be confirmed in the manual before they go into the other. If you have fitted an aftermarket derby or primary cover, its gasket may be different again.
Lay the tools out in the order you will use them: drain pan, cover tools, tensioner retaining method, locking tool, breaker bar, torque wrench. It sounds fussy. It is the difference between a one-day job and a two-day one.
Replacement, start to finish
Battery negative off. Drain the primary fluid, then remove whatever on your bike's left-side controls blocks the cover. Lift the outer primary cover off squarely and set it on the blanket. Its gasket or seal will be replaced; the manual tells you which type.
Retract the automatic tensioner and hold it with the retaining method the manual describes. Lock the primary with a sprocket locking tool or wedge, then crack the compensator nut and the clutch hub nut. The Big Twin clutch hub nut is LEFT-HAND thread: clockwise to loosen.
The stock chain is endless, so the engine sprocket, chain and clutch basket come off together. Keep your tools off the alternator rotor behind the compensator; the magnets will pull a socket straight onto it.
Replace the chain and whatever else is worn, which on a hard-launched Breakout often means the shoe as well. Reinstall as an assembly with threadlocker, torque to the manual's figures, and release the tensioner as the manual instructs.
Fit the new gasket, refit the cover, and refill with the primary fluid the manual specifies, to its level. That fluid is separate from both engine oil and transmission fluid.
Clutch, ride, recheck
Check clutch adjustment before riding. Then start it, listen at idle, and ride normally through the gears, no launches on day one. Look for leaks when you get back, and wipe any tape residue off the finish.
At the next fluid change, read the drain plug magnet again. If it is clean, your new primary is bedding in. If it is not, look again sooner rather than later.
Be honest about how the bike is ridden. If every set of lights is a drag race, shorten the gap between primary inspections and keep a note of what you find each time. The shoe will show you whether your riding and your service schedule are matched.
Mistakes that cost money
- Searching for an adjuster that a Breakout does not have.
- Ignoring shoe wear on a bike that is launched hard every ride.
- Scratching the chrome primary or derby cover with a slipped wrench.
- Loosening the left-hand-thread clutch hub nut anticlockwise.
- Ordering parts across the 2017-2018 change without checking the year.
When to stop
If the tensioner will not retract or hold, or the shoe is worn through, do not reassemble and ride. A failed tensioner on a high-torque bike lets the chain thrash inside the case.
Parts for this job
Check fitment for your own model and year before ordering — add your bike and we will flag what fits.
Other Harley how-to guides
This guide covers procedure and judgement. Torque figures, fluid capacities, gaps and tension settings are specific to your model and year and must come from the factory service manual for your motorcycle — we deliberately do not print numbers we cannot stand behind for your bike. Independent aftermarket retailer, not affiliated with Harley-Davidson, Inc.