 HarleyMotorcycleParts
Ultra Limited (FLHTK) Fuel Line: Working Through a Crowded Frame
Everything sits close together here, and that crowding drives how you do this job safely.
The wrong idea on an Ultra Limited is that the line is the job. It is the small part of the job. This is a bike with wiring, heat and hardware packed tightly around the frame, so what takes the time and what causes trouble is everything next to the line. Put a replacement back in a slightly different path and you can have a chafe or a heat problem weeks later that seems to come from nowhere.
Tools
- Masking tape and a marker for connector labels
- Phone camera
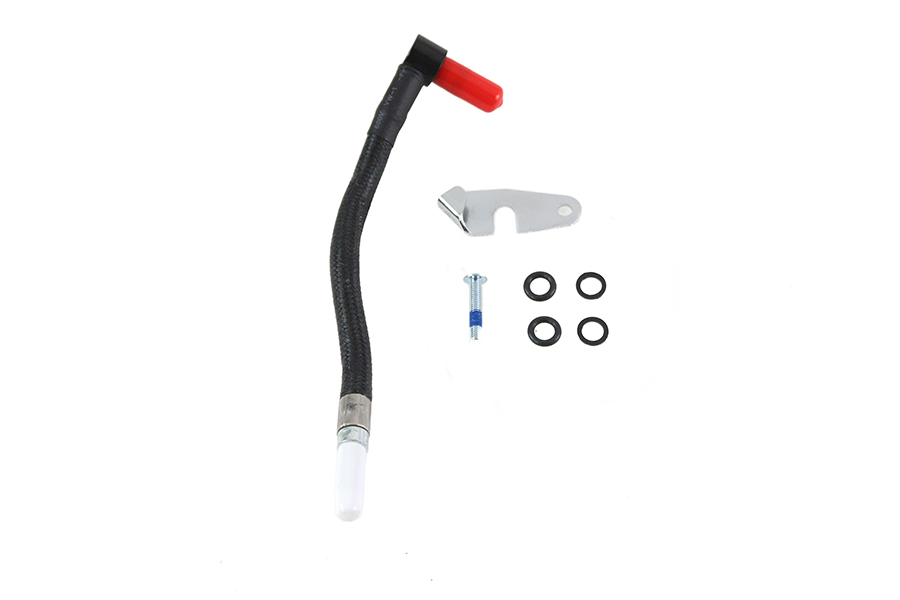
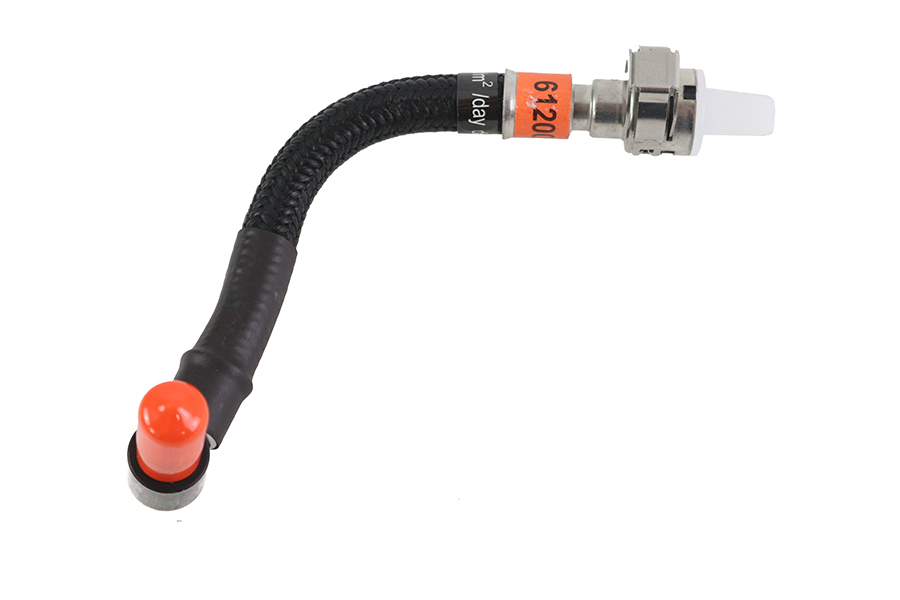
- Correct-span FLT line and fresh O-rings
- Fitting disconnect tool as required
- Closed fuel container
- Extinguisher suited to burning gasoline
- Service manual
Two engine generations, two lines
These are injected bikes across both engine eras, so there is no carb check to make. What varies is the line. A Twin Cam 103 bike and an M8 bike sit in separate catalogue spans, with M8 Touring starting at 2017 and our last FLT span covering 2017-20. Earlier spans of 2008-16 and 2012-16 overlap, so read the fitment on the listing against your exact model year.
Map the neighbourhood before you unplug anything
Spend the first twenty minutes doing nothing but looking. Follow the line with a torch from tank to engine end, taking photos at each clip and each place it passes close to a harness, a bracket or a hot surface. Heat matters on this bike, so make a note of how much gap the factory left.
Tape a numbered flag on any connector or loom that has to move, and write the same number in your notes. Reassembly at the end of a long day is exactly when memory fails.
What must be true before the line is opened
Dressers hold heat for a long time, so let this one cool fully, longer than you think, and test the exhaust and engine by hand. Open doors at both ends of the garage or wheel it outdoors. Rule out sparks and open flame, including tools and pilot lights. Keep your extinguisher, rated for gasoline, reachable, with a lidded fuel-safe can alongside it.
Pressure relief is the first hands-on step, using the procedure printed in your service manual. The general shape is pump fuse or connector out, engine run or cranked till it dies, pump left disconnected. A dresser that ran for that purge needs another cool-down.
With pressure gone, remove the battery negative. On a bike with this much wiring around the line, that protects you and the electronics alike. The manual will tell you of any additional reset steps it expects for your year.
Swapping it, one zone at a time
Tank end first. Raise the tank if the manual says to, with solid support, watching the harness as it lifts. Rag below the connector. Release the sliding sleeve by the push and pull motion the manual shows, with its tool if specified, then plug the port.
Middle next. Open the retainers in order, moving wiring only as far as it needs to go, and never hanging a harness by its connectors. Slide the old line out instead of yanking it past things. Pay attention to anywhere that shows rub marks, because those will need protection on the way back.
Engine end last, per the manual. Set the old and new lines side by side and check bends and connectors match. New O-rings go on at each joint, single-use as always and the likeliest leak point on the entire assembly.
Install in reverse, feeding the new line through the same gaps. Lock each connector, then tug it. Restore each retainer, and compare against your photos for spacing to wiring and hot parts.
Should you find a chafed or cracked line, do not get creative with fuel hose and hose clamps to get home. That is banned on pressure systems. Trailer it instead.
Spacing that will still be right in a year
Before testing, hold your photos up beside the finished work. Any new contact between line and harness, or any bend that now sits closer to the engine than before, gets corrected at this stage rather than after a season of vibration.
A fully dressed bike also carries a lot of weight and shakes its parts in ways a stationary one will not show. Plan on looking the route over again after the first long ride, hunting for fresh shiny rub marks, a clip that has walked or any staining at a joint. It takes ten minutes.
The dry run
Pump circuit back in. Battery connected last. Key to on, starter untouched. The pump should run a short time and quit. With good light, go through your numbered zones in order, joint by joint. Turn off, then repeat at least twice. Clean paper towel pressed on a joint will show a weep your eyes miss.
After that, start up and look again from cold idle through full warmth. Heat-soak is the point of the last check on this bike, because expansion can show what cold could not. If the pump module's internal lines are in question, see our Fuel Filter and Fuel System Service guide.
Mistakes that cost money
- Skipping photos on the bike that needs them most.
- Letting the new line sit nearer a hot surface than the old one did.
- Leaving a harness hanging by its connector.
- Assuming the Twin Cam and M8 lines are the same.
- Doing the leak check once and only while the engine is cold.
When to stop
Take it in if you find chafed wiring, any fuel near electrical connections, a damaged port, or a fault message after reassembly that your manual cannot explain.
Parts for this job
Check fitment for your own model and year before ordering — add your bike and we will flag what fits.
Other Harley how-to guides
This guide covers procedure and judgement. Torque figures, fluid capacities, gaps and tension settings are specific to your model and year and must come from the factory service manual for your motorcycle — we deliberately do not print numbers we cannot stand behind for your bike. Independent aftermarket retailer, not affiliated with Harley-Davidson, Inc.