 HarleyMotorcycleParts
Street Glide (FLHX) Fuel Line Replacement: Tank Up, Fairing Stays
Nobody needs to strip the batwing for this. The tank is what moves.
Owners looking at a batwing tend to assume that a fuel line job begins with hours of fairing removal. It does not. The fairing stays where it is, because the line has no business up there. What usually has to move on a Touring bike is the tank itself, raised enough to get fingers and a tool onto the fitting. Plan around that and the afternoon gets shorter.
Tools
- Sleeve-type disconnect tool if your fitting needs one
- Correct-year FLT line and new O-rings
- Padding and a way to prop the tank safely
- Capped gasoline can
- Fuel-fire extinguisher
- Service manual
Order the right line before you lift a spanner
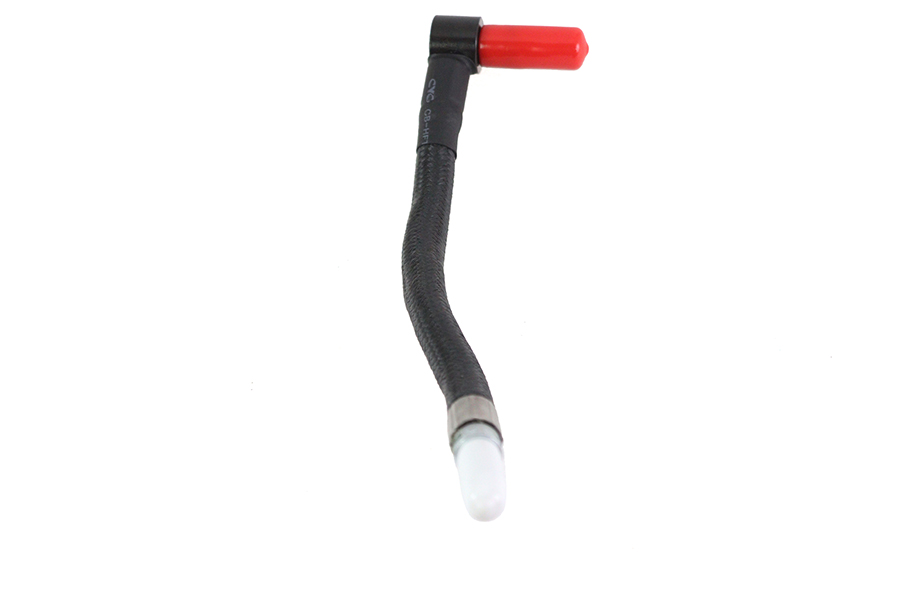
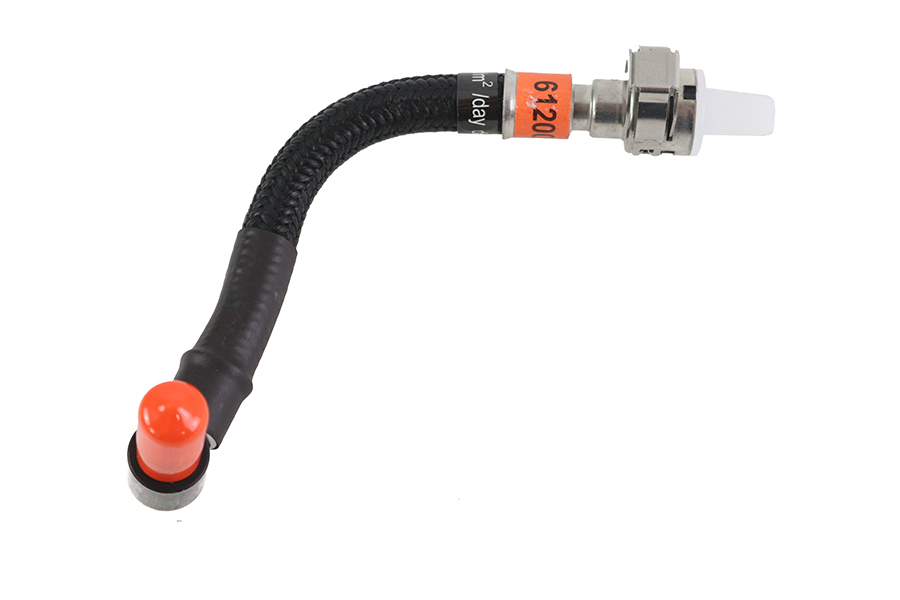
A Street Glide is injected for every year it has existed, so you can skip any petcock question. The harder question is which line. FLT fitment in our catalogue divides into 2002-06, 2008-16, 2012-16 and 2017-20. Confirm your model year against the listing, and if 2007 or a post-2020 bike is what you ride, ask before you buy.
Buy O-rings at the same time. These seals only work once, and most weeps people chase on this bike start at one.
Fire comes first on a job like this
Let the bike sit until the exhaust is cold to bare skin. Work where air really moves, not a closed garage with one small window, since fuel fumes are heavier than air and pool low. Nothing that flames or sparks should be in the room, and that includes the furnace. Keep a fuel-rated extinguisher within arm's reach and a capped can close by for anything you drain.
Bleeding off line pressure
This bike holds fuel under high pressure with the engine off, and cracking that open blind sprays further than anyone expects. The purge steps are in your service manual, and they come before every other step. The usual pattern: remove the pump fuse or its connector, run or crank until the engine quits, and leave the pump dead for the whole job.
Next, battery negative off. Doing it in this sequence matters, because a disconnected battery cannot crank the bike for the purge. Short-run heat from that purge also means another pause before you reach near the pipes.
Lighten the tank ahead of time
Plan this a few rides ahead if you can. A full tank is heavy and awkward to raise, and no one can work safely under one, so arrive with as little fuel aboard as is practical, or drain it into your sealed can the way your manual describes.
If the bike is on a lift, make sure it is held under the frame and never by the exhaust, and that it is steady enough to take you leaning across it. Keep the fairing covered too, because tools rested on a batwing leave marks you will look at for years.
Raising the tank and swapping the line
Protect the paint first with thick blankets over the frame backbone and console area. Your manual sets out what unbolts and how far the tank may lift. On many Touring bikes that means freeing the mounts and raising the rear, while watching the wiring and vent connections so nothing stretches. Prop it securely with something that cannot slip. A hand holding a tank up is not a prop.
With the fitting exposed, put a rag beneath it and work the sliding sleeve, push then pull, until the line lets go. Plug the port at once. Now trace the old line along the frame, taking photos of its path and each retainer, and release it at the engine end as the manual shows.
Bench-check new against old: same shape, same ends. Fresh O-rings go on, clean and undamaged, with only a lubricant the manual approves if it asks for one. Seat each fitting until it clicks or locks, then give a hard tug backward. If it moves, it was not home.
Follow the original path exactly. A line resting on the frame edge or against a hot surface wears through in time. Refit every retainer.
A warning that deserves its own line: a length of ordinary hose with a clamp is not a repair on this system at any price, in any emergency. The formed line with its factory-style fittings is the only acceptable thing between pump and engine.
Lowering the tank without trapping anything
Before the tank drops, run your eyes along the line to see where it will end up. Lower slowly, feeling for resistance, and stop if something binds. A pinched line can seal at first and fail later. Reinstall the mounts to the manual's figures.
Prime, inspect, then and only then start
Put the pump fuse or connector back. Connect the battery last of all. Turn the key on and leave the starter alone. You should hear the pump run briefly and stop. Check every joint for leaks with a flashlight, wipe it dry, key off, and repeat.
Clean and dry after several primes means you may start it. Look again at idle, and once more fully warm. The lines on the pump module inside the tank are separate, and they belong to our Fuel Filter and Fuel System Service guide.
Mistakes that cost money
- Tearing into the fairing for a job that happens at the tank.
- Propping the tank on something that can shift.
- Trapping the new line when the tank goes back down.
- Buying by the words Touring or Street Glide rather than by model year.
- Testing the repair by starting the engine right away.
When to stop
Take it to a shop if the tank will not lift without strain on wires, if the port or sleeve is damaged, or if fuel appears at any joint a second time.
Parts for this job
Check fitment for your own model and year before ordering — add your bike and we will flag what fits.

Other Harley how-to guides
This guide covers procedure and judgement. Torque figures, fluid capacities, gaps and tension settings are specific to your model and year and must come from the factory service manual for your motorcycle — we deliberately do not print numbers we cannot stand behind for your bike. Independent aftermarket retailer, not affiliated with Harley-Davidson, Inc.