Cold Start Guide: 2026 Harley-Davidson Fat Bob FXFBS
Cold Start Guide: 2026 Harley-Davidson Fat Bob FXFBS
Quick Reference Table
| Spec | Value | Source |
|---|---|---|
| Engine | Milwaukee-Eight 117 (1,923cc) V-twin, OHV 4-valve, air/oil-cooled | Harley-Davidson |
| Fuel System | Electronic Sequential Port Fuel Injection (ESPFI) | H-D Service Manual |
| Battery Type | AGM, 12V | H-D Owner Manual |
| Recommended CCA | Minimum 300 CCA at 0 ° F | H-D Parts Catalog |
| Idle RPM (Cold) | 1,000-1,100 RPM | H-D Service Manual |
| Idle RPM (Warm) | 950-1,000 RPM | H-D Service Manual |
| Choke/Enrichment | None — Auto-enrichment via ECM | H-D Service Manual |
| Fuel Octane | 91 RON (87 AKI) minimum, 93 RON recommended | H-D Owner Manual |
| Cold Start Temp Range | 0 ° F to 100 ° F (-18° C to 38° C) | H-D Engineering Specs |
| Peak Power Output | ~106hp @ 5,020 RPM / 119 lb-ft @ 3,000 RPM | H-D Dyno Specs |
| Cooling System | Air/oil-cooled | H-D Engineering |
| Transmission | 6-Speed Cruise Drive | H-D Service Manual |
| Front Tire | 150mm — wider than standard Harley (typically 130mm) | H-D Specifications |
| Front Suspension | Inverted telescopic forks | H-D Specifications |
| Display/Infotainment | Analog speedometer with small digital display | H-D Features |
| Wet Weight | ~680 lbs (wet) | H-D Specifications |
Difficulty & Time Estimate
- Difficulty Level: Beginner (1 out of 5) — fully automatic cold-start procedure
- Estimated Time: 5-7 minutes from key-on to rolling idle (cold engine)
- Seasonal Note: Below 40 ° F, allow additional 3-5 minutes of warm-up before riding
- The Milwaukee-Eight 117 with ESPFI handles cold starts automatically — no manual choke required
- Muscular bodywork provides some wind deflection but no full fairing — plan wind exposure during warm-up
- Wide 150mm front tire has greater cold-weather ground contact — check pressure carefully before riding
- Aggressive performance character means proper warm-up is critical before riding hard
- Inverted front forks add a different handling feel — exercise extra caution on cold, wet surfaces
Pre-Start Checklist
| Checkpoint | Status | Notes |
|---|---|---|
| Battery Voltage | ≥ 12.6V | Use multimeter on battery terminals; below 12.4V may struggle in cold |
| Fuel Level | Adequate | ESPFI requires minimum fuel pressure; very low tank may cause hesitation |
| Oil Level | Between marks | Check dipstick on level ground; oil is in the frame on Softail models |
| Front Tire Pressure | Per owner manual | 150mm front tire — check cold pressure; wider profile changes ground contact |
| Rear Tire Pressure | Per owner manual | Verify both tires; cold rubber has reduced grip regardless of width |
| Kill Switch | RUN position | Right handlebar controls — easy to accidentally leave in OFF |
| Transmission | Neutral | Green neutral light must be illuminated |
| Kickstand | Up | Softail frame interlock prevents start in gear with stand down |
| Key/Fob | Present | H-D Smart Security requires fob proximity |
| Front Fork Area | Clear | Inverted fork stanchions should be free of ice, salt, or road grime |
Step-by-Step Cold Start Instructions
Step 1: Pre-Ride Visual Walkaround
Before approaching the controls, walk around the Fat Bob. Check for any fluid leaks, loose items, or obstructions. In cold weather, look for ice on the ground beneath the engine or exhaust. Pay attention to the inverted front forks — frost or ice can build up on the lower tube surfaces. The wide 150mm front tire provides significantly more road contact than a standard 130mm tire — this is great for stability, but debris, ice patches, or standing water around the tire edges can impede handling in cold conditions. Verify the LED headlight lens is clear of frost or condensation.
Step 2: Verify Kill Switch Position
Locate the kill switch on the right handlebar switch housing. Slide it to the RUN position (marked with a green arrow icon). It is common to accidentally bump this into OFF when covering the bike or adjusting the muscular handlebar controls for cold-weather riding gear.
Step 3: Insert Key or Ensure Fob Proximity
Turn the ignition key to ON — or ensure the fob is within range if equipped with keyless ignition. The analog speedometer and digital display will illuminate. You will hear the fuel pump prime for approximately 2-3 seconds. The distinctive LED headlight will perform a brief illumination check — in cold weather this provides excellent low-visibility confirmation that the ignition is live.
Step 4: Wait for Fuel Pump Priming
Do not press the starter button immediately. Wait 3-5 seconds for the ESPFI system to build fuel pressure. You will hear the fuel pump cycle (a brief whirring sound). In cold weather below 32 ° F, the pump may run slightly longer — this is normal as the ECM increases fuel pressure for cold enrichment. The 1,923cc Milwaukee-Eight 117 has substantial displacement, so proper cold fuel pressure is critical for a clean first fire.
Step 5: Confirm Neutral and Disengage Clutch
Ensure the transmission is in neutral (green indicator light). For an extra margin of safety, especially in cold weather, pull in the clutch lever. This reduces crankshaft drag from thick cold oil in the transmission, which is important given the Fat Bob's ~680 lb weight and the muscular Milwaukee-Eight 117's inherent compression.
Step 6: Press the Starter Button
Press the starter button on the right handlebar. Hold for 2-4 seconds. The Milwaukee-Eight 117 should fire quickly. Do not hold the starter for more than 5 seconds at a time — if the engine does not start, release the button and wait 10 seconds before trying again.
Note: No throttle input is needed. The ECM controls the air-fuel ratio for cold enrichment automatically via the ESPFI system.
Step 7: Observe Initial Idle
Once started, the engine will idle at an elevated RPM (approximately 1,000-1,100 RPM). This is the ECM cold idle strategy — do not blip the throttle. The auto-enrichment system manages fuel delivery based on engine temperature sensor readings. The Fat Bob's performance-oriented tune means it produces a deeper, more aggressive exhaust note at cold idle compared to other Softail models — this is normal and not a cause for concern.
Step 8: Allow Initial Warm-Up (30-60 Seconds)
Let the engine settle for 30-60 seconds. You will hear and feel the RPM gradually decrease as the oil warms and the ECM reduces enrichment. During this time, verify all dashboard warning lights have extinguished. The analog speedometer has fewer gauges than fully digital touring displays — rely on the LED warning indicators for system status. The LED headlight will be fully illuminated, providing distinctive cold-weather visibility as you prepare to ride.
Step 9: Check for Warning Indicators
Confirm that the oil pressure light, ABS light, and security light have all turned off. If any warning light remains illuminated after 10 seconds of running, shut off the engine and diagnose before riding. Pay particular attention to the ABS light, as the wide 150mm front tire and inverted fork combination creates a unique braking geometry that the ABS system monitors.
Step 10: Verify Inverted Fork Condition
Before setting off, check the visible portion of the inverted fork inner tubes for ice, road salt accumulation, or condensation. The inverted design exposes different sealing surfaces than traditional telescopic forks — cold weather can cause condensation on the lower tube assemblies. Wipe clean with a soft cloth if needed. Proper fork function is critical given the Fat Bob's aggressive geometry and heavier weight compared to standard cruisers.
Step 11: Begin Gentle Warm-Up Riding
After the RPM stabilizes near warm idle (950-1,000 RPM), you may begin riding. Keep RPM below 3,000 for the first 1-2 miles, avoid hard acceleration, and use engine braking gently. The Milwaukee-Eight 117 reaches proper operating temperature faster under light load than sitting at a stop. The Fat Bob's muscular bodywork provides some wind deflection around the engine area unlike standard cruisers, but there is no full fairing — riding at moderate speed will warm the engine more effectively than stationary idling.
Step 12: Cold Weather Extended Warm-Up (Below 40 ° F)
If ambient temperature is below 40 ° F, extend the stationary warm-up to 3-5 minutes before riding. Verify the oil temperature gauge reads above 140 ° F before applying normal throttle. Without a fairing for full wind protection, the engine will lose heat quickly if sitting in cold wind — plan to begin gentle riding once minimum oil temperature is reached. In extreme cold (below 20 ° F), allow 5-8 minutes of warm-up total. The Fat Bob's aggressive power delivery is tempting in cold conditions — resist the urge to ride hard until the engine is fully warm.
Seasonal & Temperature Guide
| Temperature Range | Procedure | Notes |
|---|---|---|
| Below 20 ° F (-7° C) | 5-8 min warm-up; verify fob battery and fork seals | LED headlight essential for low-light visibility; 150mm tire pressure critical |
| 20-40 ° F (-7 to 4° C) | 3-5 min warm-up; pull clutch for start | AGM battery performance reduced ~30% at 32 ° F; check fork tube ice |
| 40-60 ° F (4 to 16° C) | 1-2 min warm-up; normal start procedure | Ideal cold-start conditions for Milwaukee-Eight |
| Above 60 ° F (16° C) | 30-60 sec warm-up; normal start | Minimal enrichment needed; ready to ride quickly |
Tips, Warnings & Common Mistakes
Helpful Tips
- The Milwaukee-Eight 117 uses sequential port fuel injection — no choke, no manual enrichment
- The 150mm front tire is wider than standard Harley 130mm tires — adjust cold weather pressure accordingly and expect different ground contact feel
- Muscular bodywork provides some wind deflection during warm-up, unlike bare-bones chopper designs, but no full fairing means engine is still wind-exposed
- LED headlight provides excellent cold-weather visibility — use daytime running feature for maximum safety in wintry conditions
- Inverted front forks offer improved rigidity but require attention to seal condition in salt-heavy winter conditions
- Battery condition is the number one factor in reliable cold starts — test annually before winter
- The Fat Bob's aggressive performance character makes proper warm-up even more critical — riders will want to open the throttle sooner
- Keep a battery tender (CTEK or BatteryMINDer) connected during winter months for instant starts
Warnings
- NEVER hold the starter button for more than 5 seconds continuously — this overheats the starter motor and drains the battery
- NEVER use starting fluid or ether on a fuel-injected Harley — this can cause engine damage or fire
- Do not rev the engine aggressively during warm-up — cold oil has not yet reached critical components
- Never ride with oil temperature below 140 ° F — the transmission oil is also cold and needs time to flow
- The ~106hp output of the Milwaukee-Eight 117 is easily accessible — resist aggressive throttle inputs until fully warmed up
- Wide 150mm front tire changes wet-cold weather dynamics — reduce lean angle on cold tires until they reach operating temperature
- Inverted fork seal surfaces are more exposed than telescopic designs — road salt can damage seals if not cleaned regularly
Common Mistakes to Avoid
| Mistake | Consequence | How to Avoid |
|---|---|---|
| Not waiting for fuel pump prime | Hard start or flooding | Always listen for the 2-3 second pump whir |
| Blipping throttle during cold start | Disrupts ECM enrichment map | Hands off the throttle entirely |
| Starting with kill switch in OFF | Nothing happens — confused diagnosis | Always verify RUN position first |
| Riding hard before warm-up | Increased engine wear on 106hp Mil-8 | Gentle riding for first 2 miles minimum |
| Ignoring 150mm front tire cold pressure | Altered handling, premature tire wear | Check front tire pressure every cold morning |
| Ignoring low battery voltage | Slow crank, no-start in cold weather | Test voltage monthly during winter |
| Leaning too hard on cold tires | Loss of traction with wide front contact patch | Keep upright and gentle for first 1-2 miles |
Battery Maintenance for Cold Starts
| Item | Recommendation |
|---|---|
| Battery Type | AGM 12V, 300+ CCA |
| Cold Weather Impact | AGM retains ~70% capacity at 32 ° F vs. ~100% at 72 ° F |
| Battery Tender | CTEK MXS 5.0 or BatteryMINDer 2012 — connect during storage |
| Replacement Interval | Every 3-5 years, or when CCA drops below 80% of rated |
| Winter Storage | Connect to smart charger; check voltage every 2-3 weeks |
| Terminal Torque | 20-30 in-lbs for battery terminal bolts — check annually |
The Milwaukee-Eight 117 draws significant current during cranking (80-120 amps). A weak battery that seems fine in summer will fail in cold weather. The Fat Bob's electronics suite is less extensive than touring models (no full Boom! Box GTS), which reduces parasitic drain during winter storage. However, the Smart Security system and LED lighting circuit do draw constant standby current. Replace batteries proactively before winter rather than waiting for a no-start.
Troubleshooting
| Symptom | Likely Cause | Fix |
|---|---|---|
| Engine cranks but will not start | Fuel pump not priming, flooded, or security fault | Listen for pump prime; wait 10 seconds and retry; verify fob |
| Slow cranking sound | Weak battery, corroded terminals, cold-thick oil | Clean terminals, charge/test battery, use tender |
| Clicking but no crank | Dead battery or faulty starter solenoid | Charge battery to 12.6V+, check solenoid connections |
| Engine starts then dies immediately | Idle air control valve sticky, security system, fuel issue | Check security light; clean IAC; verify fuel delivery |
| Rough idle during warm-up | Normal cold enrichment — ECM adjusting | Allow 2-3 minutes; if persistent, check TPS and IACV |
| Oil pressure light stays on | Low oil level, wrong oil viscosity, faulty sensor | Check oil level immediately; verify 20W-50 oil |
| LED headlight flickering or dim | Electrical issue, weak alternator output | Check voltage under running conditions (should be 13.5-14.5V) |
Verification Notes for 2026 Model Year
| Item | Known Value | Notes |
|---|---|---|
| Cold idle RPM | 1,000-1,100 RPM | Verify on warm-up; should settle to 950-1,000 RPM warm |
| Battery CCA | 300+ CCA recommended | Check actual battery spec tag on installed unit |
| Engine oil grade | SAE 20W-50 per H-D spec | Critical for cold-start lubrication; verify dipstick before start |
| Fuel system | ESPFI (auto-enrichment) | No choke cable or manual enrichment exists |
| Starter current draw | 80-120 amps during crank | Normal for Milwaukee-Eight; verify with amp clamp if suspect |
| Security system | H-D Smart Security | Fob must be detected; immobilizer prevents start without fob |
| Oil pressure light | Should extinguish within 5 seconds of running | If not, stop engine immediately |
| Softail frame | Hidden rear suspension | Oil is in the frame, not a separate tank — check level accordingly |
| Front tire width | 150mm (wider than standard 130mm) | Unique to Fat Bob; affects cold pressure and ground contact |
| Front suspension | Inverted telescopic forks | Different seal and damping setup than Softail-standard forks |
| LED headlight | Standard equipment | Distinctive cold-weather visibility; check for ice/condensation |
To verify all specifications, check your 2026 Fat Bob owner manual included with the motorcycle, or access it through the Harley-Davidson mobile app.
This guide was prepared using Milwaukee-Eight service manual specifications and Harley-Davidson OEM cold-start procedures. Always verify against your specific owner manual. The 2026 Fat Bob uses the Softail platform with Milwaukee-Eight 117 engine, inverted front forks, and a unique 150mm front tire — oil level check differs from touring models as oil is located in the frame. The wider front tire and inverted fork combination creates handling characteristics that require extra attention during cold-weather warm-up. Idle specifications may vary from earlier model years.
Parts for this job
Fits FXFBS, FXFB, FX — from our catalogue of 41,000+ aftermarket parts.
 OE Factory Spark Plug$6.35
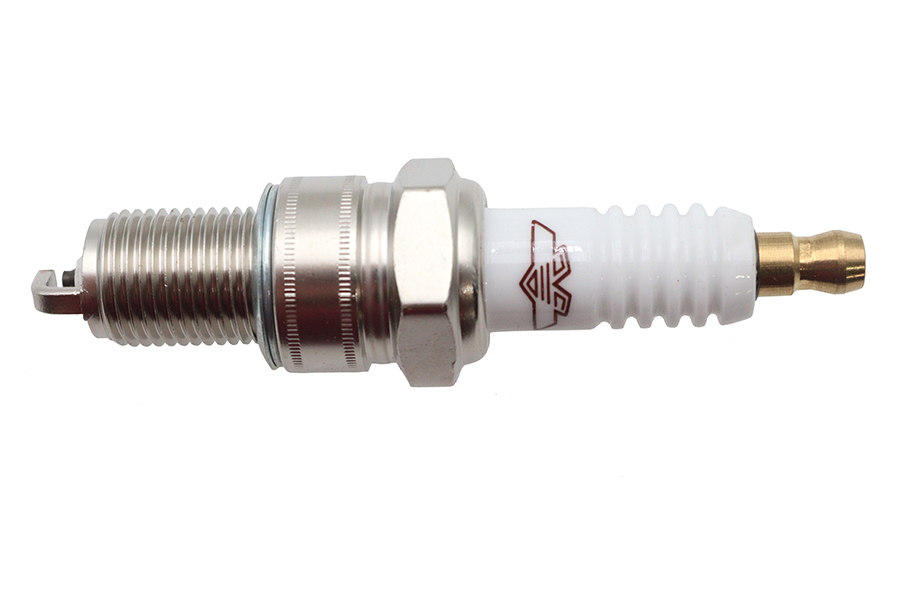 Ultima Standard Spark Plug$7.02
 Ignition System Cover Allen Screws$8.59
 Accel U-Groove Spark Plug Set$10.64
 8mm Spark Plug Wire Set$10.64Chrome Spark Plug Cover$10.64Ignition Point Cover Mount Kit Chrome$10.69Ignition System Cover Allen Screw$12.00
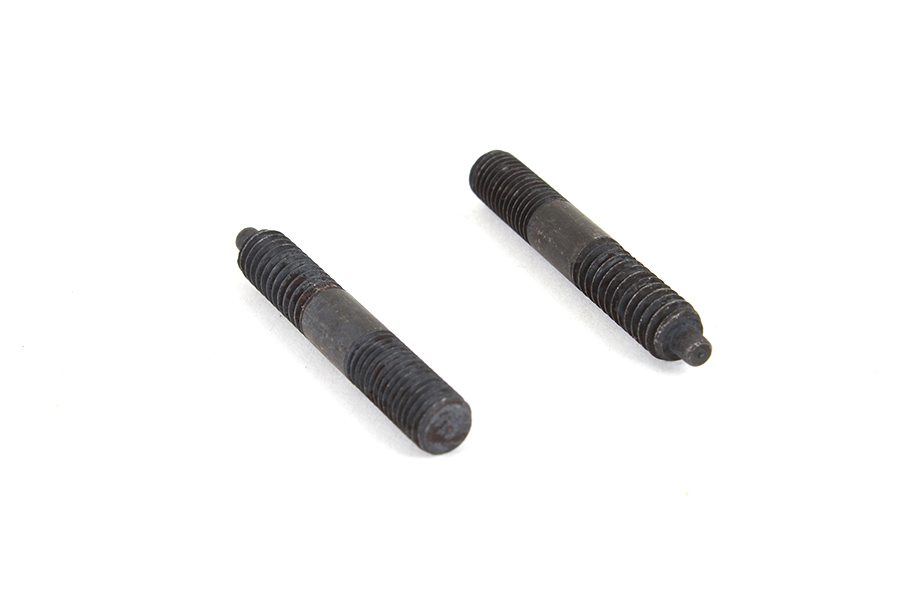 Starter Shaft Housing Stud Set$12.56
 Doering Spark Plugs Set$12.80
 OE Factory Spark Plug$12.83
 Ultima Performance Spark Plugs$14.58