Cold Start Guide: 2026 Harley-Davidson Electra Glide FLHT
Cold Start Guide: 2026 Harley-Davidson Electra Glide FLHT
Quick Reference Table
| Spec | Value | Source |
|---|---|---|
| Engine | Milwaukee-Eight 117 (1,923cc) V-twin, OHV 4-valve | Harley-Davidson |
| Fuel System | Electronic Sequential Port Fuel Injection (ESPFI) | H-D Service Manual |
| Battery Type | AGM (Absorbed Glass Mat), 12V | H-D Owner Manual |
| Recommended CCA | Minimum 300 CCA at 0° F | H-D Parts Catalog |
| Idle RPM (Cold) | 1,100-1,200 RPM | H-D Service Manual |
| Idle RPM (Warm) | 1,000-1,050 RPM | H-D Service Manual |
| Choke/Enrichment | None — Auto-enrichment via ECM | H-D Service Manual |
| Fuel Octane | 91 RON (87 AKI) minimum, 93 RON recommended | H-D Owner Manual |
| Cold Start Temp Range | 0° F to 100° F (-18° C to 38° C) | H-D Engineering Specs |
Difficulty & Time Estimate
- Difficulty Level: Beginner (1 out of 5) — fully automatic cold-start procedure
- Estimated Time: 5-7 minutes from key-on to rolling idle (cold engine)
- Seasonal Note: Below 40° F, allow additional 3-5 minutes of warm-up before riding
- The Electra Glide is the heritage touring model and foundation of the Harley-Davidson Touring family. Its iconic batwing fairing provides excellent wind and weather protection, making it one of the most comfortable Touring models for cold morning starts
Pre-Start Checklist
| Checkpoint | Status | Notes |
|---|---|---|
| Battery Voltage | ≥ 12.6V | Use multimeter on battery terminals; below 12.4V may struggle in cold |
| Fuel Level | Adequate | ESPFI requires minimum fuel pressure; very low tank may cause hesitation |
| Oil Level | Between marks | Check dipstick on level ground; engine seated but NOT running |
| Tire Pressure | Per owner's manual / tire placard | Cold temperature reduces tire pressure approximately 1 PSI per 10° F |
| Kill Switch | RUN position | Right handlebar controls — easy to accidentally leave in OFF |
| Transmission | Neutral | Green neutral light must be illuminated |
| Kickstand | Up | Safety interlock prevents start in gear with stand down |
| Key/Fob | Present | Security system (H-D Smart Security) requires fob proximity |
Step-by-Step Cold Start Instructions
Step 1: Pre-Ride Visual Walkaround
Before approaching the controls, complete a walkaround inspection. The Electra Glide's traditional batwing fairing — the most iconic fairing design in motorcycling — should be checked for cracks or impact damage, especially in cold weather when plastic and fiberglass become more brittle. Look beneath the engine for any overnight fluid leaks. In freezing conditions, check for ice on the ground and on the lower fairing edge.
Step 2: Verify Kill Switch Position
Locate the kill switch on the right handlebar switch housing. Confirm it is set to the RUN position (indicated by the green arrow icon). The batwing fairing creates a relatively protected switch housing environment, but the switch can still be inadvertently moved when securing a cover or handling the handlebars.
Step 3: Insert Key or Ensure Fob Proximity
Turn the ignition key to the ON position. The instrument cluster will illuminate and cycle through its startup sequence. The Electra Glide may have either traditional analog gauges or the digital TFT display depending on trim level — both perform a startup self-check. Listen carefully for the fuel pump priming, a brief whirring sound lasting 2-3 seconds from the fuel tank area.
Step 4: Wait for Fuel Pump Priming
Allow 3-5 seconds for the ESPFI system to achieve proper fuel rail pressure before pressing the starter button. During cold weather, the ECM may program a slightly longer pump prime duration to account for denser air and thicker fuel. This is an intentional calibration — do not interrupt the prime cycle.
Step 5: Confirm Neutral and Pull Clutch Lever
Verify the green neutral light is illuminated on the instrument panel. Pull in the clutch lever before starting. The Milwaukee-Eight's unit-construction engine shares oil between the engine and primary chaincase, meaning oil is thicker throughout the drivetrain in cold weather. Disengaging the clutch significantly reduces the rotational drag the starter motor must overcome.
Step 6: Press the Starter Button
Press the starter button on the right handlebar and hold for 2-4 seconds. The Milwaukee-Eight 117 should fire promptly. If the engine has not started after 5 seconds of cranking, release the starter button and allow a 10-second cooling period before the next attempt. No manipulation of the throttle is necessary — the ECM's auto-enrichment strategy governs the entire cold-start fuel delivery.
Step 7: Observe Initial Cold Idle Characteristics
Upon successful start, expect elevated idle speed in the range of 1,100-1,200 RPM. This is the ECM's programmed cold idle — it increases idle speed to stabilize combustion while the engine warms. The Electra Glide's batwing fairing directs airflow over the front cylinder head during stationary warm-up, providing better cooling than many riders realize. The distinctive Milwaukee-Eight exhaust note will fill the cabin behind the fairing — if it sounds uneven at first, this is often normal as the ECM adjusts fueling.
Step 8: Allow Initial Warm-Up Period (30-60 Seconds)
Let the engine idle for 30-60 seconds. During this period, the idle speed will naturally begin to decrease as the ECM reads increasing oil temperature and reduces cold enrichment progressively. Use this time to monitor the instrument cluster for any fault indicators.
Step 9: Confirm All Warning Lights Have Cleared
Check that the oil pressure warning, ABS indicator, and security system light have all extinguished. The oil pressure light must go out within 5-7 seconds of the engine running — if it remains illuminated, shut off the engine immediately and verify oil level before attempting to start again.
Step 10: Begin Gentle Warm-Up Riding
Once the idle has settled near the warm specification (1,000-1,050 RPM), begin riding. The Electra Glide's batwing fairing provides immediate wind protection, making the first miles of warm-up riding comfortable even in cold conditions. Keep RPM below 3,000 and avoid aggressive throttle inputs for the first 1-2 miles. Light load accelerates the warm-up process compared to stationary idling.
Step 11: Extended Warm-Up for Cold Weather (Below 40° F)
Below 40° F ambient temperature, extend the stationary warm-up period to 3-5 minutes. The Electra Glide's enclosed riding environment makes this comfortable — engine radiated heat is trapped effectively behind the batwing fairing. If your bike is equipped with an oil temperature gauge, verify it reads above 140° F before applying normal throttle. In extreme cold below 20° F, allow 5-8 minutes of total warm-up time.
Seasonal & Temperature Guide
| Temperature Range | Procedure | Notes |
|---|---|---|
| Below 20° F (-7° C) | 5-8 min warm-up; battery essential | Battery tender overnight; batwing fairing shields engine well |
| 20-40° F (-7 to 4° C) | 3-5 min warm-up; pull clutch before start | AGM reduced output — preconditioned battery makes large difference |
| 40-60° F (4 to 16° C) | 1-2 min warm-up; standard procedure | Ideal conditions; batwing provides natural wind protection |
| Above 60° F (16° C) | 30-60 sec warm-up; minimal enrichment | Quickest transition to riding; standard start applies |
Tips, Warnings & Common Mistakes
Helpful Tips
- The batwing fairing is one of the most effective wind shields in motorcycling — it protects both the engine and rider from crosswinds during cold morning warm-up
- The Electra Glide's heritage as the original Touring platform means decades of engineering refinement — the Milwaukee-Eight's cold-start reliability benefits from this lineage
- If the bike sits for extended periods, disconnect the battery negative terminal or connect a smart charger. The ECM draws a small standby current even when the bike is off
- Traditional analog gauge Electra Glides may take slightly longer to show accurate readings during warm-up compared to digital TFT models — this is a gauge characteristic, not an engine issue
- Consider adding heated handgrips (H-D OEM accessory, part number available through dealer) if you plan regular cold-weather riding
Warnings
- NEVER add ether or starting fluid to a Milwaukee-Eight fuel-injected engine — this can cause explosive ignition conditions and catastrophic engine damage
- Do not block the batwing fairing's lower vents with tape or covers during cold starts — the engine needs adequate cooling airflow even in winter
- Avoid aggressive acceleration until the oil temperature is above 140° F — cold oil does not protect bearing surfaces adequately
- The 2026 Electra Glide has a new frame design — sensor positions and idle specifications may differ from the familiar 2024-and-earlier layout
Common Mistakes to Avoid
| Mistake | Consequence | How to Avoid |
|---|---|---|
| Revving throttle during cold start | Disrupts ECM enrichment calibration | Keep hands off throttle; let ECM manage fueling |
| Ignoring battery condition | No-start on cold morning, especially with added accessories | Test battery CCA before first cold snap of the season |
| Skipping clutch pull on cold start | Unnecessary load on starter from thick transmission oil | Pull clutch every time when temperatures are below 50° F |
| Extended stationary warm-up (> 10 min) | Carbon buildup, fuel washing cylinder walls, wasted fuel | 3-5 minutes maximum, then begin gentle riding |
| Assuming warm idle is too low | Normal transition from 1,200 to 1,000 RPM as engine warms | Monitor oil temp gauge; 1,000-1,050 RPM is correct when warm |
| Not verifying oil level before cold season | Running low on oil during cold weather is extremely dangerous | Check oil level as part of fall/pre-winter maintenance routine |
Battery Maintenance for Cold Starts
| Item | Recommendation |
|---|---|
| Battery Type | AGM 12V, 300+ CCA minimum |
| Cold Weather Impact | AGM capacity drops ~35-40% at 32° F compared to 72° F baseline |
| Battery Tender | CTEK MXS 5.0 with AGM mode — leave connected during cold months |
| Replacement Interval | Every 3-5 years, or when load test shows CCA below 80% of rated |
| Winter Storage | Smart charger maintained; disconnect battery if no tender available |
| Terminal Torque | 20-30 in-lbs for terminal bolts — verify during fall service |
| Parasitic Draw | ~15-20mA for base security system; higher with accessories |
The Electra Glide has a relatively modest electrical load compared to the Ultra Limited or CVO models, but the Milwaukee-Eight 117's cranking demands remain substantial at 80-120 amps during start. A battery that seems adequate in summer will likely fail during the first real cold snap of winter if it is near the end of its service life.
Troubleshooting
| Symptom | Likely Cause | Fix |
|---|---|---|
| Cranks normally but will not start | Fuel delivery issue, ECM not receiving crank signal, security immobilizer active | Confirm fuel pump prime; check fob; listen for injector pulse |
| Cranking is slow and labored | Weak or discharged battery, corroded cables, cold-thick oil | Charge battery; clean all terminals; verify 12.6V+ before starting |
| Single click, absolutely no crank | Dead battery, starter solenoid failure, or safety switch fault | Verify neutral and kill switch; test battery under load |
| Engine starts then dies within 2-3 seconds | Idle air control valve stuck, security kill, or fuel pressure loss | Clean IAC valve; verify fob proximity; check fuel pressure |
| Idle hunts or surges during warm-up | Normal ECM adaptation, or dirty throttle body/IAC | Allow 2-3 minutes for stabilization; if persistent, clean throttle body |
| Oil pressure warning persists after start | Low oil level, incorrect viscosity, or faulty oil pressure sender | Shut down engine immediately; check dipstick; verify 20W-50 oil |
Verification Notes for 2026 Model Year
| Item | Known Value | Notes |
|---|---|---|
| Cold idle RPM | 1,100-1,200 RPM | Standard for Milwaukee-Eight Touring; verify on actual bike |
| Warm idle RPM | 1,000-1,050 RPM | Confirm warm idle against owner's manual specification |
| Battery CCA | 300+ CCA minimum | Check actual battery tag; many owners upgrade to higher CCA for reliability |
| Fuel system | ESPFI (Electronic Sequential Port Fuel Injection) | Auto-enrichment; no manual choke or enrichment cable |
| Security | H-D Smart Security (proximity fob) | Fob battery: CR2032, rated ~2 year life; keep spare |
| Frame design | New 2026 Touring platform | Completely redesigned from 2024 and earlier; sensor positions changed |
| Starter type | Electric high-torque starter | Normal cranking current 80-120A; test with amp clamp if troubleshooting |
To verify all specifications, check your 2026 Electra Glide owner's manual included with the motorcycle, or access it through the Harley-Davidson mobile app.
This guide was prepared using Milwaukee-Eight service manual specifications and Harley-Davidson OEM cold-start procedures for the Electra Glide. Always verify against your specific owner's manual. The 2026 Electra Glide features the new Touring frame design — idle specifications, sensor locations, and ECM calibration may differ from the 2024 and earlier generation Electra Glide models.
Parts for this job
Fits FLHT, FLH, FL — from our catalogue of 41,000+ aftermarket parts.
 Battery Label$5.40
 OE Factory Spark Plug$6.35
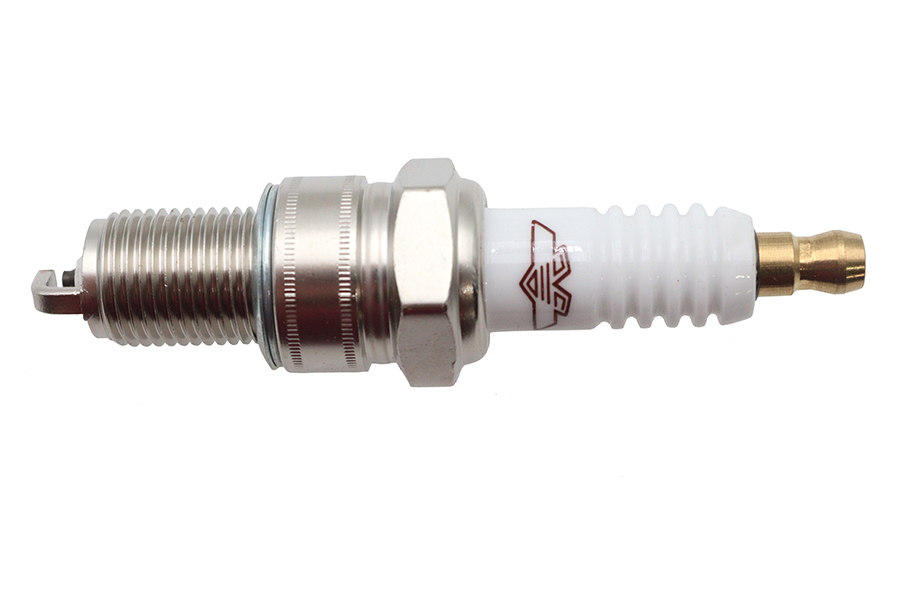 Ultima Standard Spark Plug$7.02
 *UPDATE Battery Top Plug Set$8.58
 Ignition System Cover Allen Screws$8.59
 Parkerized 6 Volt Battery Rod Wing Nuts$9.50
 Accel U-Groove Spark Plug Set$10.64
 8mm Spark Plug Wire Set$10.64Chrome Spark Plug Cover$10.64
 Battery Top Set$10.64Ignition Point Cover Mount Kit Chrome$10.69Ignition System Cover Allen Screw$12.00