Battery Guide: 2026 Harley-Davidson Softail Standard FXST
Battery Guide: 2026 Harley-Davidson Softail Standard FXST
Quick Reference Table
| Spec | Value | Source |
|---|---|---|
| Battery Type | AGM (Absorbed Glass Mat), sealed, 12V | Harley-Davidson Softail electrical system |
| OEM Part Number | Verify against your owner's manual or dealer | — |
| Group Size | Verify against your owner's manual or dealer | — |
| Cold Cranking Amps (CCA) | Verify against your owner's manual or dealer | — |
| Reserve Capacity | Verify against your owner's manual or dealer | — |
| Nominal Voltage | 12V | Electrical system specification |
| Fully Charged Resting Voltage | 12.6V – 12.8V | AGM charging standard |
| Charging System Output (running) | Roughly 13.8V – 14.6V at cruising RPM; verify exact spec in your service manual | Service manual |
| Dimensions (L x W x H) | Verify against your owner's manual or dealer | — |
| Weight (approx) | Verify against your owner's manual or dealer | — |
| Terminal Type | Threaded post with bolt-through cable lug | Factory hardware |
| Terminal Position | Confirm orientation before lifting the old battery out — photograph it | Installation practice |
| Terminal Hardware | Torx or hex head terminal bolts; confirm size on your bike before starting | Factory hardware |
| Hold-Down Method | Strap over the top of the case | Factory installation |
| Replacement Interval | 3–5 years depending on climate and how often the bike sits | Maintenance schedule |
| Maintenance Requirement | Sealed — never open, never add water | AGM design |
Difficulty & Time Estimate
- Difficulty Level: Beginner (1 out of 5) — no special tools, no electrical diagnosis required
- Estimated Time: 20–30 minutes for a rider who has done it before, 40–50 minutes the first time
- Tools at hand: Everything on this job lives in a basic Torx and metric set. If you own a T27 driver, a small socket set, and a multimeter, you already have what you need. Nothing here requires a lift, a press, or a dealer tool.
- Seasonal note: Do this above 40°F if you can. Cold hands and a cold battery both make the job slower, and an AGM battery takes a surface charge better when it's warm.
- One caution: The Softail Standard is a stripped-down bike, which works in your favor here. There is no fairing, no tour pack, and no saddlebag hardware in the way. Access is about as easy as it gets on a modern Harley.
Tools Required
| Tool | Purpose |
|---|---|
| Torx driver set (T27 typical for the seat fastener — confirm on your bike) | Remove the seat mounting screw |
| Socket set or combination wrenches, metric | Loosen terminal bolts and hold-down hardware |
| Digital multimeter | Check resting voltage and charging output |
| Safety glasses | Mandatory — battery acid and sparks |
| Nitrile or mechanic's gloves | Keep acid residue and grease off your hands |
| Battery terminal brush or small wire brush | Clean corrosion off cable lugs and posts |
| Baking soda and water (1 tbsp per cup) | Neutralize acid residue in the tray |
| Shop rags and a small drip pan | Cleanup |
| Dielectric grease or terminal protectant spray | Seal connections against corrosion |
| Smart AGM-capable battery tender | Charge the new battery and maintain it |
| Phone camera | Photograph cable routing before you touch anything |
| Torque wrench (inch-pound range) | Terminal bolts are small and easy to snap |
Battery Location & Access
On the FXST Softail Standard the battery sits under the seat, centered in the frame between the rider's legs, below the seat pan and forward of the rear fender. This is the standard Milwaukee-Eight Softail layout — unlike the Touring bikes, there is no side cover panel to unbolt and no fairing to work around.
What has to come off first:
- The seat. A single fastener at the rear of the seat holds it down — typically a Torx screw through a bracket into the rear fender. Confirm the exact fastener type and size on your own bike before you reach for a driver; guessing and rounding it out costs you a lot more than thirty seconds of looking.
- The seat itself slides rearward off its front tongue once the rear fastener is out. Lift it clear and set it upside down on a towel so you don't scuff the leather or the paint under it.
- Any wiring passing over the battery. Some bikes have accessory leads, a security module harness, or a tender pigtail routed across the top of the case. Note where those sit before you move them. Do not yank on them.
Once the seat is off you should have clear line of sight to the top of the battery, both terminals, and the hold-down strap. If your bike has an aftermarket seat with a different mounting setup, deal with that before you start on the battery.
Step-by-Step Replacement
Step 1: Park, Cool, and Prepare
Put the bike on level ground with the kickstand fully extended, or better, on a lift with the frame supported. Turn the ignition off and pull the key. Let the bike sit if you've just ridden — the area around the battery gets hot. Work in a ventilated space away from anything that sparks or burns. Put your safety glasses and gloves on now, not halfway through.
Step 2: Remove the Seat
Back out the rear seat fastener and keep it somewhere you'll find it again — a magnetic tray beats a workbench. Slide the seat back and lift it off. Set it aside face-down on a clean towel.
Tip: Take a photo of the seat bracket and fastener before you remove it. When the new battery is in and you're tired, that picture saves you from guessing which way the tongue slots in.
Step 3: Photograph the Cable Layout
Before a single wrench touches a terminal, photograph the battery top from directly above. You want to be able to see which cable goes to which post, how the cables are routed, and where any accessory leads tap in. Modern Harleys accumulate add-ons — security systems, USB ports, heated gear leads — and every one of them lives on a battery terminal.
Step 4: Disconnect the Negative Cable First
Loosen the negative (–) terminal bolt and lift the cable lug off the post. Tuck the cable to the side of the battery box where it cannot fall back onto the terminal.
Why negative first: The negative terminal is tied to the frame and engine — the entire bike is one big ground. If you loosen the positive first and your wrench touches any metal on the bike while it's on the positive post, you complete the circuit through the tool. That's a dead short across a battery capable of hundreds of amps: sparks, a glowing wrench, ruined cables, and possibly a ruptured case. With the negative off first, there is no return path, and a slipped wrench on the positive does nothing.
Step 5: Disconnect the Positive Cable
Now loosen the positive (+) terminal bolt and lift that cable off. Move it clear of both the post and the negative cable. If a red rubber terminal boot is fitted, slide it back up the cable — and note whether it's cracked or torn, because a split boot is exactly why terminals corrode.
Step 6: Release the Hold-Down Strap
Unhook or unbolt the strap that runs across the top of the battery. Rubber straps stretch off a hook or stud; stainless straps come off with a fastener. Set the hardware aside with the seat screw.
Warning: If the strap is stretched, split, dry-rotted, or its stud is loose, replace it. A battery that can shift in the tray will chafe cable insulation and eventually short against the frame. We stock both rubber and stainless straps — see the parts table below.
Step 7: Lift the Old Battery Out
Grip the case by its carrying strap if it has one, or both ends if it doesn't, and lift it straight up and out. Keep it upright. AGM batteries are sealed and won't slosh like a flooded battery, but a cracked case will still weep acid, and you won't always see the crack. Set it on concrete or a plastic tray — not on your workbench, not on the tank, not on painted sheet metal.
Step 8: Clean and Inspect the Tray
With the battery out, look at what it was sitting in. You're checking for:
- White or green crust on the tray, cables, or frame — acid residue or corrosion
- Cracks, soft spots, or heat damage in the tray and pads
- Loose or missing isolator studs and rubber pads
- Chafed, stiff, or cracked cable insulation
- Debris, road grit, and old hardware in the bottom of the box
Scrub any corrosion with a baking soda and water solution, then rinse with a damp rag and dry completely. Do not leave baking soda solution sitting on bare metal. If the isolator pads or studs are shot, replace them now while the box is empty — it is a five-minute job with the battery out and an hour-long job with it in.
Step 9: Clean the Cable Ends
Wire-brush both cable lugs until the metal is bright. A corroded lug has resistance, and resistance at a starter cable means slow cranking, heat, and voltage drop that looks exactly like a bad battery. If a lug is badly eaten away or a cable is cracked along its length, replace the cable — a new battery bolted to a rotten cable will still crank poorly.
Step 10: Fit the New Battery
Confirm the new battery matches the old one for physical size, terminal layout, and rating before you drop it in. Compare them side by side on the bench. Set it into the tray in the same orientation the old one came out — check your photo from Step 3 — and make sure it sits flat with the pads underneath it and no wiring trapped beneath the case.
Tip: If the new battery came dry-charged or shipped uncharged, put it on a proper AGM charger and bring it to full before installation. Installing a partially charged AGM and expecting the bike's charging system to top it off is a good way to have a two-year battery last eight months.
Step 11: Secure the Hold-Down
Refit the strap over the top of the case and tension it so the battery cannot rock, slide, or lift. Snug, not crushing — an overtightened strap can deform or crack a battery case. Push on the battery with your hand from all four sides; if it moves, it isn't secure enough.
Step 12: Connect the Positive Cable First
Positive goes on first, for the same reason negative came off first: with the ground still disconnected, there's no complete circuit, so a slipped wrench on the positive terminal is harmless. Seat the lug squarely on the post and start the bolt by hand — never force a cross-threaded terminal bolt. Tighten to the torque figure in your service manual; verify that spec against your owner's manual or dealer rather than guessing, because terminal bolts are small and the threads strip easily. Snug is the goal, not maximum effort.
Step 13: Connect the Negative Cable Last
Ground goes on last. Seat the lug, start the bolt by hand, and tighten to the same manual-specified figure. You may see a small spark as the circuit closes — that is normal, it's the bike's electronics drawing their initial current. Tug both cables firmly by hand when you're done. Neither should move on the post.
Step 14: Protect, Test, and Reassemble
Slide the positive terminal boot back down over the post and apply a light film of dielectric grease or terminal protectant spray to both connections. Turn the ignition on and confirm the gauge lights up and the display comes alive. Start the engine. With it running at a fast idle, put the multimeter across the battery posts — you should see charging voltage above resting voltage, in the general range of 13.8V to 14.6V; confirm the exact spec for your bike in the service manual. Shut it down, refit the seat, torque the seat fastener, and give the seat a firm pull to confirm it's locked in.
Charging & Maintenance
An AGM battery is sealed. You never open it, never check electrolyte levels, and never add water. What it needs from you is to be kept near full charge.
Use an AGM-capable smart tender. Not a bench charger, not a car charger, not a "trickle charger" from the bottom shelf. A smart tender monitors voltage and switches to a float or maintenance mode once the battery is full. A dumb charger keeps pushing current into a full battery, which cooks the electrolyte out through the pressure vents — and because the case is sealed, that moisture is gone for good. That's a battery that will never hold full capacity again.
Charge rate matters. Slow and low beats fast and hot on AGM. A 1–2 amp maintenance charger is right for a motorcycle battery. Avoid anything with an "engine start" or high-amp boost setting unless you know it's AGM-safe and you're using the correct mode.
Ride it or tender it. Short trips are the worst thing for a motorcycle battery. A five-minute ride to the store takes more out of the battery starting the engine than the charging system puts back. If your riding is mostly short hops, keep the tender on it between rides.
What actually kills an AGM battery:
| Cause | What it does |
|---|---|
| Sitting discharged | Sulfate crystals form on the plates and harden permanently. This is the number one killer. |
| Deep discharge below ~10.5V | Often unrecoverable. A single deep discharge can cost you half the battery's life. |
| Overcharging with a dumb charger | Vents electrolyte out of a sealed case. Irreversible. |
| Parasitic draw from accessories | Alarms, trackers, and bad relays drain a parked bike over days. |
| Heat | Accelerates internal degradation. Florida and Arizona batteries die faster than Michigan ones. |
| Vibration from a loose hold-down | Cracks internal plate welds and chafes cables. |
| Corroded or loose terminals | Voltage drop that mimics a dead battery and starves the charging system. |
Winter Storage
If the bike is going to sit for more than three or four weeks, do this:
- Charge the battery fully before storage. A battery put away at 80% goes into the spring at far less than that.
- Put it on a smart tender for the duration. This is the single most effective thing you can do. Leave it connected, or use a tender with a timer if you prefer intermittent maintenance.
- Alternatively, pull the battery and store it indoors. Keep it somewhere cool and dry — not on a concrete floor in an unheated garage, and not next to a furnace. Tender it monthly if it's not on a maintainer full-time.
- Disconnect the negative cable if the bike has parasitic draws and you're not using a tender. An alarm or tracker will flatten a battery over a winter.
- Check voltage before the first ride of the season. Anything below 12.4V resting needs charging before you press the starter. Cranking a weak battery is how a recoverable battery becomes scrap.
- Clean the terminals in spring. Corrosion builds over a damp winter even on a bike that never moved.
Testing a Suspect Battery
Before you buy a battery, prove the old one is actually the problem. A bad ground, a corroded lug, or a failing stator will all look like a dead battery from the seat.
Step 1 — Resting voltage. Leave the bike off for at least two hours (overnight is better) so the surface charge dissipates. Measure across the posts with a multimeter:
| Resting Voltage | State of Charge | What to Do |
|---|---|---|
| 12.7V – 12.8V | 100% | Healthy. Problem is elsewhere. |
| 12.5V – 12.6V | ~75% | Acceptable. Charge and monitor. |
| 12.3V – 12.4V | ~50% | Undercharged. Charge fully, then retest in 24 hours. |
| 12.0V – 12.2V | ~25% | Significantly discharged. Charge and load test. |
| Below 12.0V | Near flat | Sulfation likely. Charge fully; if it won't hold, replace. |
| Below 10.5V | Deep discharged | Usually a dead cell or permanent damage. Replace. |
Step 2 — Load test. Resting voltage only tells you state of charge, not whether the battery can deliver current. A fully charged battery with a dead cell reads fine at rest and collapses the instant the starter engages. Use a proper load tester, or watch the multimeter while a helper hits the starter: voltage should not drop below roughly 9.6V during cranking. If it dives into the 8s or lower on a fully charged battery, the battery is finished. Most parts stores will load test for free if you don't own a tester.
Step 3 — Charging system check. With the engine running and warm, measure across the posts. You should see charging voltage clearly above the resting figure — in the general range of 13.8V to 14.6V; confirm the exact spec against your service manual. Readings at or below resting voltage point at the stator, regulator, or a connection, not the battery. Readings above about 15V mean an overcharging regulator that is actively destroying your new battery — fix that before you install one.
Step 4 — Parasitic draw check. If the battery keeps going flat on a bike that tests fine, disconnect the negative cable and put an ammeter in series between the cable and the post. A small draw is normal for the security system and ECU memory. A large one means something is staying awake. Pull fuses one at a time until the draw disappears — that's your circuit.
Replacement Parts We Stock
V-Twin Manufacturing parts that fit FXST, FXS, and FX models. These are the hardware pieces that fail alongside the battery and are worth replacing while the tray is empty.
| Part Number | Description | Price | Category |
|---|---|---|---|
| 28-0878 | Battery Strap Rubber | $7.07 | Straps |
| 32-0369 | Battery Cable Boot | $7.09 | Cables |
| 28-0539 | Battery Pad Set | $8.67 | Trays & Carriers |
| 28-0749 | Battery Tray ISO Stud Set | $8.87 | Trays & Carriers |
| 28-0547 | Battery Tray ISO Stud | $10.02 | Trays & Carriers |
| 28-2217 | Rubber Battery Strap | $10.02 | Straps |
| 32-0333 | Battery Cable 9" Black Positive | $10.67 | Cables |
| 32-1024 | Brass Battery Terminal Adapter Kit | $10.67 | Cables |
| 37-8933 | Zinc Battery Vent Clamp | $10.67 | Cables |
| 28-0619 | Battery Tray ISO Stud | $12.27 | Trays & Carriers |
| 32-0328 | Battery Cable 11-1/2" Black Ground | $14.27 | Cables |
| 42-0515 | Stainless Steel Battery Strap | $14.27 | Straps |
| 36-0125 | *UPDATE 35" Stainless Steel Speedometer Cable | $14.42 | Cables |
| 28-0218 | Battery Tray Insert | $15.42 | Trays & Carriers |
Check fitment for your specific year and model before ordering. If you're unsure which strap or stud your bike uses, measure the old part or call it in with your VIN.
Tips, Warnings & Common Mistakes
Tips that save you time:
- Order the strap, pads, and boot with the battery. You'll find out they're shot the moment the old battery is out, and then you're waiting on shipping with a disassembled bike.
- Label your cables with masking tape if the photo isn't clear enough. Thirty seconds now beats a reversed-polarity mistake.
- Write the install date on the new battery with a paint pen. In four years you will not remember.
- Keep the tender pigtail installed permanently and route it where you can reach it without pulling the seat.
- Buy the battery from somewhere with turnover. A battery that sat on a shelf for eighteen months is already partly sulfated.
Common mistakes and what they cost you:
| Mistake | Consequence |
|---|---|
| Disconnecting positive first | Wrench shorts to frame — sparks, welded tool, damaged cables, possible battery rupture |
| Reversing polarity on install | Blown main fuse at best; fried ECM, regulator, or security module at worst |
| Overtightening terminal bolts | Stripped threads or a cracked terminal — the battery is scrap before it's ever used |
| Overtightening the hold-down | Deformed or cracked case, leaking acid |
| Leaving the hold-down loose | Battery shifts, chafes cables, shorts against the frame |
| Installing an uncharged new battery | Permanently reduced capacity; early failure |
| Using a car charger or dumb trickle charger | Cooks electrolyte out of a sealed AGM case — unrecoverable |
| Storing the bike without a tender | Sulfation over winter; a good battery dead by spring |
| Skipping the charging system test | New battery destroyed by the same overcharging regulator that killed the last one |
| Ignoring corroded cable lugs | Slow cranking that gets blamed on the new battery |
| Reusing a cracked terminal boot | Corrosion returns within months |
| Trapping a wire under the battery | Chafed insulation, intermittent shorts, hard-to-find electrical faults |
Warnings that matter:
Never smoke or work near an open flame around a battery. Charging batteries vent hydrogen, which is explosive.
Never open, drill, or attempt to service a sealed AGM battery. There is nothing serviceable inside and you will destroy it.
Never jump-start from a running car. A car's charging system can push far more current than a motorcycle battery and its electronics are built for. If you must jump, use a motorcycle-rated jump pack or another bike with the donor engine off.
If a battery case is bulging, cracked, leaking, or hot to the touch, stop. Do not charge it, do not install it. Handle it with gloves and take it for recycling.
Disposal & Recycling
Lead-acid batteries — including AGM — are almost entirely recyclable, and it is illegal in most states to put one in household trash. They do not go in the curbside recycling bin either.
Core charge. Most retailers, including us, add a core charge when you buy a battery. Bring the old battery back and the core charge is refunded. Keep your receipt. That charge exists specifically to make sure the old unit comes back into the recycling stream instead of ending up behind a shed.
Who takes them:
- The shop that sold you the new one — the easiest option, and where your core refund is.
- Any auto parts chain — most accept lead-acid batteries for recycling free of charge, whether or not you bought it there.
- Harley-Davidson dealers — will take the old unit when you buy a replacement.
- Municipal household hazardous waste facilities — check your county's drop-off schedule.
- Scrap metal yards — many pay by weight for lead-acid cores.
Transporting a dead battery: Keep it upright, in a plastic tub or a sealed bag, on a surface that won't be ruined by leaking acid. Don't set it loose in a saddlebag or on the floor of a car. If the case is cracked, double-bag it.
Spills: Neutralize acid with baking soda until the fizzing stops, then wash the area with water. Acid on skin gets flushed with running water for fifteen minutes; acid in the eyes gets flushed and then gets a doctor, immediately.
Verification Notes
We have deliberately not printed numbers we cannot confirm for this specific model year. Confirm each of the following against your own owner's manual, service manual, or your dealer before ordering parts or torquing fasteners.
| Item | What to Verify | Where to Confirm |
|---|---|---|
| OEM battery part number | The exact Harley-Davidson part number for the 2026 FXST | Owner's manual or dealer parts counter |
| Group size / physical size | Case dimensions and terminal layout of the fitted battery | Measure the removed battery; cross-check with the manual |
| CCA rating | Minimum cold cranking amps specified for this model | Owner's manual or service manual |
| Reserve capacity / amp-hour | Ah rating of the OEM battery | Owner's manual or battery label |
| Terminal orientation | Which post sits left and which sits right as installed | Photograph before removal |
| Terminal bolt torque | Exact inch-pound figure for the terminal hardware | Service manual |
| Hold-down hardware torque | Strap or fastener torque spec | Service manual |
| Seat fastener type and torque | Torx size and torque for the rear seat screw | Service manual |
| Charging system output range | Exact acceptable voltage range at specified RPM | Service manual |
| Main fuse rating and location | Amperage and fuse block position | Owner's manual |
| Security system reset procedure | Whether your bike requires a relearn after power loss | Owner's manual or dealer |
| V-Twin part fitment | That the strap, stud, pad, or cable you order fits your exact year | Our fitment listings or call with your VIN |
Parts for this job
Fits FXST, FXS, FX — from our catalogue of 41,000+ aftermarket parts.
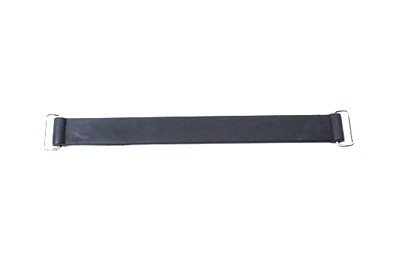 Battery Strap Rubber$8.48
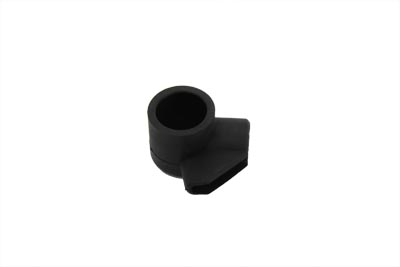 Battery Cable Boot$8.51
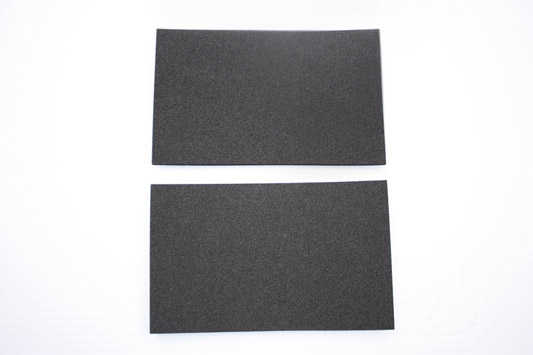 Battery Pad Set$10.40
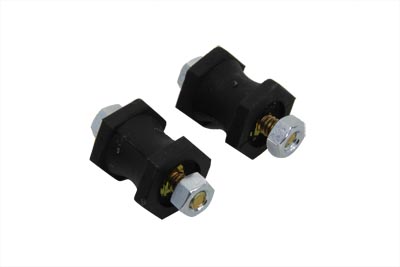 Battery Tray ISO Stud Set$10.64
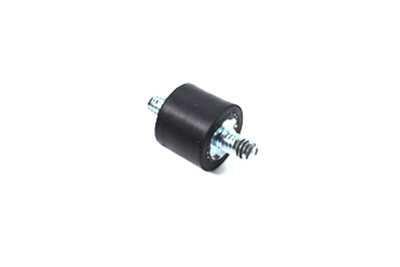 Battery Tray ISO Stud$12.02
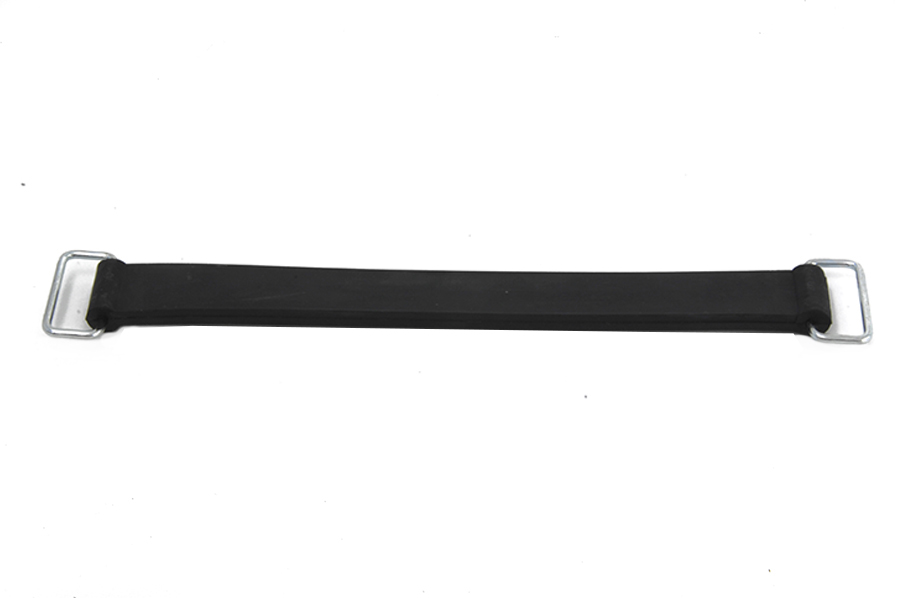 Rubber Battery Strap$12.02
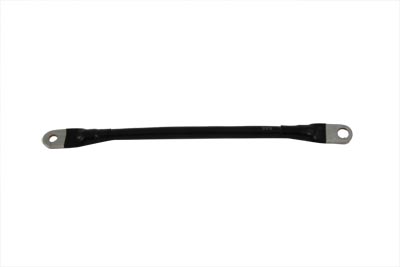 Battery Cable 9" Black Positive$12.80
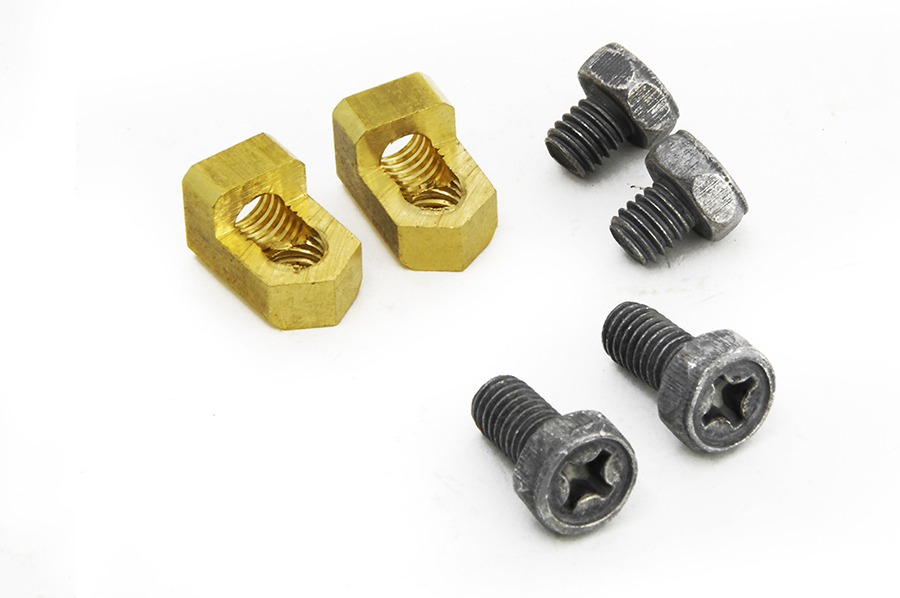 Brass Battery Terminal Adapter Kit$12.80
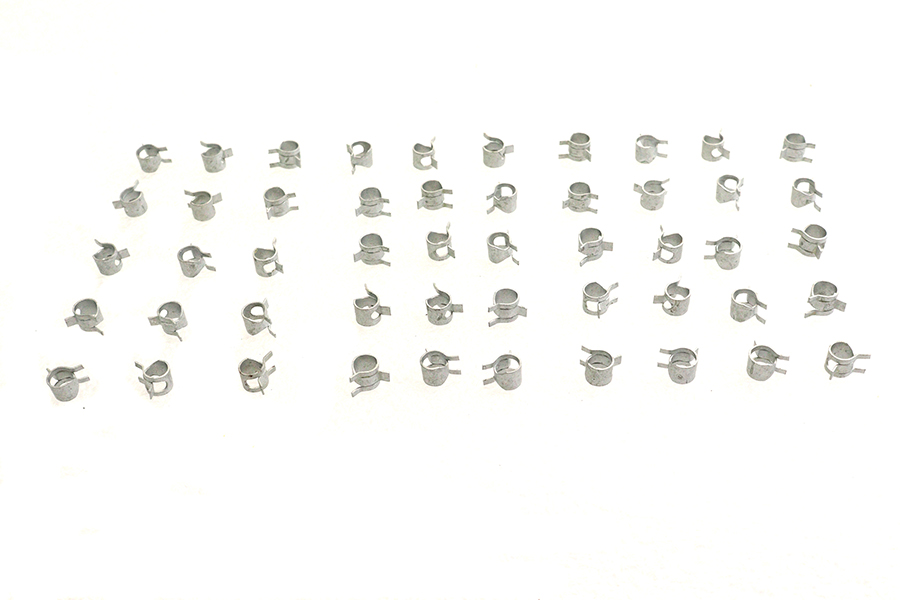 Zinc Battery Vent Clamp$12.80
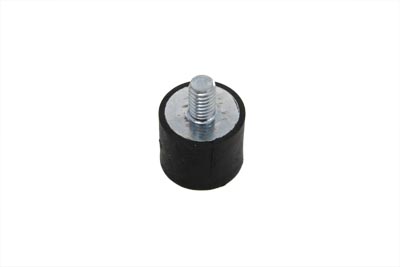 Battery Tray ISO Stud$14.72
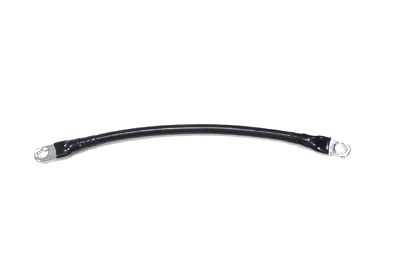 Battery Cable 11-1/2" Black Ground$17.12
 Stainless Steel Battery Strap$17.12